Fire Pit Bench
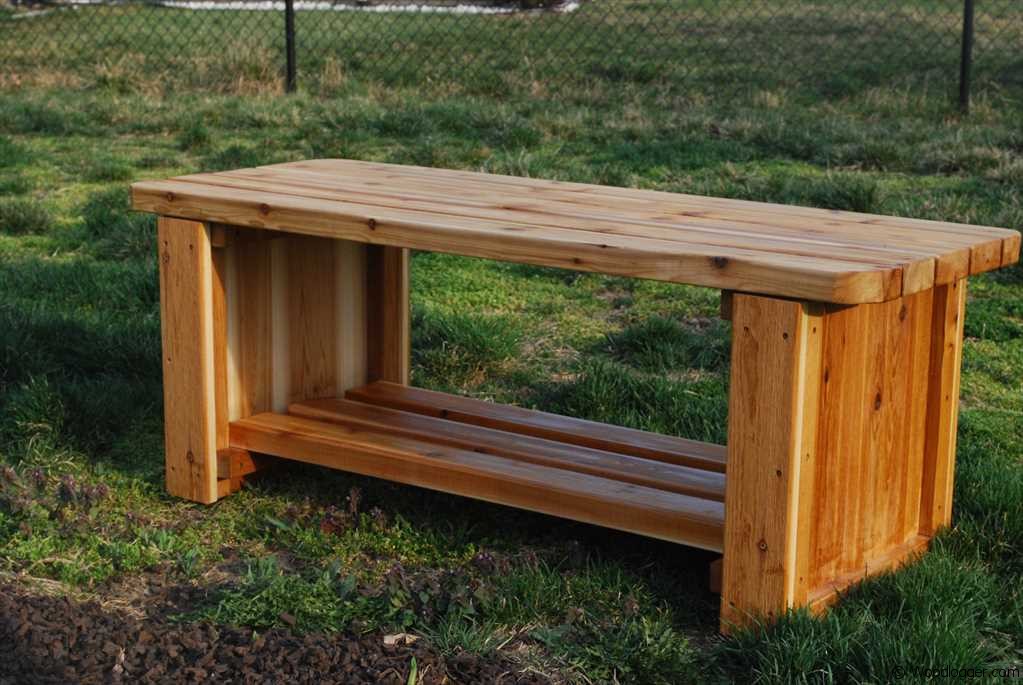
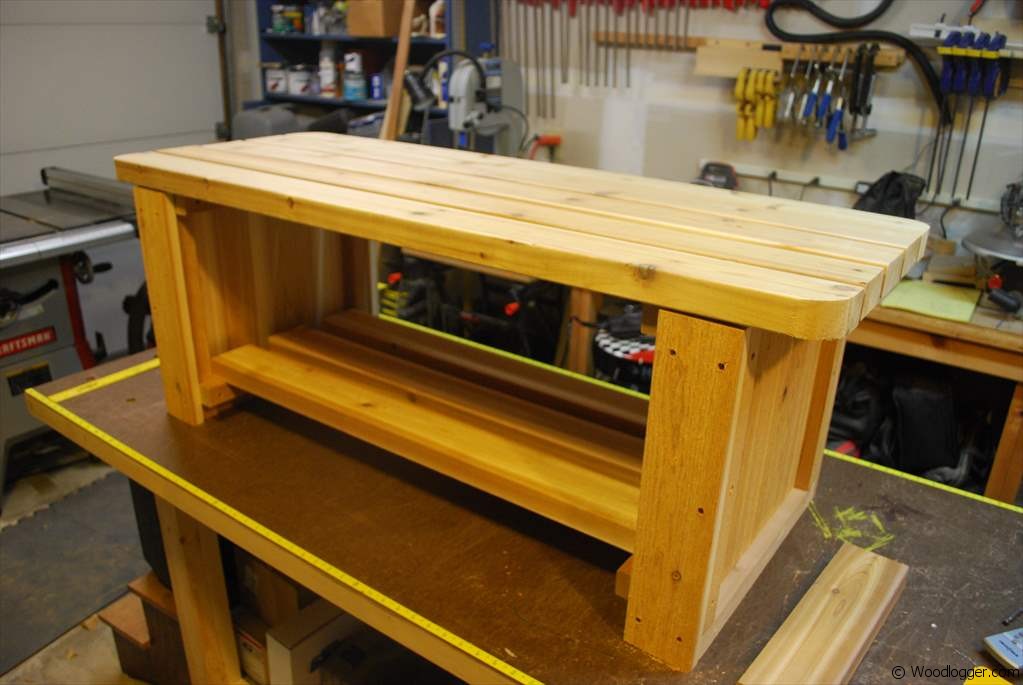
I made this Fire Pit Bench in an afternoon. It’s a great real life project, that beginners and advanced beginners can make. The bench is sturdy and since there is a great space underneath it for firewood it’s practical too. I also really liked the look and I’m considering make a few more. Outdoor cedar benches always look so nice, and with a little treatment can last a long time.
I found the plan for this in a book I picked up: Black & Decker Outdoor Wood Furnishings You can get it for pretty cheap at amazon. I’ve seen the same plan published in other Black & Decker books too. If you haven’t checked out some of Black & Decker’s woodworking books there definitely a great investment. I’ve created many projects, and been inspired to build other things based on their plans.
For a little extra help with this project I also put together a video of how I made this below. If you make one of these be sure to post it over on the WoodLogger Facebook Page. I’d love to see how yours turns out.
Materials
Not a lot for this one. I used a single board that I was able to pickup at Lowe’s.
- (2) 2″ x 2″ x 8′ – Cedar
- (4) 1″ x 4″ x 8′ – Cedar
- (4) 2″ x 4″ x 8′ – Cedar
- (1) 1″ x 2″ x 8′ – Cedar
Milling & Assembly
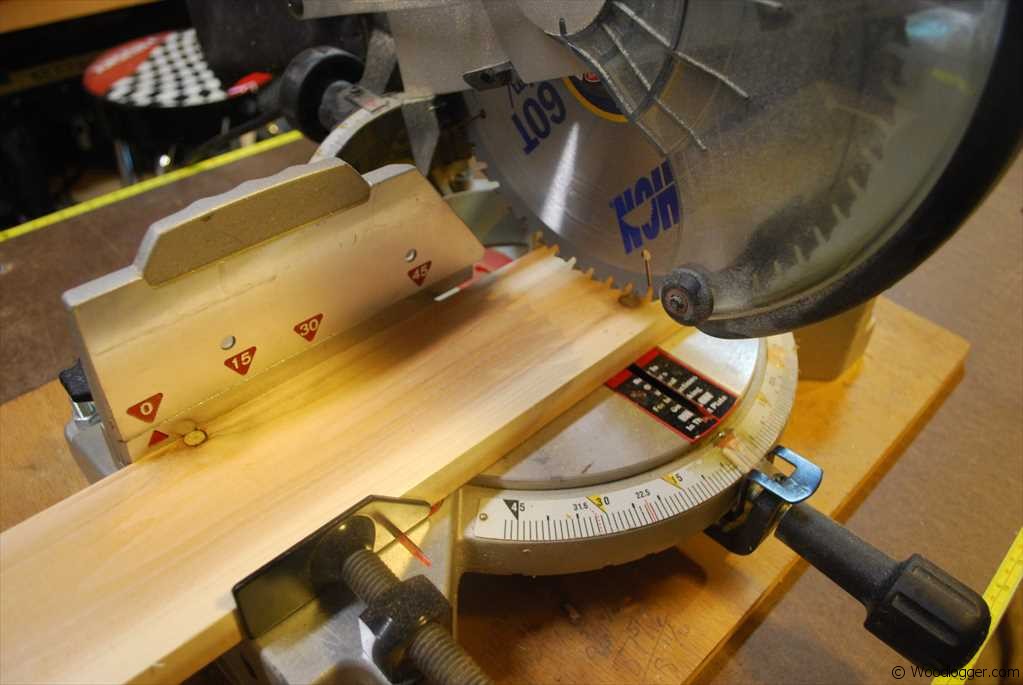 | For the bench I chose to make all of my cuts using a miter saw. Nothing complicated about these cuts. |
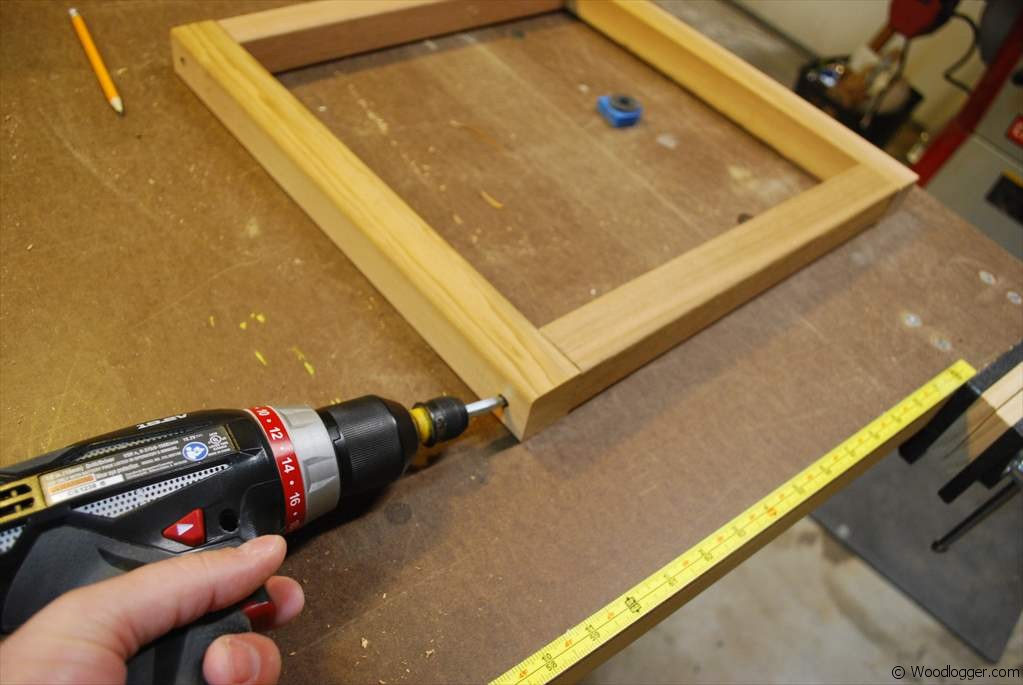 | To start on the bench the first thing I worked on was creating the sides. |
 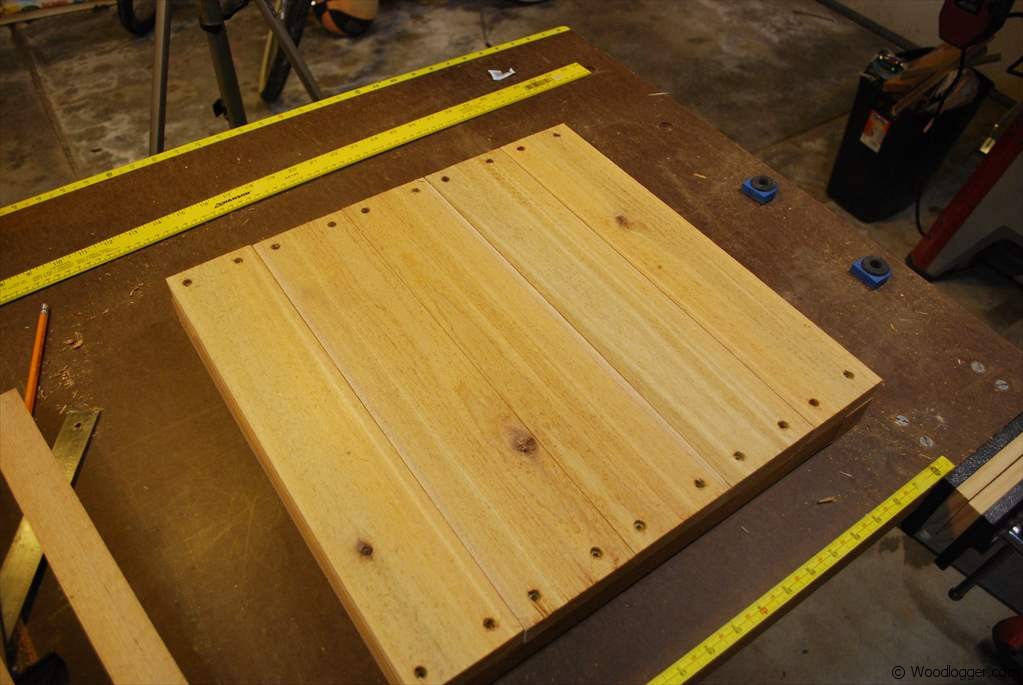 | After building the side frame, I attached side runner boards to the frame to create a more sturdy side. If you follow the plan it actually uses a more decorative look of running the boards at an angle. I chose a more simple look. |
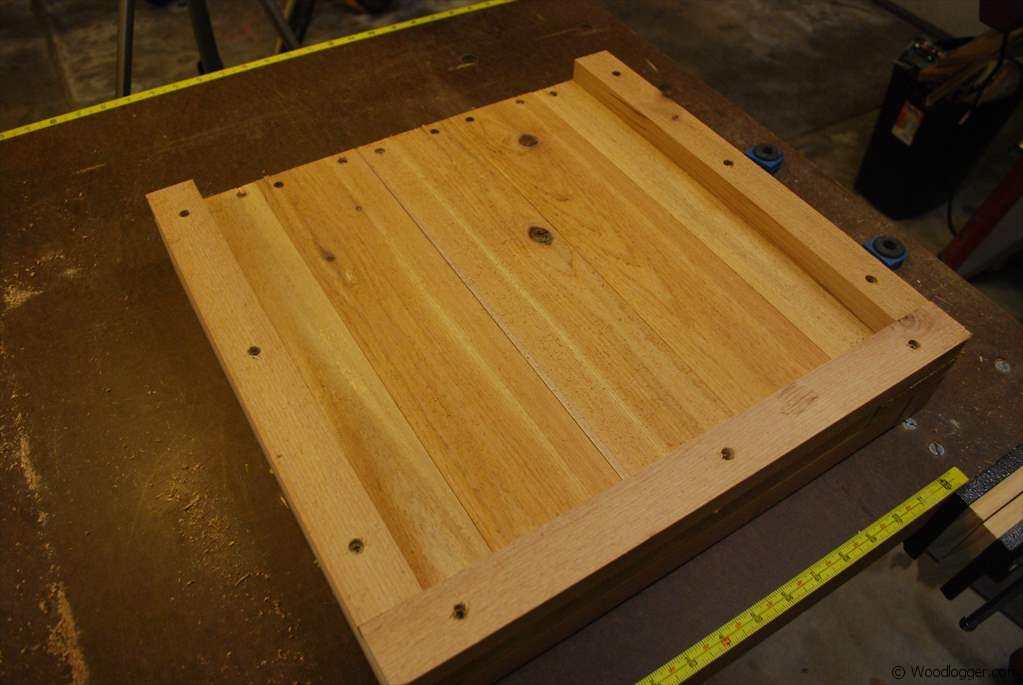  | I attached three frame boards around the sides. The top deliberately doesn’t have a board as it will be hidden by the top of the bench. After I attached the frames, I then flipped the side over and attached a cleat. The top of the bench will be attached to these. |
  | After I had the sides assembled, I attached a front board to the side for decorative purposes.Here is a completed side with the cleat on the inside, and the decorative frame on the outside. |
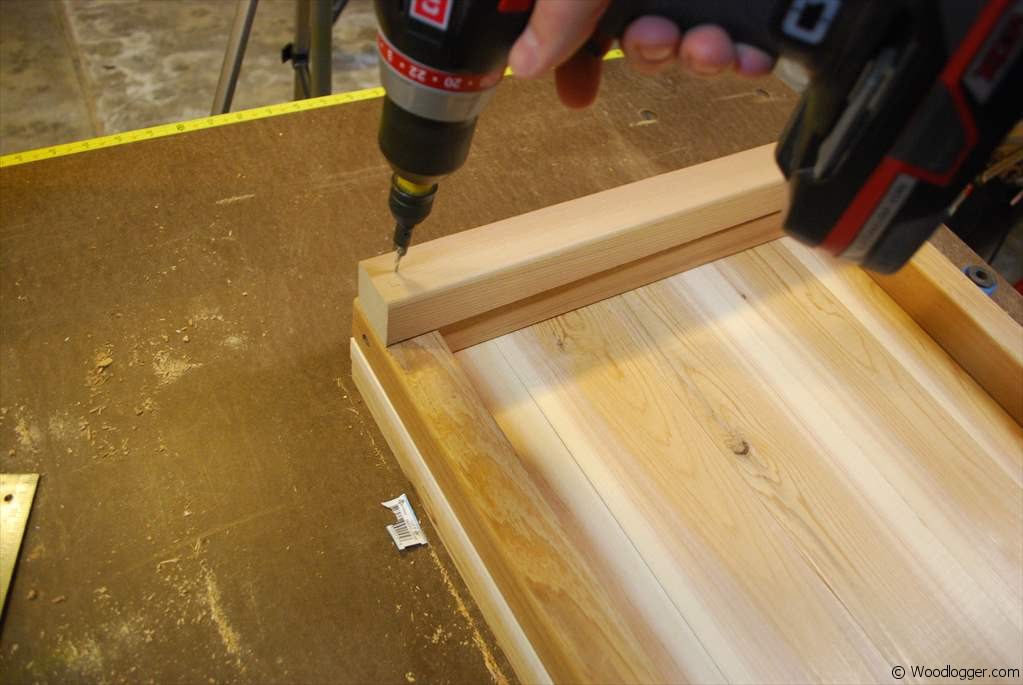
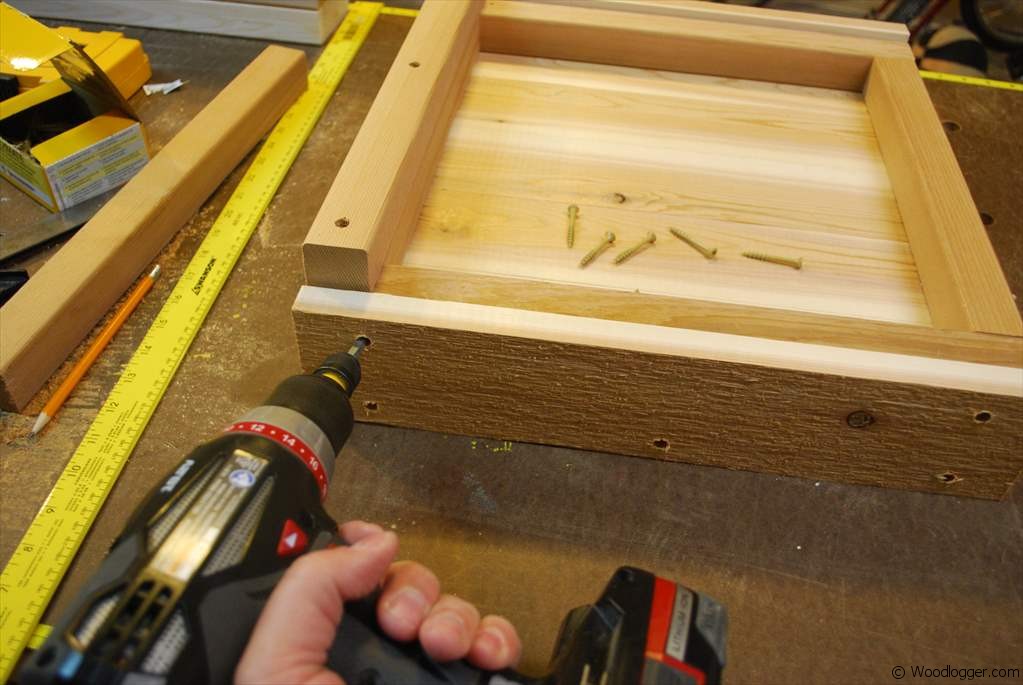
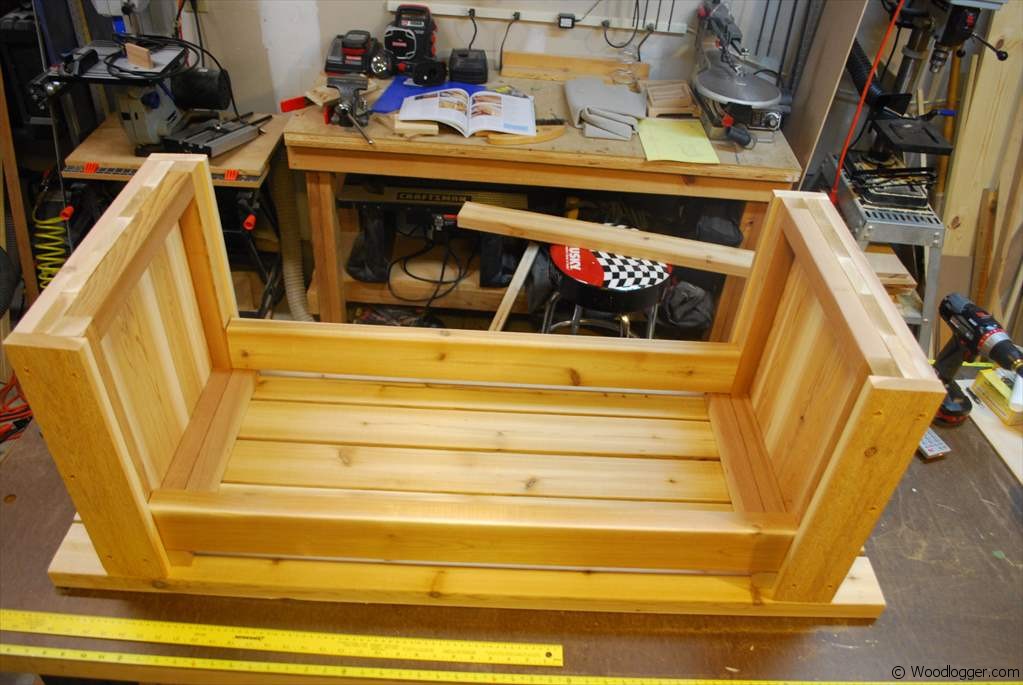 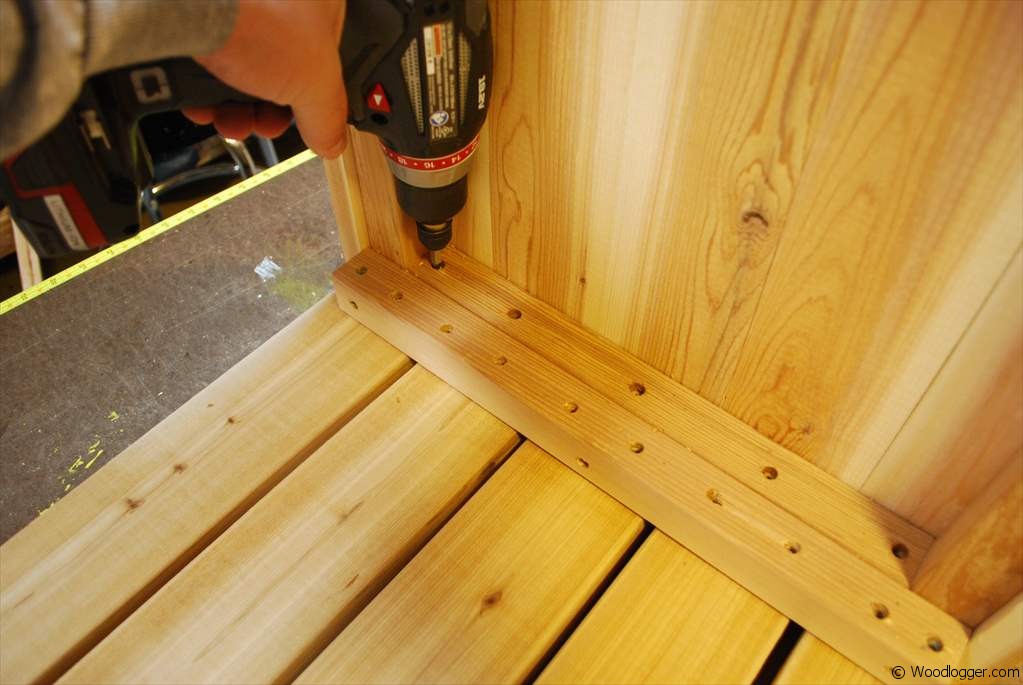 | I attached the completed sides to the top of the bench. I used side beams as spacers before attaching them.I attached the top of the bench to the sides and cleats using deck screws. |
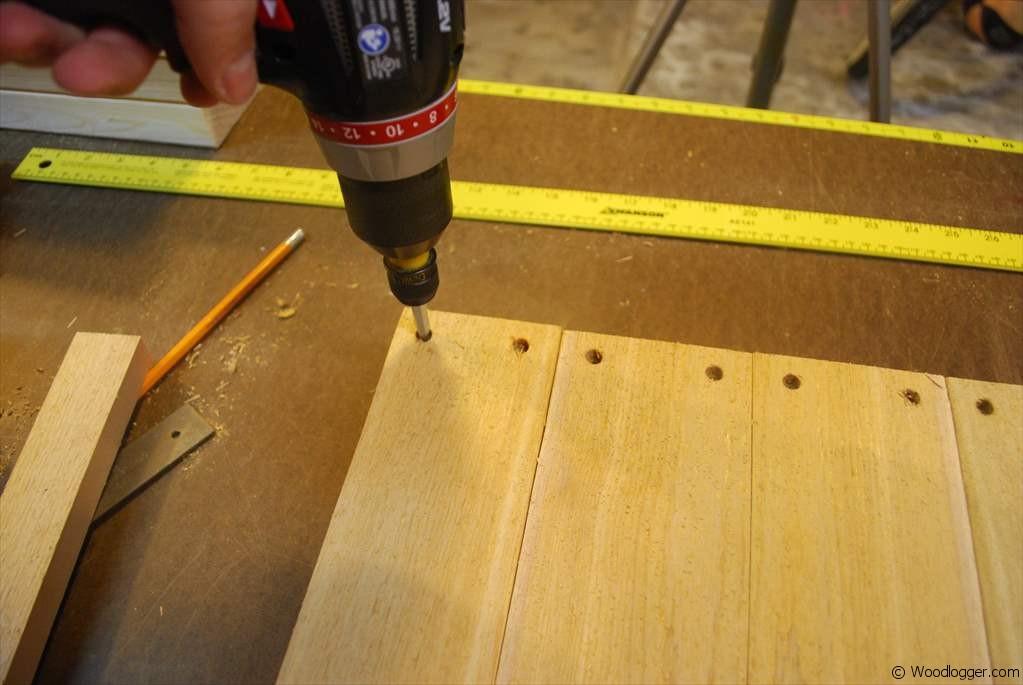
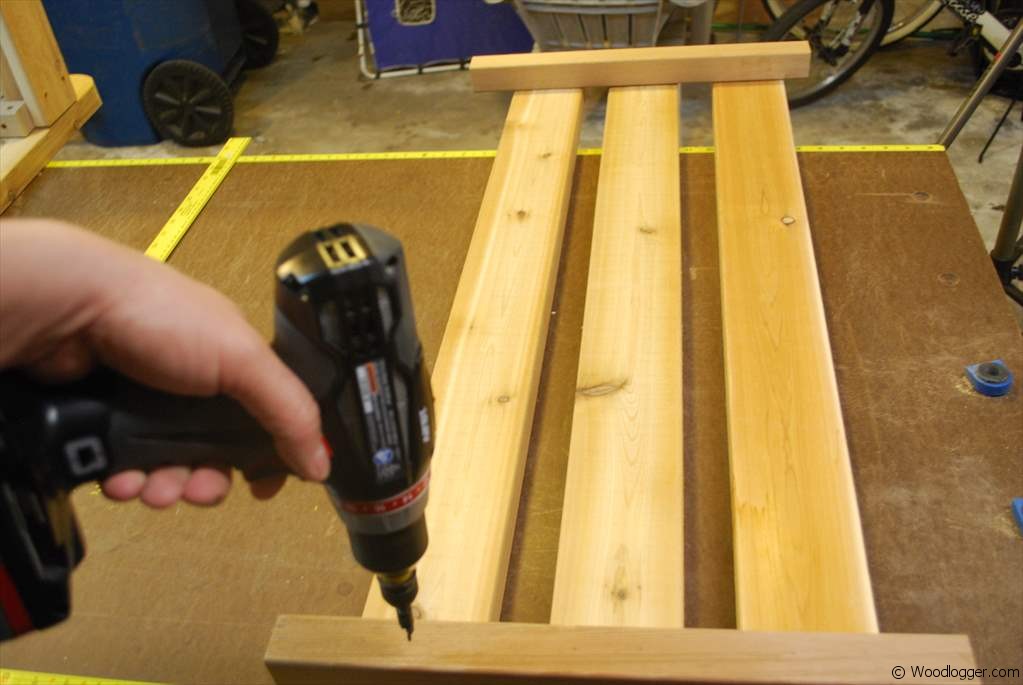 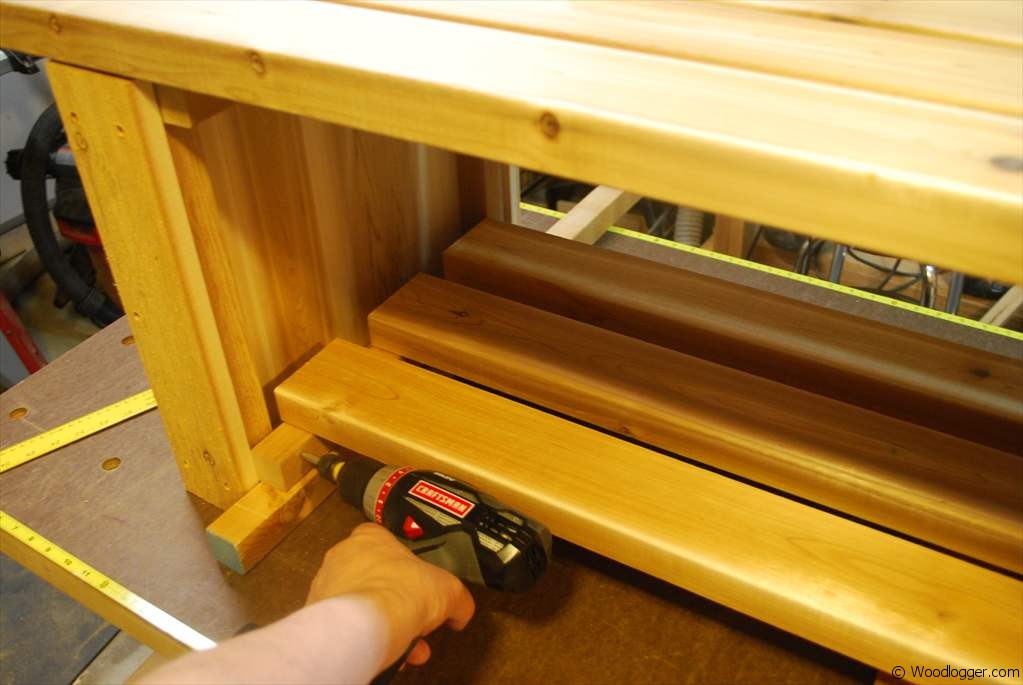 | For the shelf I attached the shelf boards to a couple of 2×2’s. After building the shelf I attached it to the sides of the bench using deck screws. |
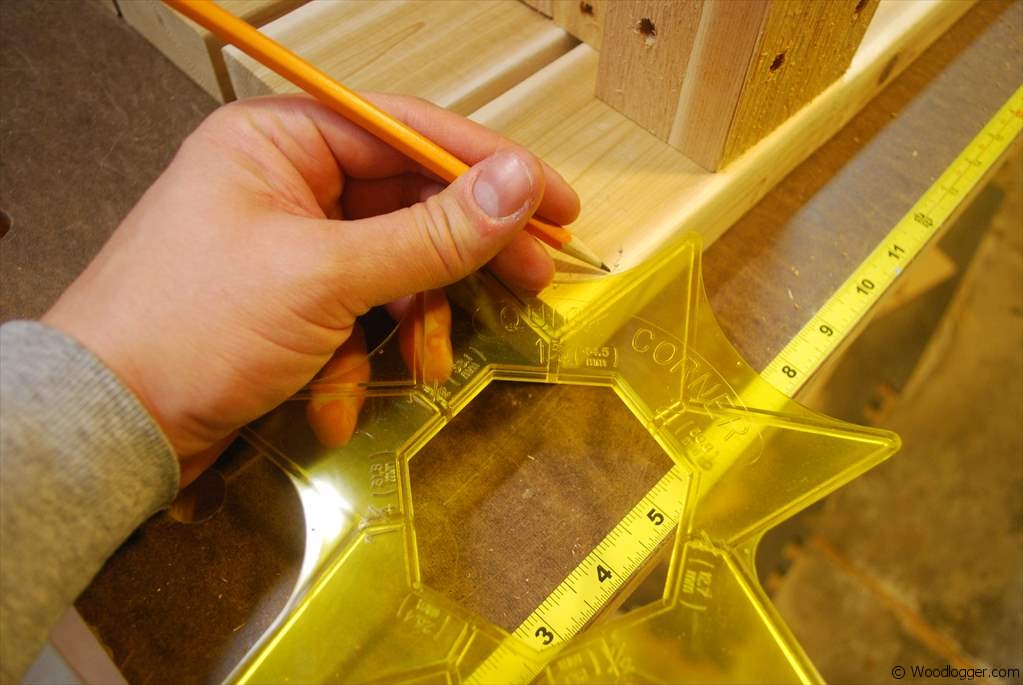 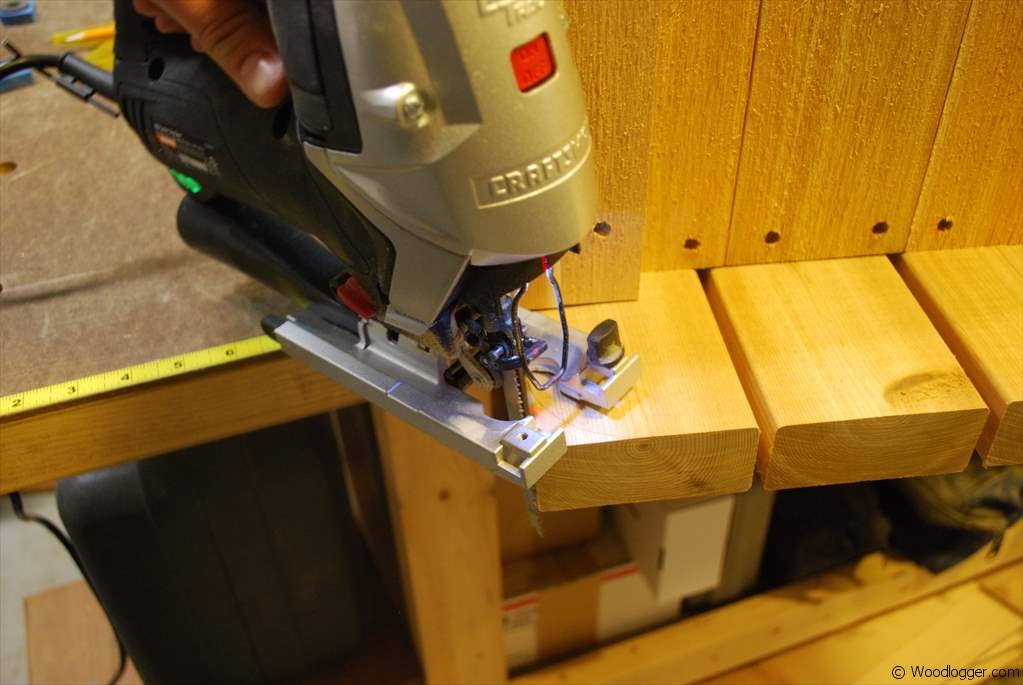 | I used a Quick Corners Set marking tool to help with marking the cuts I would make on the corners of the bench.I cut the corners off of the bench using a jig saw to give it a smoother profile. |
Finishing
To finish this, I sanded the whole piece using medium grit sandpaper. I also Broke all of the hard edges with sandpaper. I applied two coats of an exterior rated lacquer.
Items Used to Finish this
I love this bench, I think it could be something me and my husband could make. but I was wondering what your measurements on the boards? looks like the bench is 4′ maybe?
Hi Mary, yep the seats slats are 48″ long. The full “actual” seat slat measurements are 1-1/2″ x 3-1/2″ x 48″
Love the look of the bench but is the some measurements for all the other wood pieces?
Hey Richard, I actually bought the book I talk about above. It’s pretty cheap on Amazon, It has the full plans with it. I just did a Google search though and found they actually show a snippet of the book at Google books. This should give you everything you would ever want to know about it.
http://books.google.com/books?id=6etCdWeH4t0C&pg=PA92&dq=fire+pit+bench&hl=en&sa=X&ei=HwTfUbSGB6PEyQHMxoGADA&ved=0CDsQ6AEwAA#v=onepage&q=fire%20pit%20bench&f=false
Hi, great looking bench. If I was to build a 5 foot long bench could I do it the same way or should I put a center support piece in?
Thanks.
Hmm… That’s really tough to say. My gut says you would probably be fine. Mine is definitely solid. I would imagine if I added 6″ to each end it would be okay. Sorry I have no solid answer for you on that. You may just have have to do a little trial and error…
Hey, what are the dimensions of the side frames?
What are the dimensions of the side frames ??
I made the bench and was very happy with the final product, however i felt there was a little too much side to side movement so I put a 1/4 backing of plywood on the back to reduce the movement. Now the grand kids can be more rough with it