


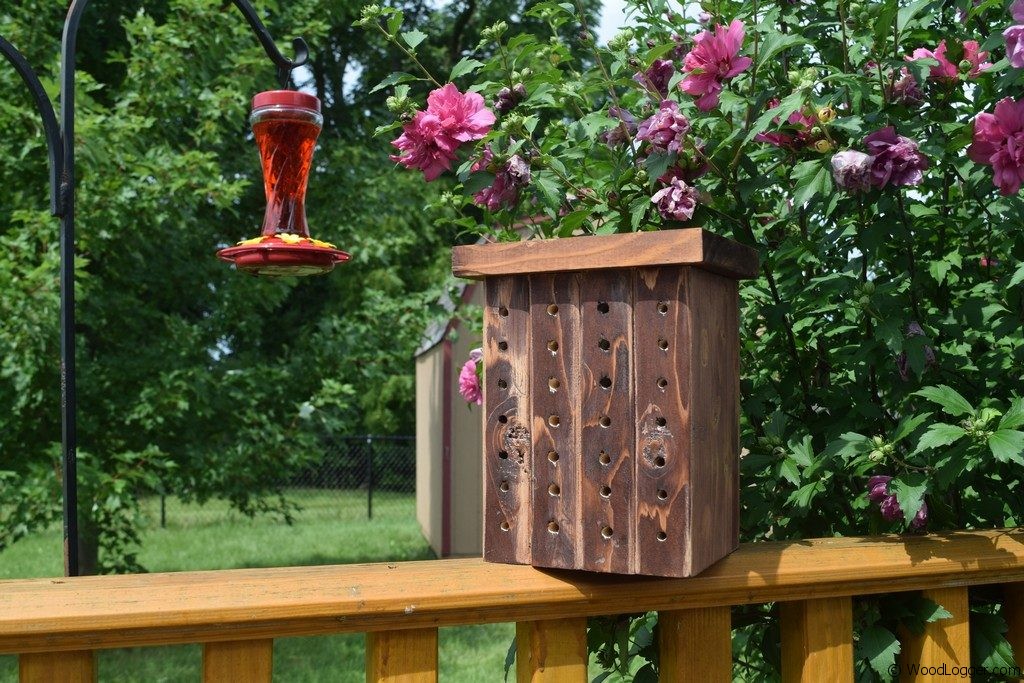
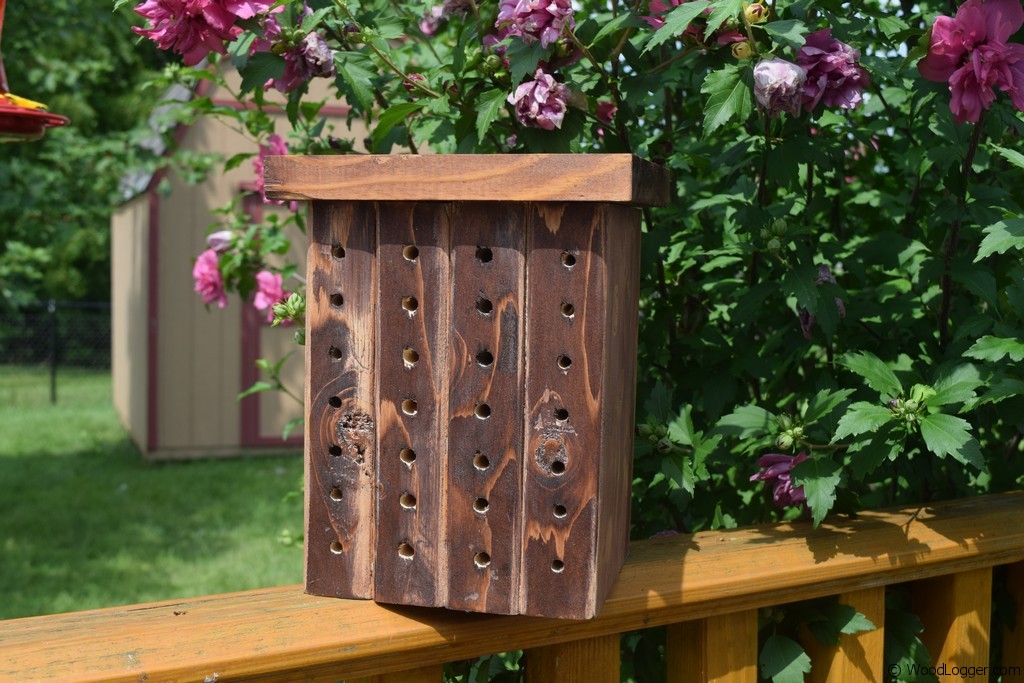
I’ve made a lot of bird houses and feeders over the years and they’re always fun projects. This Bee House (sometimes called a Bee Hotel) project was a new one for me and I’m really looking forward to seeing how well it works. When it comes to Bee Houses I think most people think of a traditional bee hive with honey bees. However, many bees are not hive bees and prefer solitude. These solitary bees include bees such as Mason, and Leafcutter bees. They like to burrow into wood and prefer solitude. I found a plan from a book titled: Birdhouses & More by A.J. Hamler. It’s a good book and the author does a great job of keeping things simple. The plan included was no different and is extremely easy to follow. The Bee House was made out scrap pine and cedar wood. The cuts and assembly are extremely easy and this makes it an excellent beginning woodworking project.
If you make one of these be sure to post a picture of it over on the WoodLogger Facebook Page. I’d love to see how yours turns out.
Material List
- (1) 2″ x 6″ x 6′ – pine (or any softwood)
- (1) 1″ x 6″ x 4′ – cedar (You’ll only need a small board for this)
Milling & Assembly
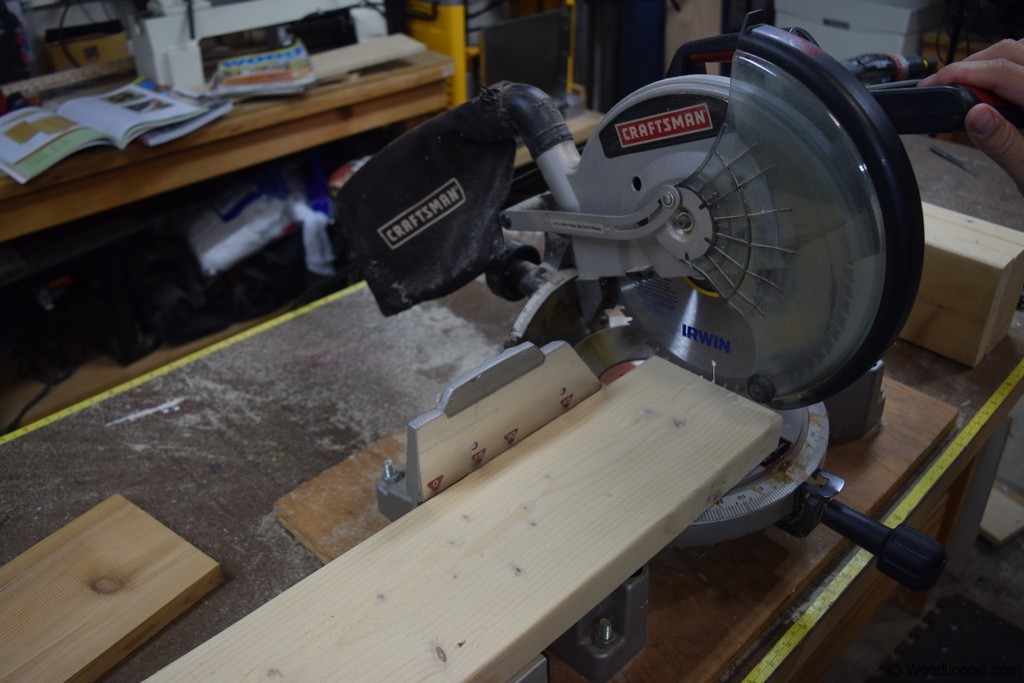 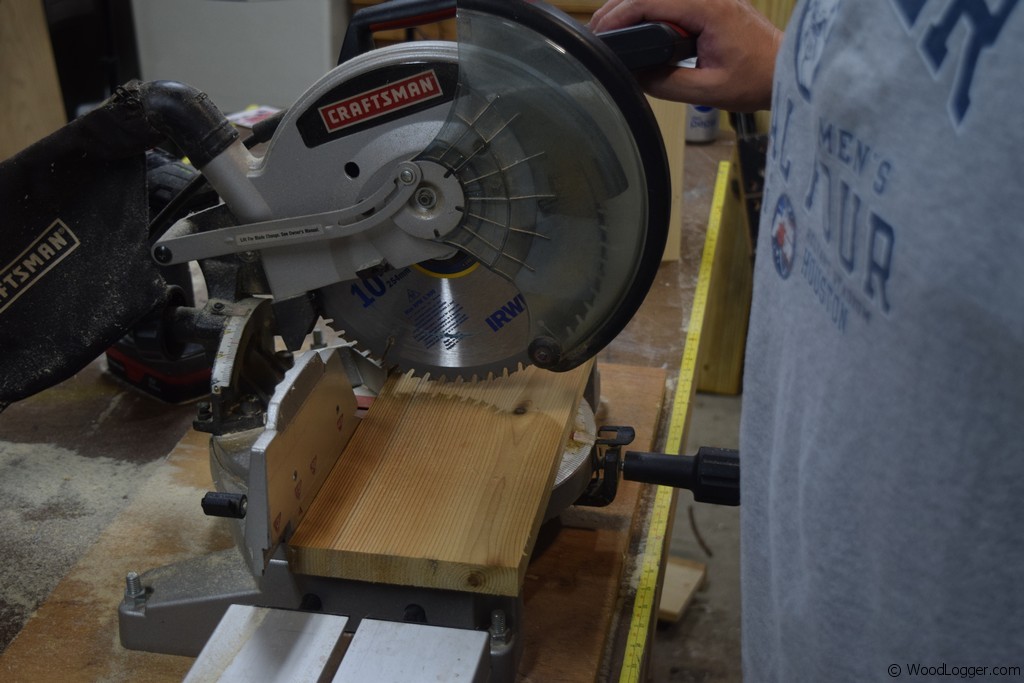 |
To get started on building the Bee House. I cut (4) 2 x 6 Pine boards to a length of 8″. Next I cut the roof to a length of 7″. This allows for an overhang of a 1/2″ on both sides.
I chose to make my house with four boards across, but you can easily add or subtract more boards to meet your needs. Be sure to adjust your roof to the size you decide on. If you want a set of plans be sure to check out the book I picked up at Amazon.com. |
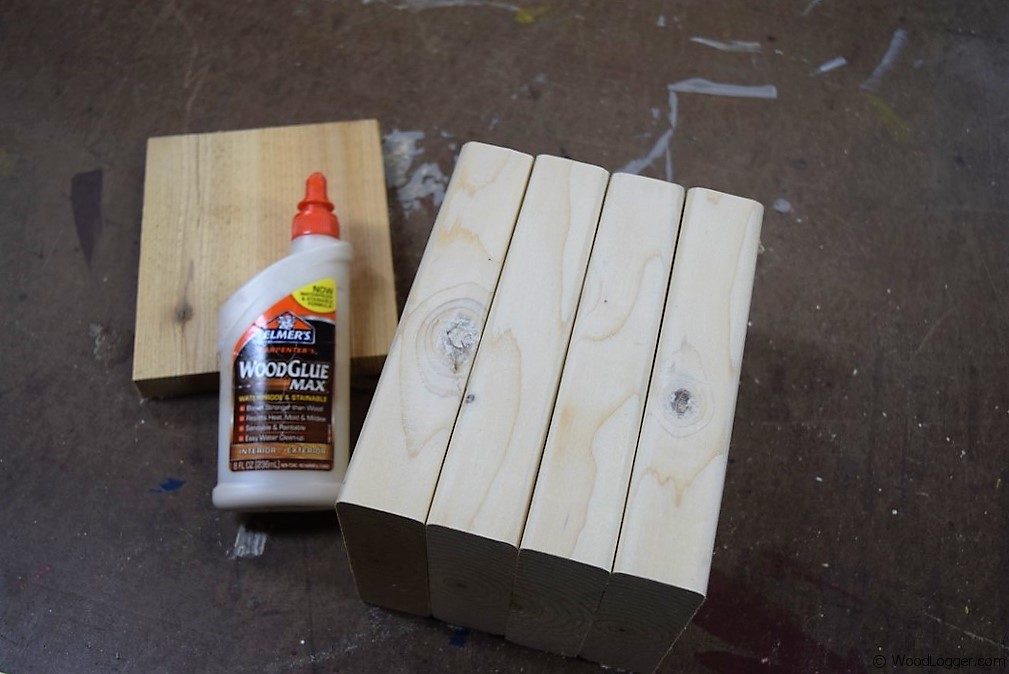 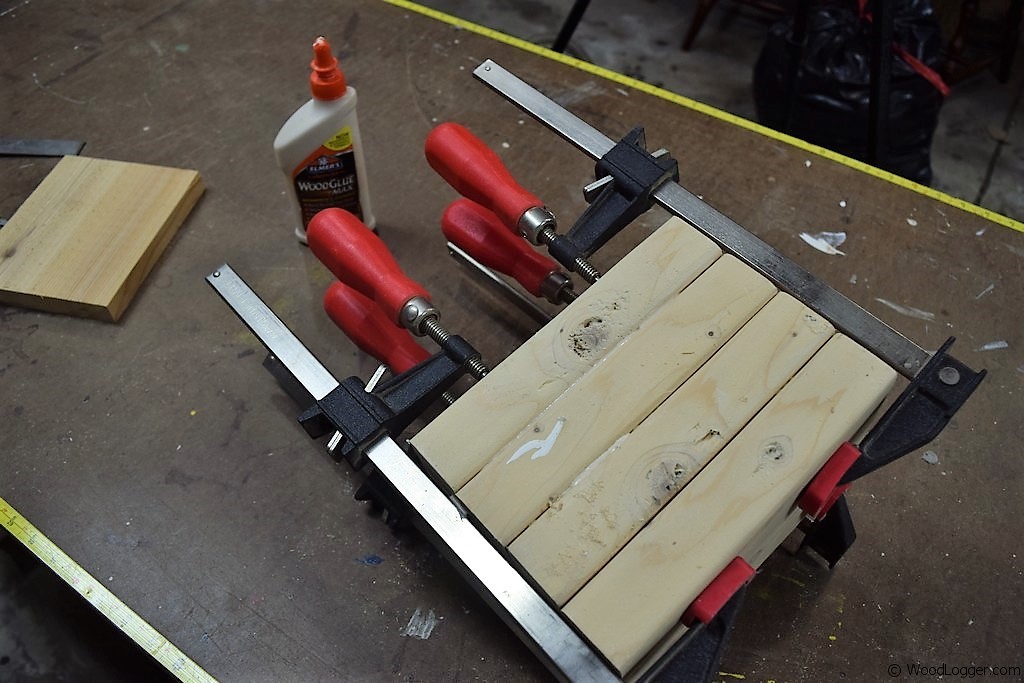 |
Next up, I glued the four boards using an exterior rated glue. I used clamps to hold in it place until it was dry. |
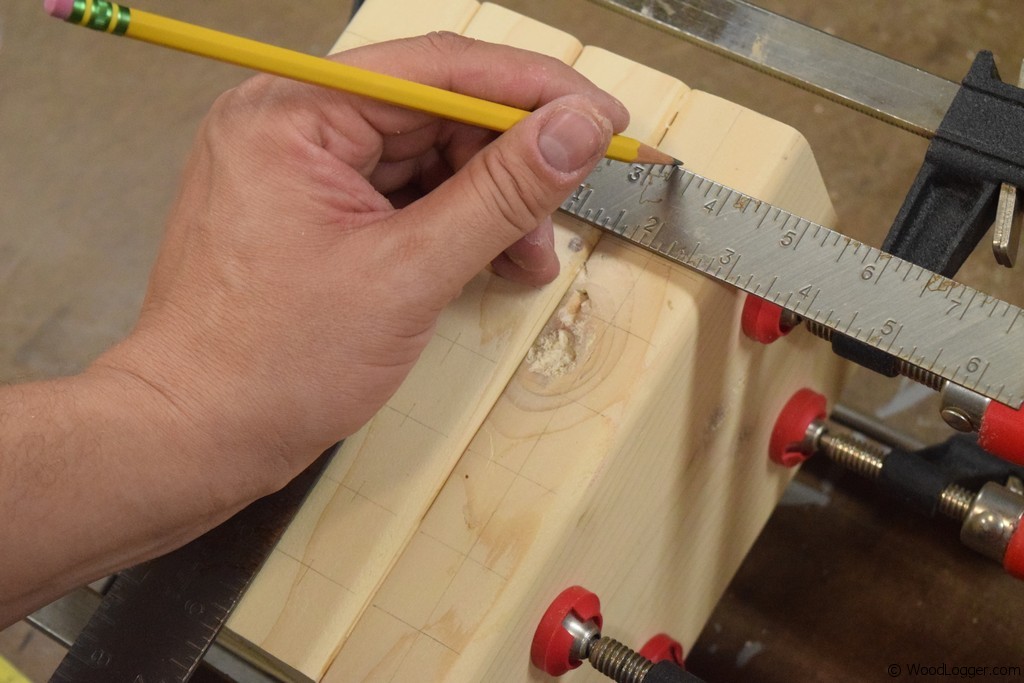 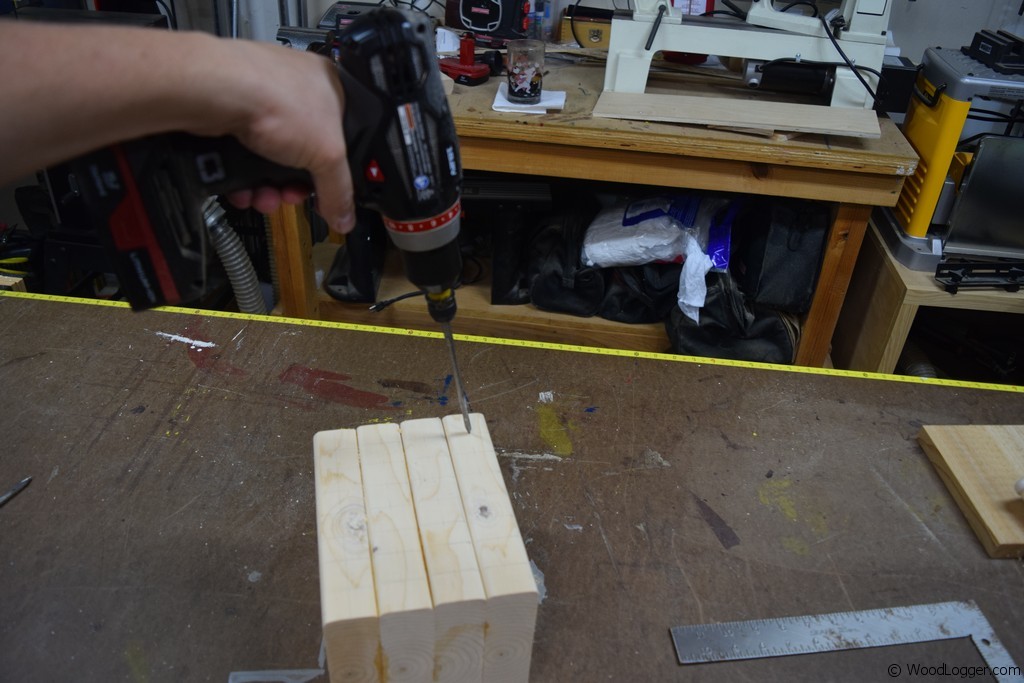 |
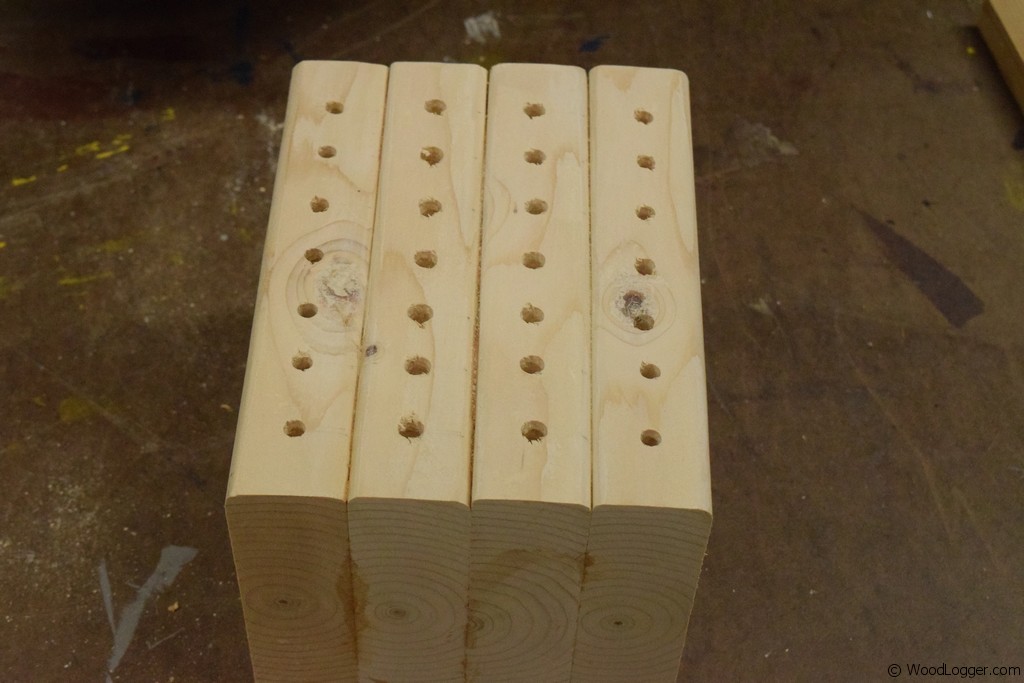
Before drilling holes into the boards I drew a grid across all of the boards so that I could space out the holes one inch apart. Solitary bees like different size holes depending on the species. To accommodate this I drilled two different size holes. I used 1/4″ and 5/16″ spade bits and staggered them across my boards. |
 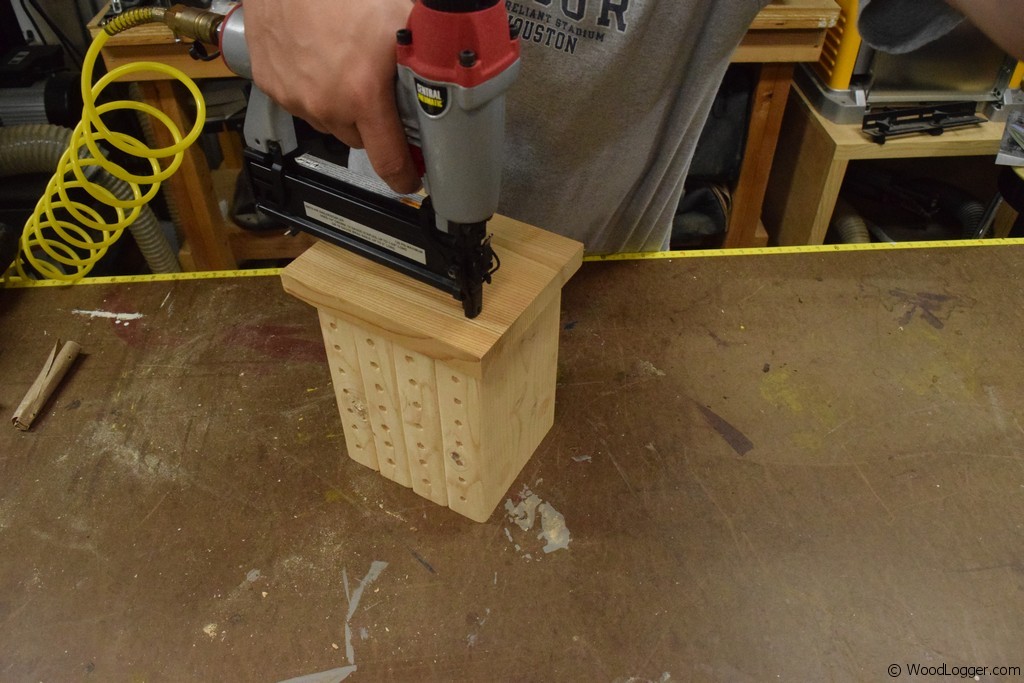 |
Next up I attached the roof to the house using brad nails. The roof is for aesthetics and also helps protect the house from the elements. |
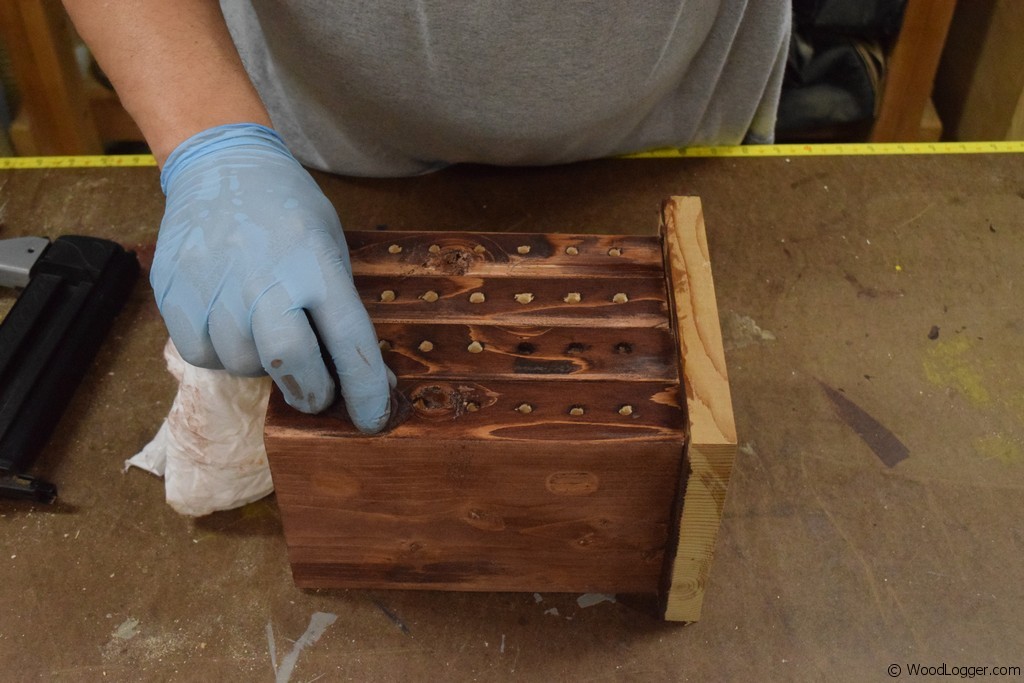 |
I decided to stain my house and seal it. This is an optional step, but sealing it will help the house hold up longer. |