

If you make one of these be sure to post a picture of it over on the WoodLogger Facebook Page. I’d love to see how yours turns out.
Material List
- (1) 1″ x 4′ x 4′ Oak Plywood
- (1) 1″ 8″ x 4′ Oak
Cut List
- (2) Sides – 3/4 x 15-3/4″ (front to back length) x 14″ (top to bottom length)
- (4) Stretchers – 3/4 x 2 x 14″
- (1) Top Step – 3/4 x 9-1/4 x 17″
- (1) Bottom Step – 3/4 x 7-1/2 x 17″
Milling & Assembly
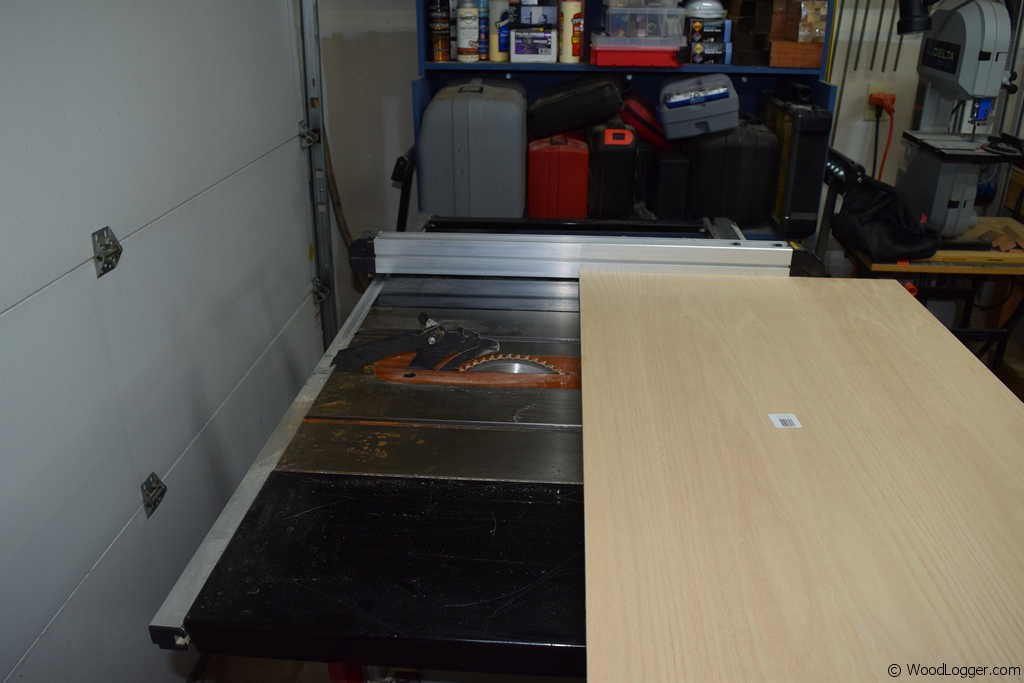 |
To get started making my step stool; I cut the sides and stretchers out of plywood. The top and bottom step were made from 3/4″ thick oak. |
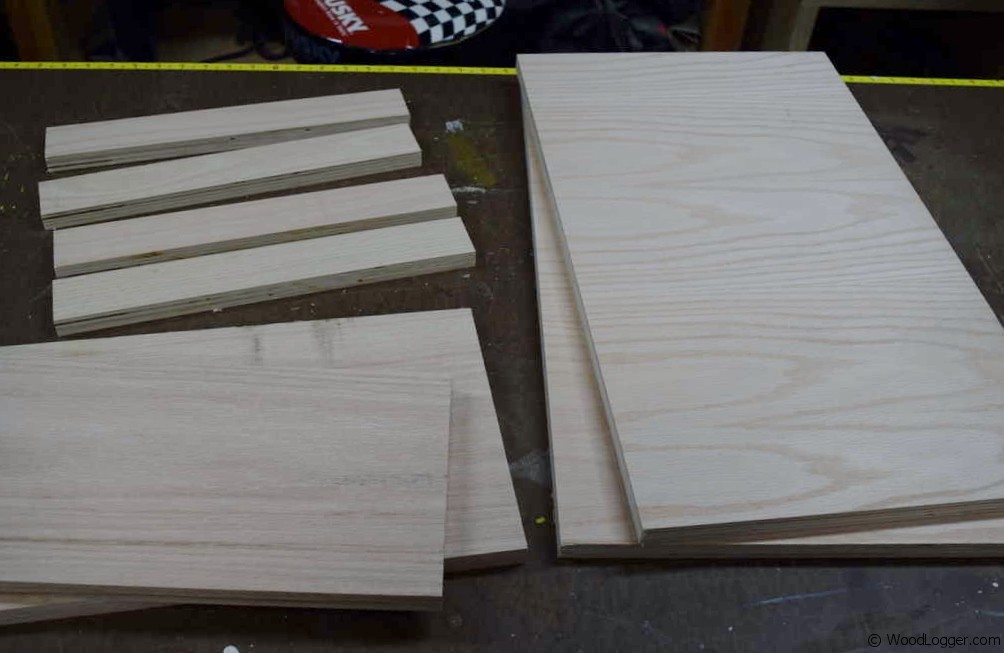 |
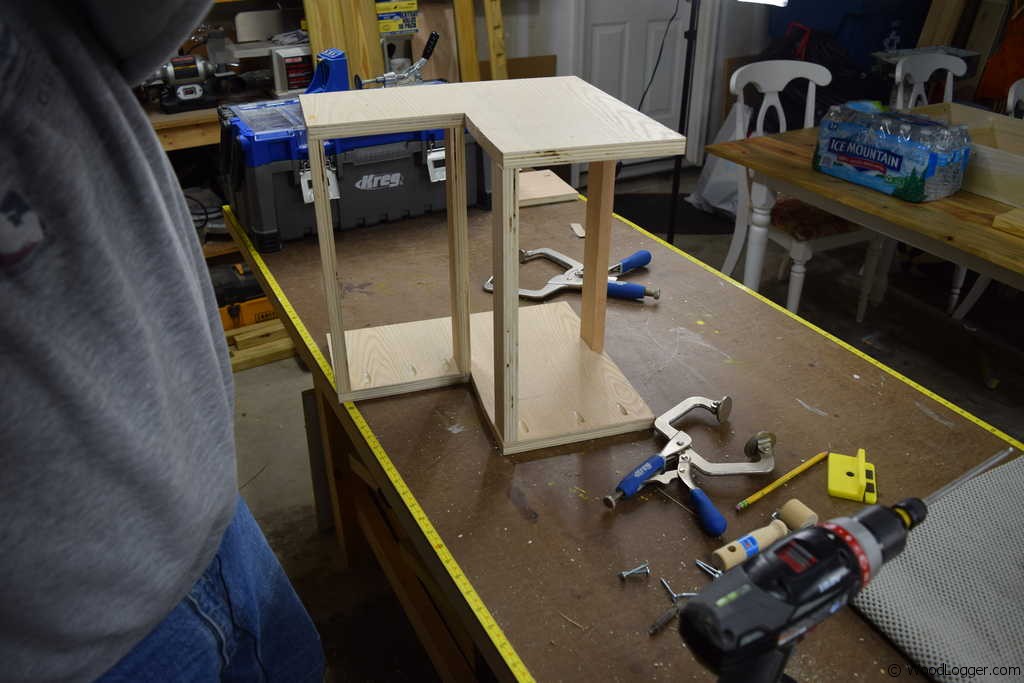
This step stool is really basic. Only eight boards are required. (2) Sides (A notch is cut into the sides 7″ deep and 7″ from the top, I used my scroll saw to do this) (2) Steps (4) Stretchers |
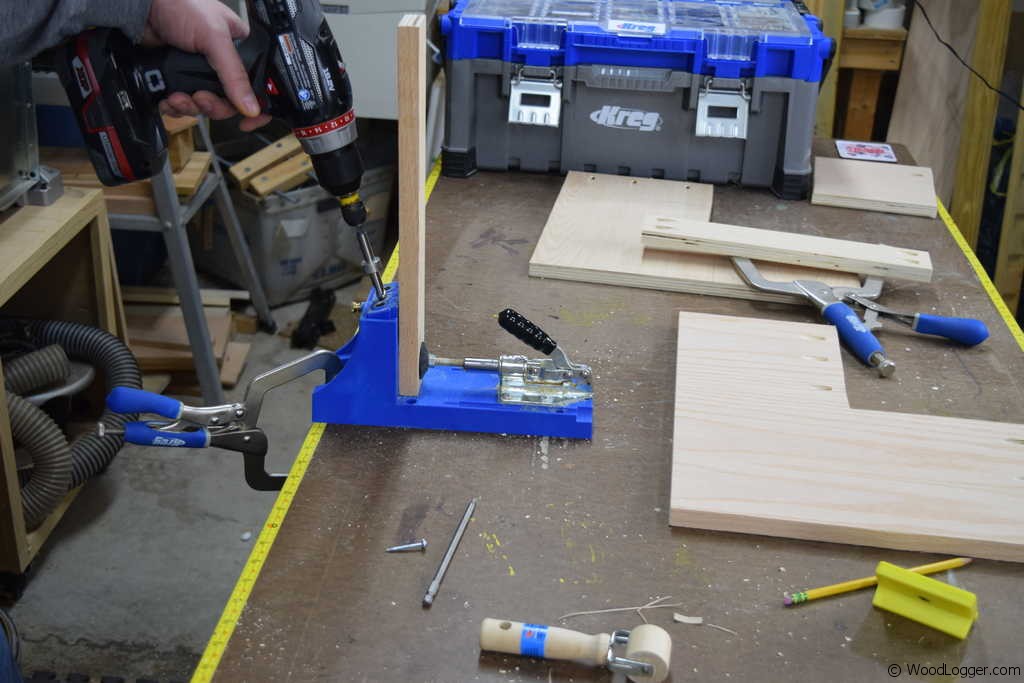 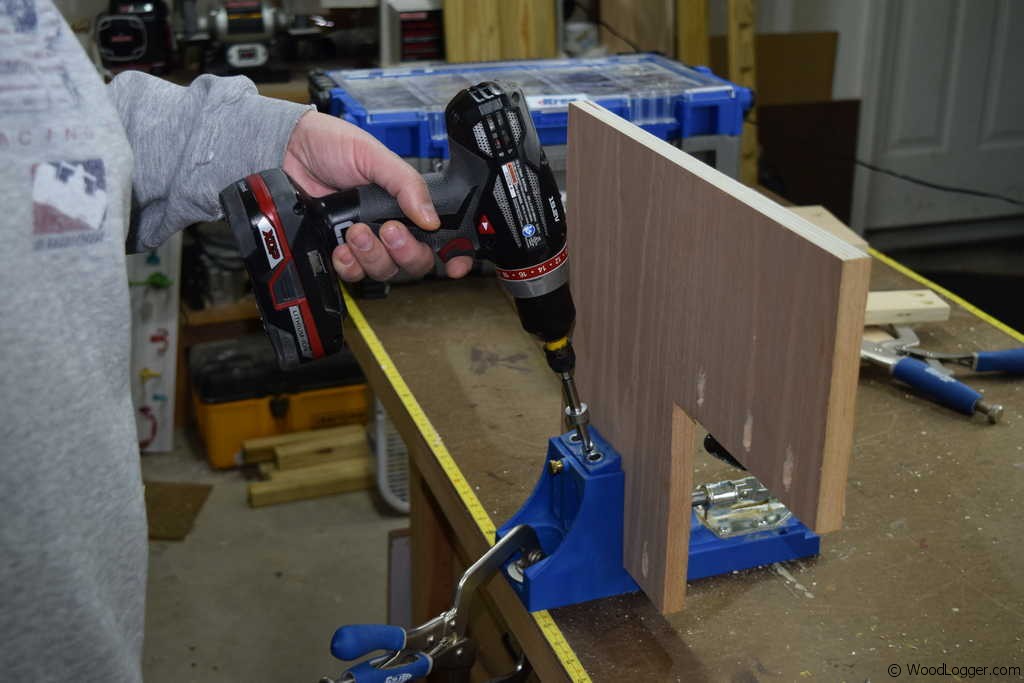 |
To get started I drilled pocket holes into the sides for the steps to be attached. I also drilled pocket holes into the ends of the stretchers. |
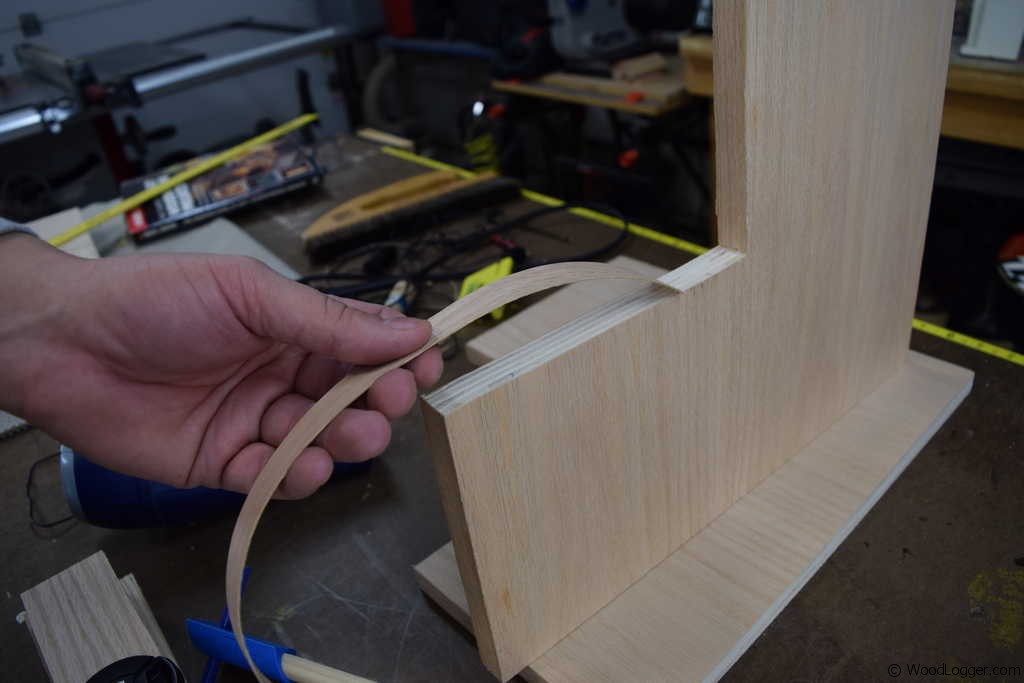 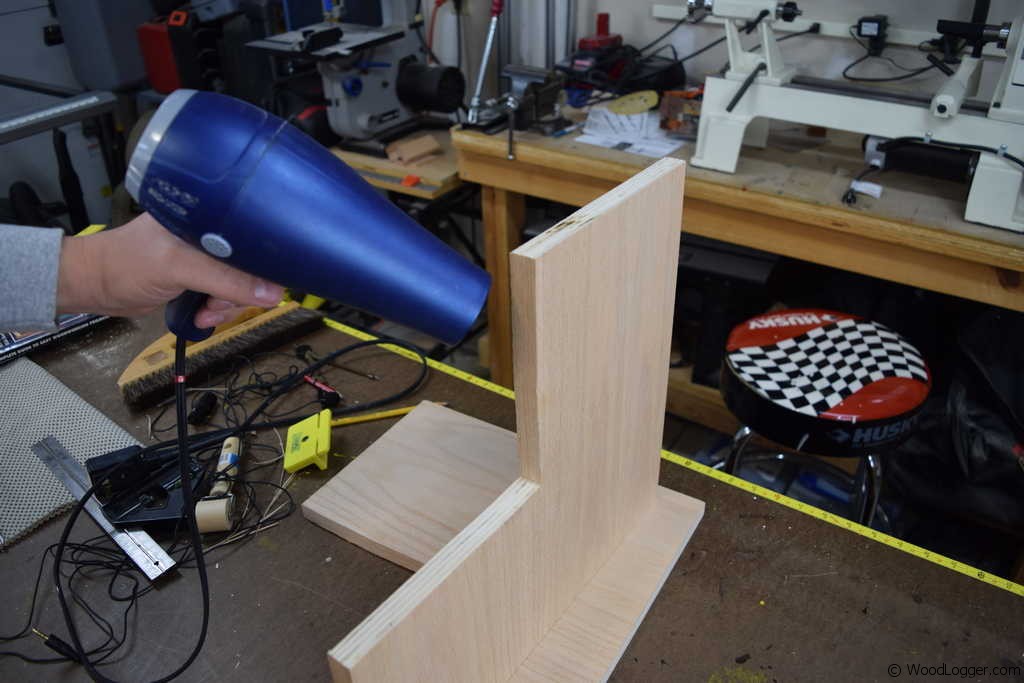 |
After I had my pocket holes drilled; I used Oak edge banding on all the exposed plywood sides. Edge banding comes veneered in many wood types. They have glue on one side that is activated by applying heat to one side. Edge veneer is easy to apply and any excess can be trimmed off. Edge veneer can be stained and improves the look of any exposed plywood sides. |
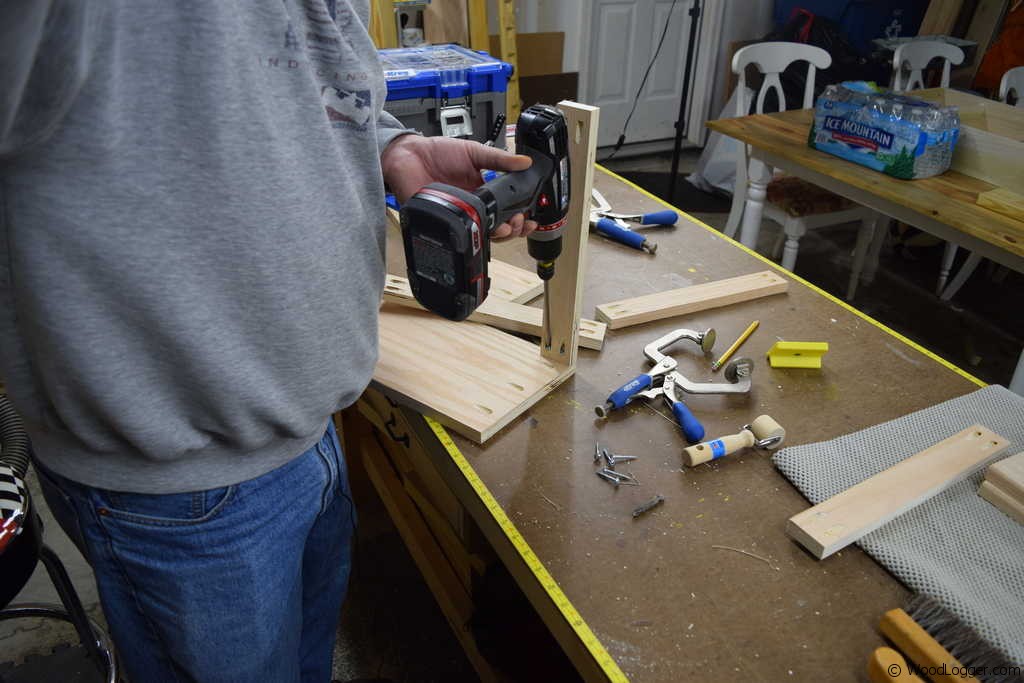 |
For the assembly I used 1-1/4″ pocket hole screws. The entire can be assembled in just minutes using pocket holes. |
 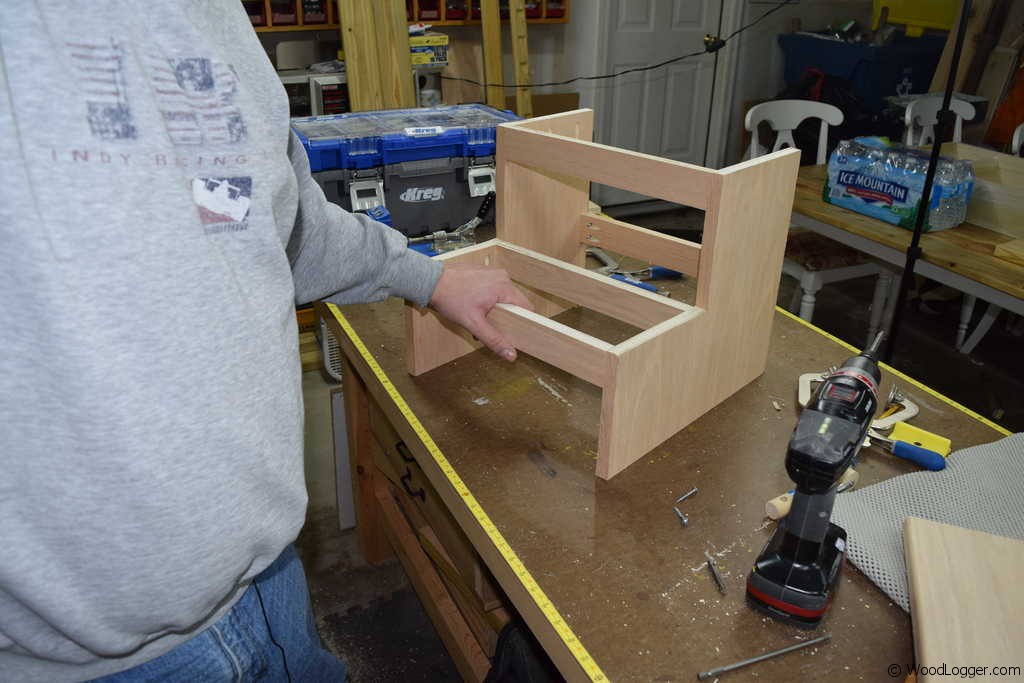 |
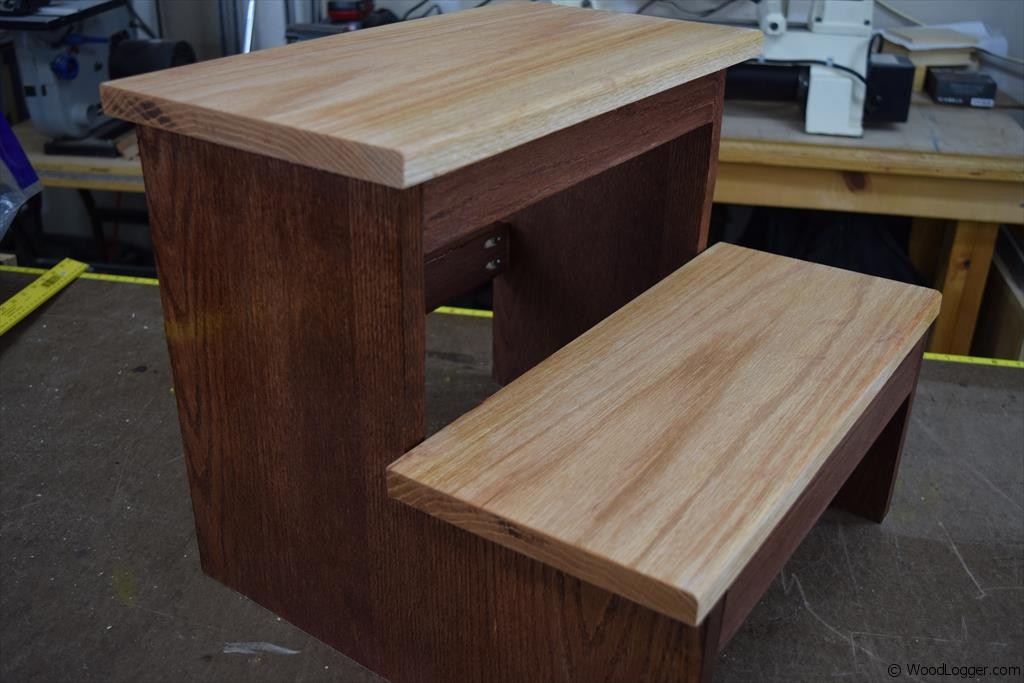
Here is a view of the step stool from the side and front. Assembly is made much easier using pocket holes, but it could easily be assembled by simply drilling screws into the sides and into the stretchers. |
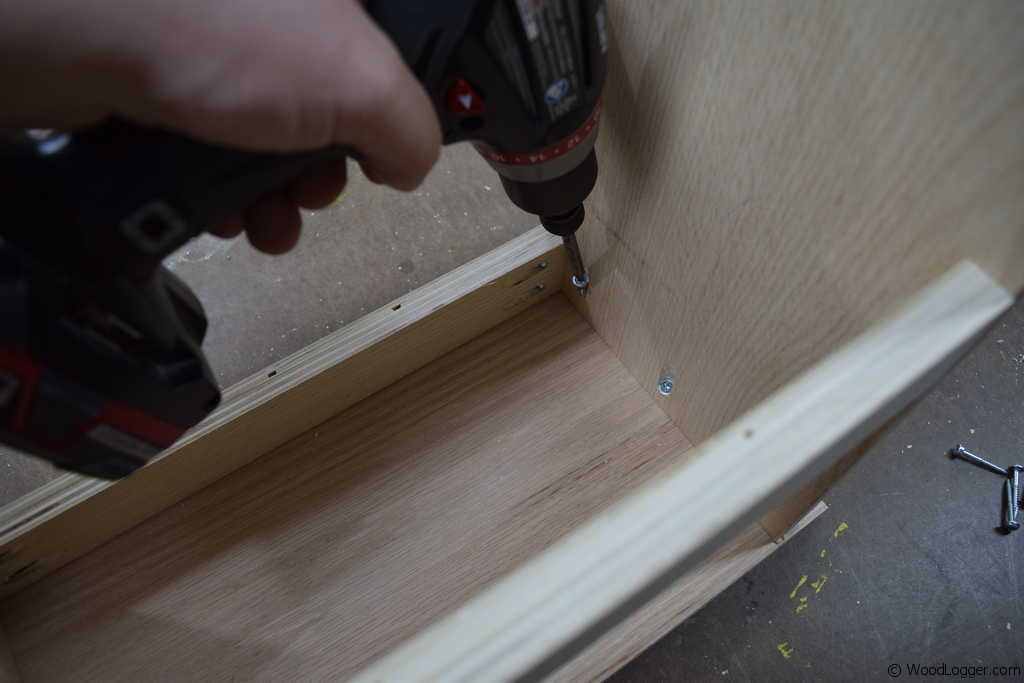 |
For the steps I used 1-1/4″ pocket hole screws to secure the steps. |
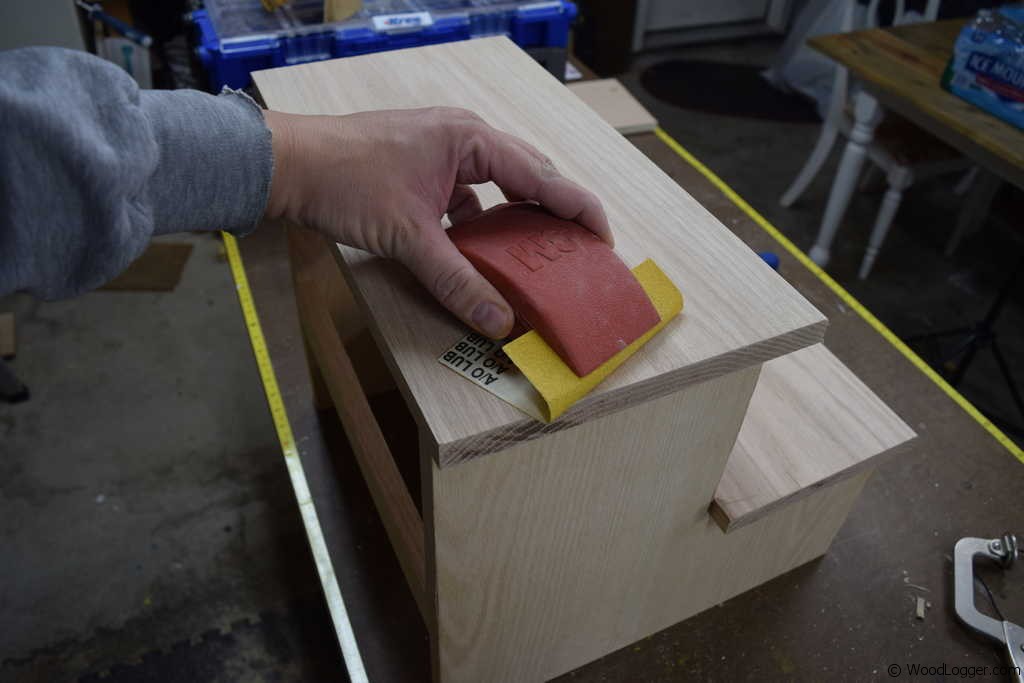 |
I sanded the project by hand using various grits till I got to a 180 grit sand paper. |
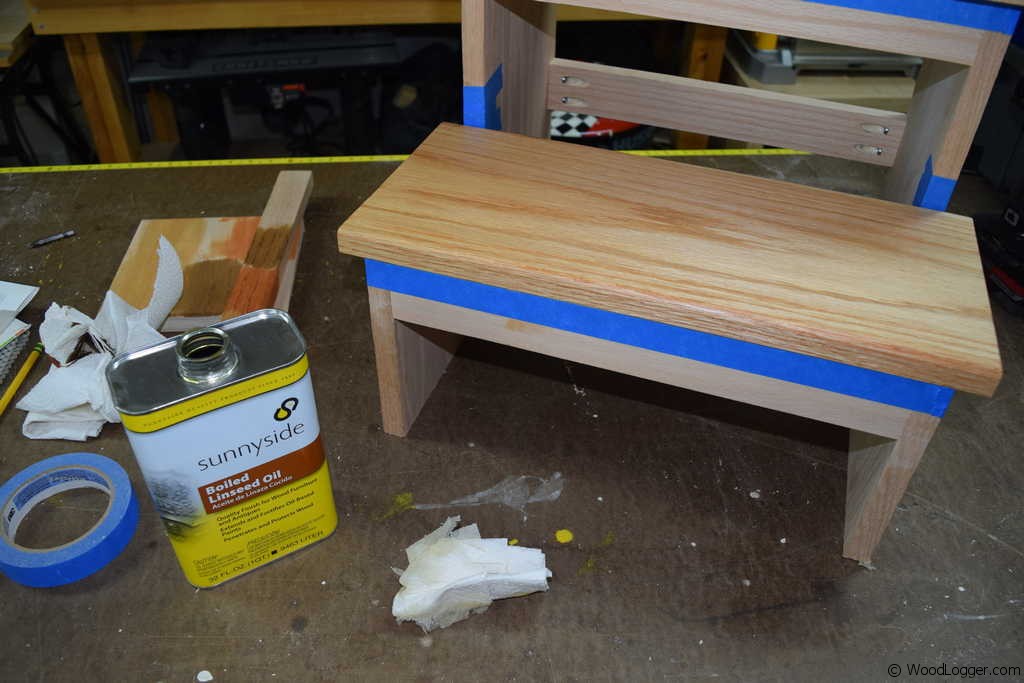 |
For the finish I applied 2 coats of a boiled linseed oil for the steps. Use more coats to make the color richer and darker. |
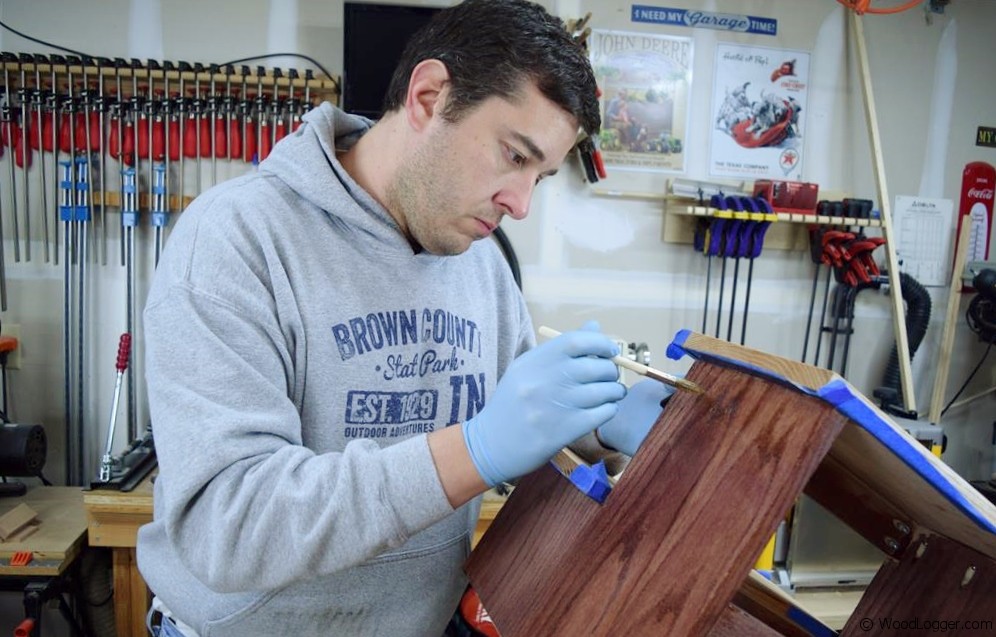 |
For the sides I used a red mahogany stain, and then applied a coats of a poly urethane to protect it. |
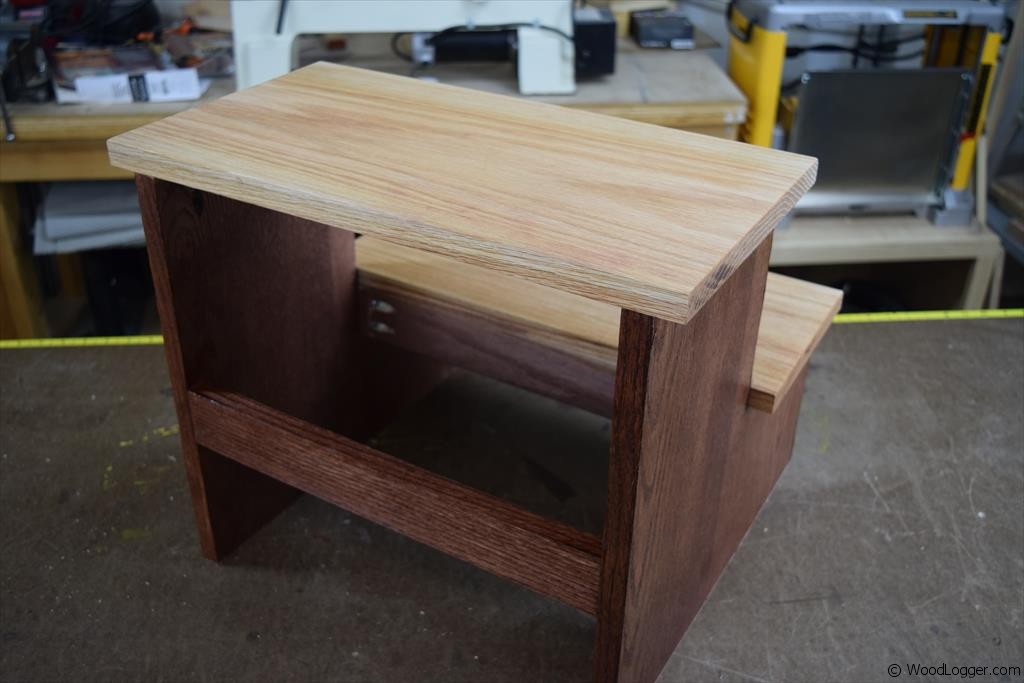 |
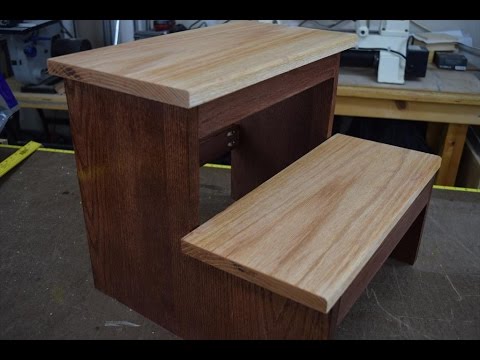
The end product turned out great. This was an easy and fun project to make and can be made in a just a few hours. |
Items Used to Finish this
