

If you make one of these be sure to post a picture of it over on the WoodLogger Facebook Page. I’d love to see how yours turns out.
Material List
- (1) Key Ring Pocket Knife Kit
- (1) Acrylic or wood blank at least 7/8″ square and 3″ long.
Milling & Assembly
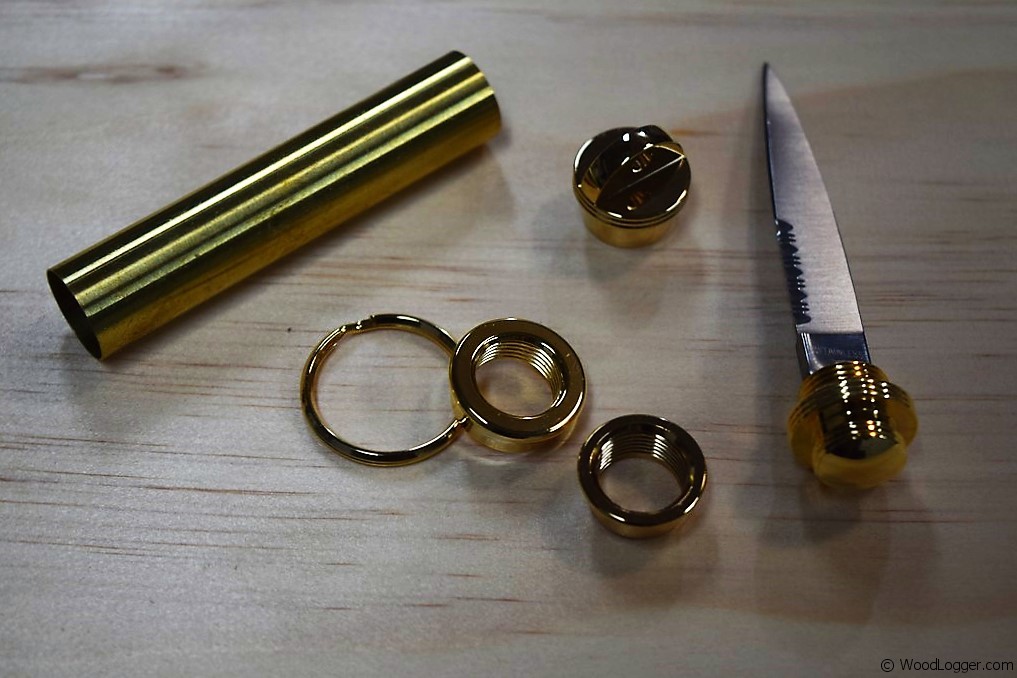 |
I purchased this pocket knife kit from Rockler. It’s available online or if your lucky like me you have a rockler retail store near you. |
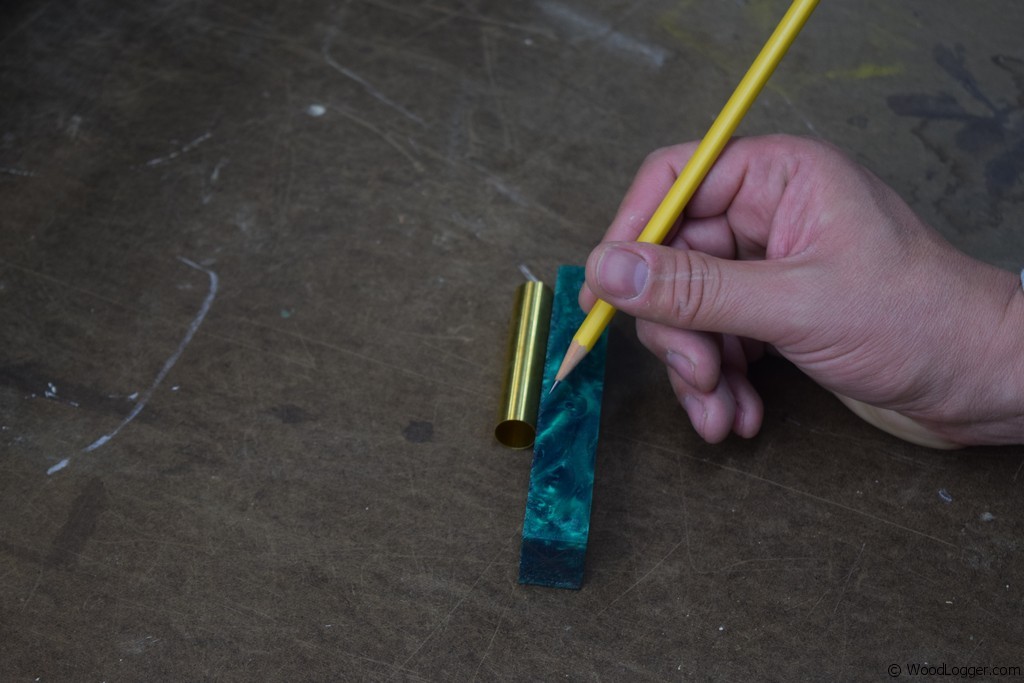 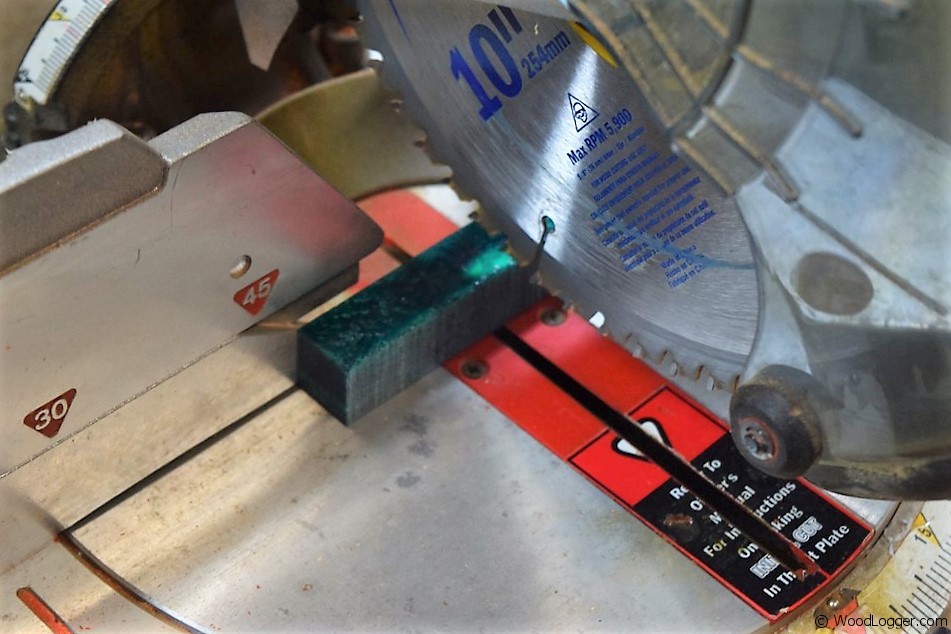 |
To get started with the pocket knife key ring I struck a line about 1/16″ to 1/8″ longer than the length of the included brass tube. I then used a miter saw to cut the acrylic blank to length. |
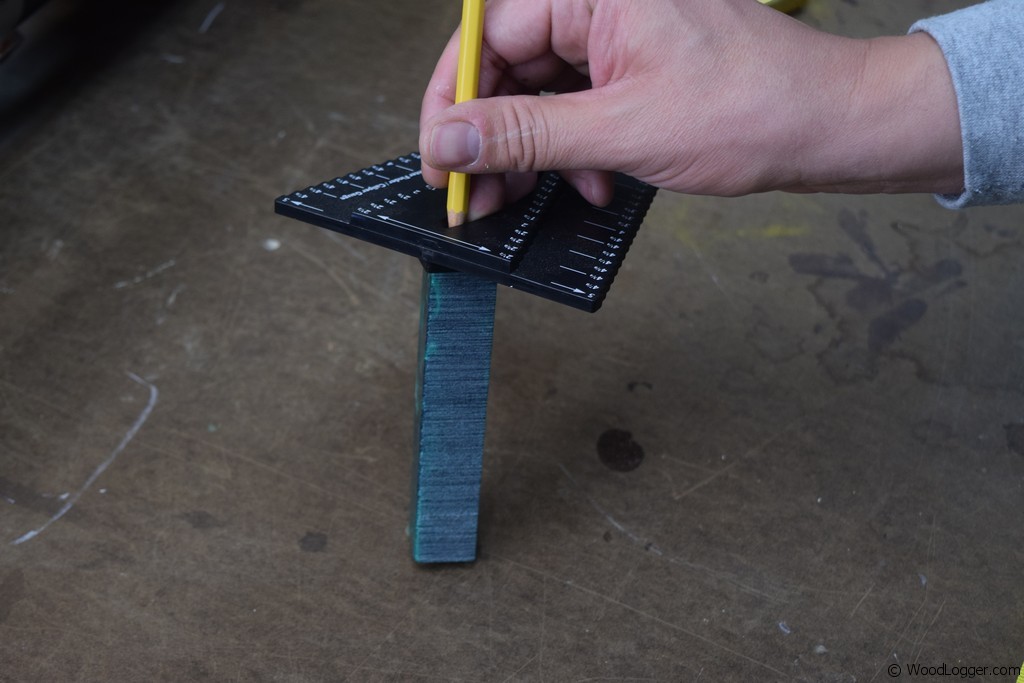 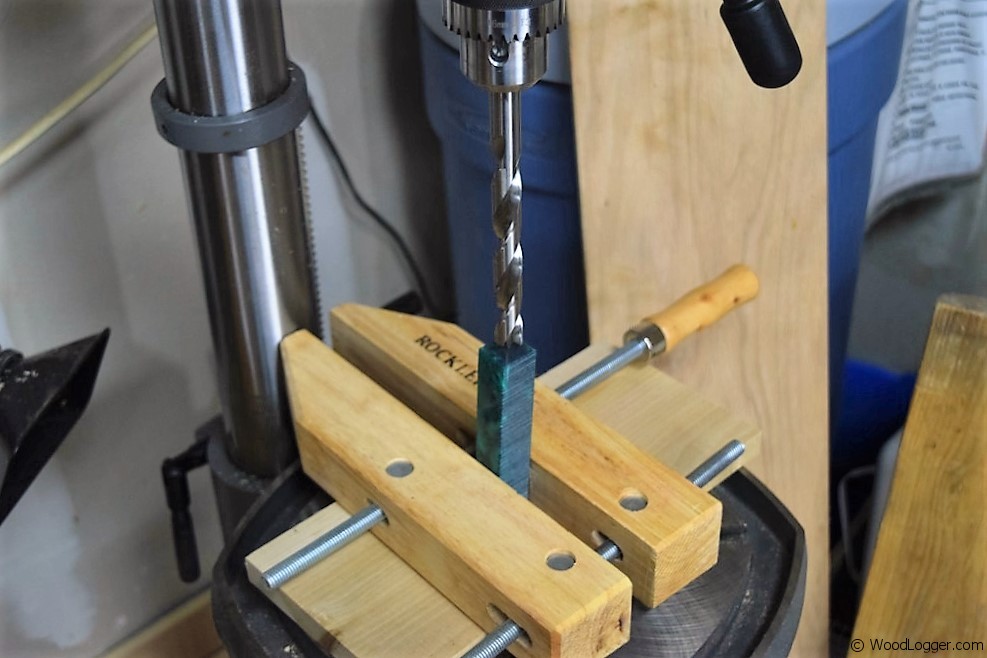 |
Next up I found the center of the acrylic blank on one end. I used a center finder(nice to have), but you can certainly just use a ruler. After that I drilled out the center using a 19/32″ drill bit. This is a large drill bit so you’ll want to take this slow to avoid a blow out. In fact some people like to pre-drill with a smaller bit first clearing out waste, and then working up to a larger bit. |
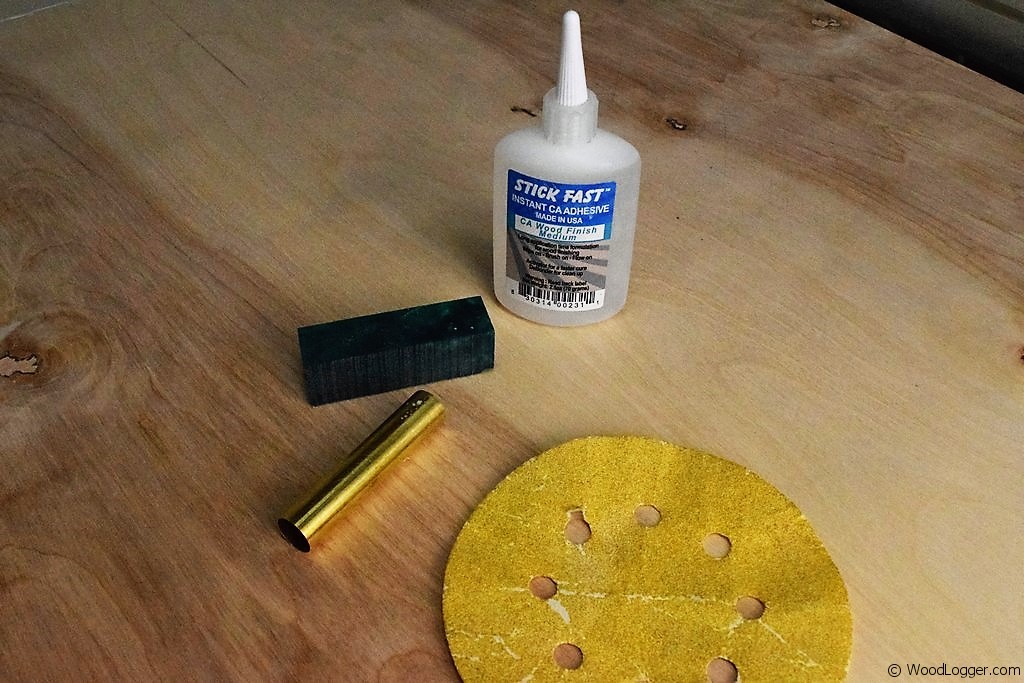 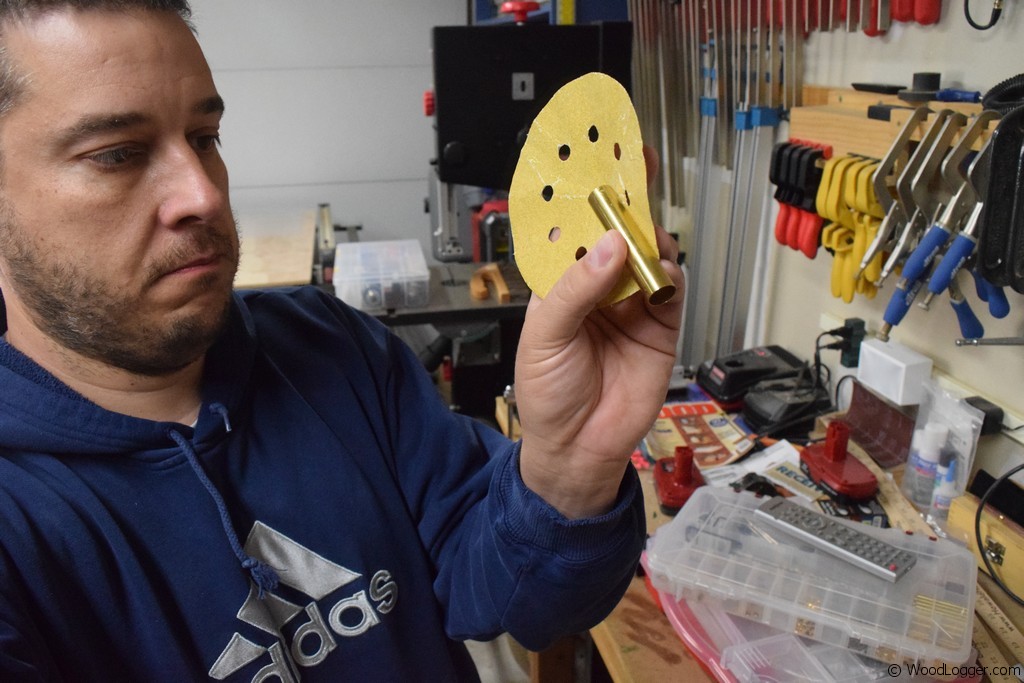 |
After the blank is all drilled out; the next thing is to work on the brass tube that will be inserted into the key ring pocket knife. To get the brass tube ready, first use some sand paper to mar up the smooth brass. This will help give the glue something to grab onto. After that I used a medium CA glue and applied it all over the tube. Be careful as you don’t want to get any glue on the inside of the tube. |
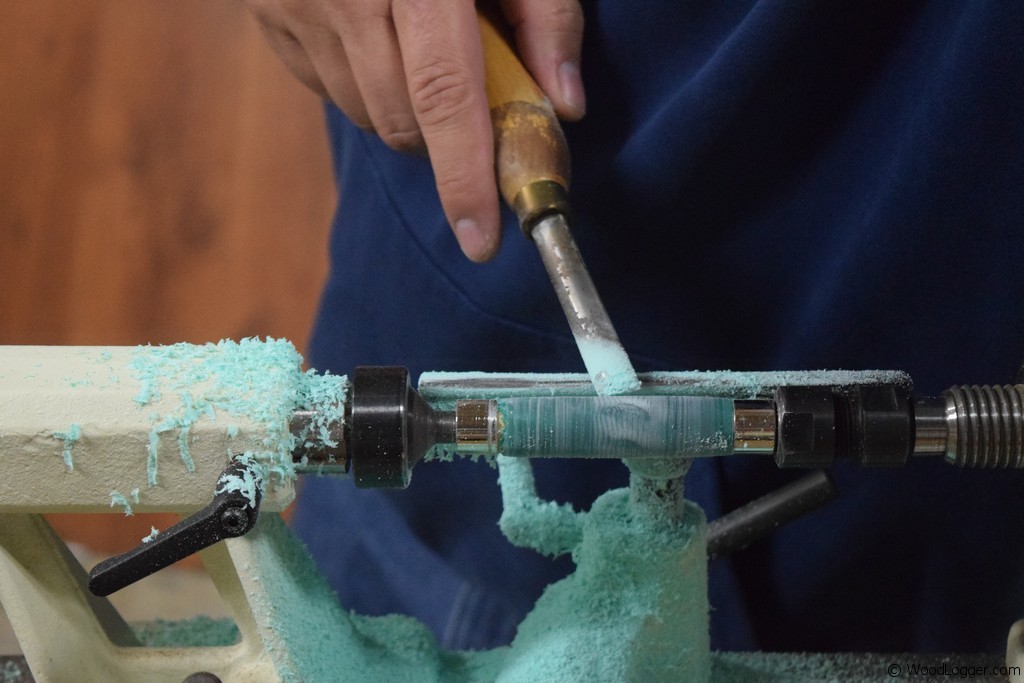 |
After the glue has dried, insert the blank using the bushings designed for this kit onto the mandrel. As the blank is fairly large there isn’t a lot of turning required on this one. I like to start with a bowl gauge until the rough edges are gone and then move to a skew. |
  |
To finish off the blank I first worked my way through a set of micro mesh sanding pads, and then used a buffer to make it smooth as glass.
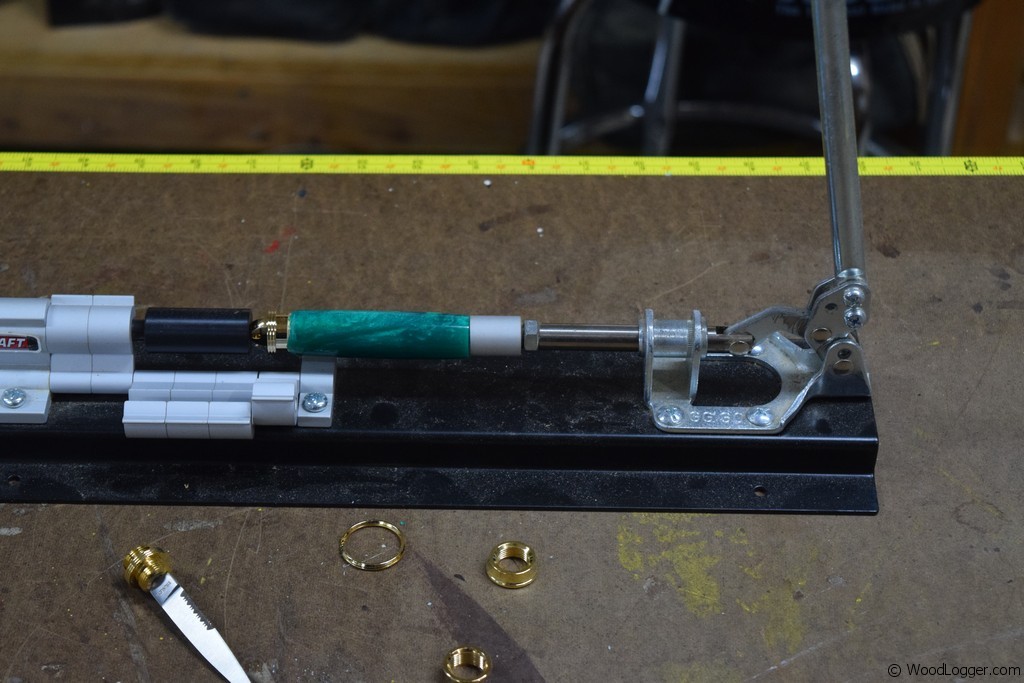
The last step for this is to insert the caps into each end. I used a pen press to help with mine. If you’re going to get serious about turning pens or working on kit projects like this, then a pen press is an essential part of this. I really like the minecraft pen press kit show in the picture. |
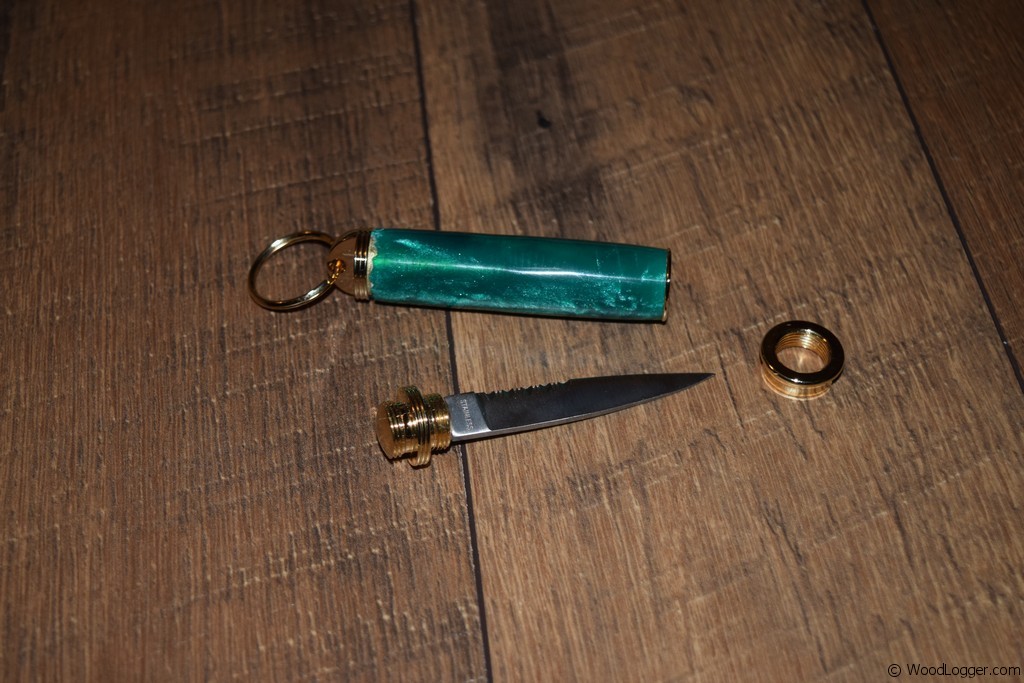 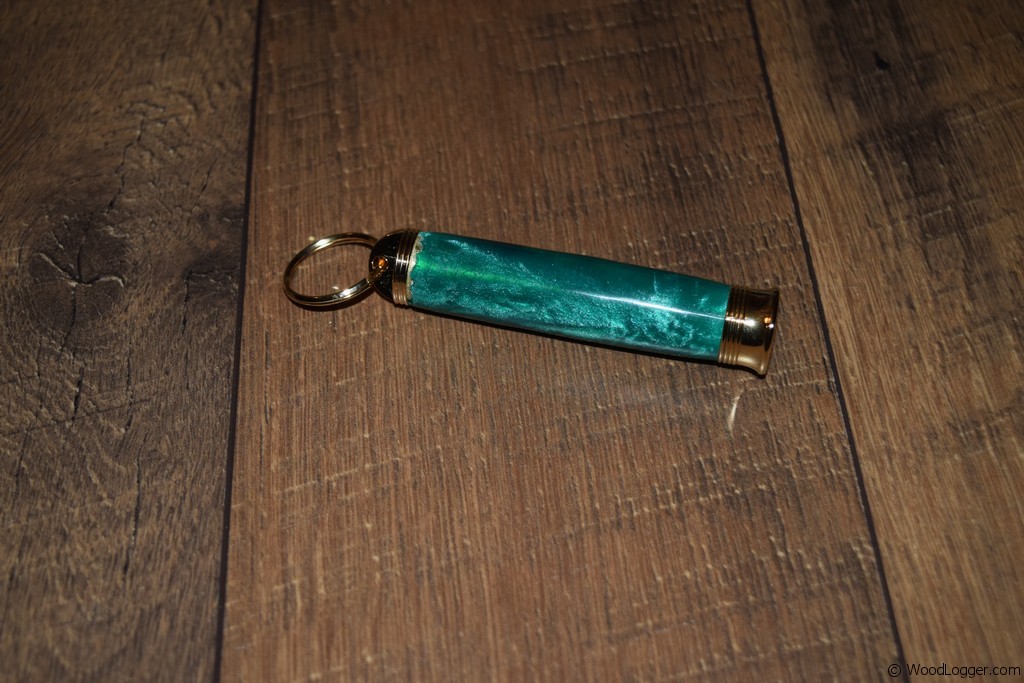 |
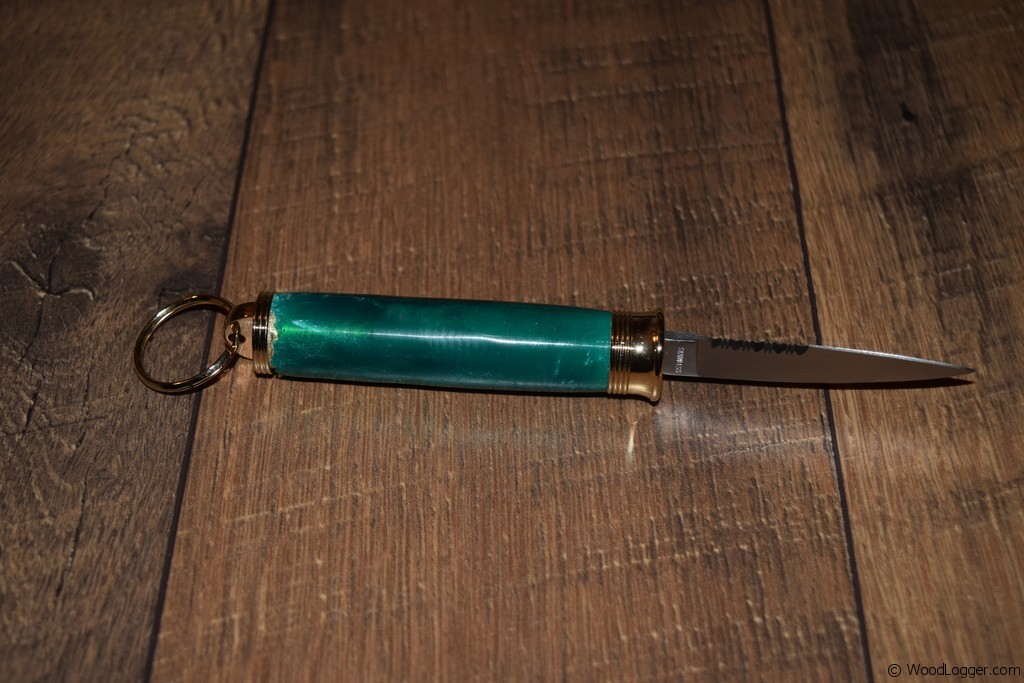
After everything is assembled there are three pieces (not including the key ring) that make up the kit. When your not using the knife it stows away very nicely and is protected inside the tube. |
Enter your email if you want a free subscription to this site(we’ll never share your email):