

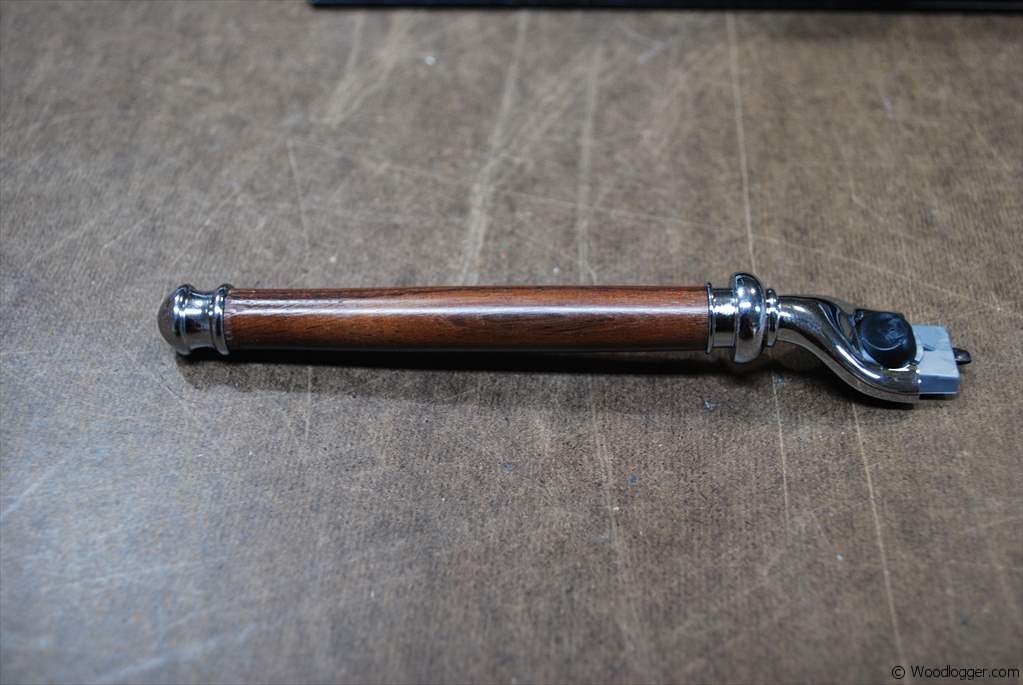
For this razor I chose to use blood wood for the handle. Hopefully not an ironic choice. The handle, and really the whole razor looks fantastic. Rockler also sells separately a nice chrome stand that goes with the razor. You may want to keep that mind if you want a stand to match your razor. Unfortunately they don’t have one in brass.
I put links at the bottom of this post where you can find some of the items I used to turn this.
For a little extra help with this project I also put together a video of how I made this below.

Materials & Hardware
- (1) Razor Handle Kit
- (1) Pen Blank
Milling & Assembly
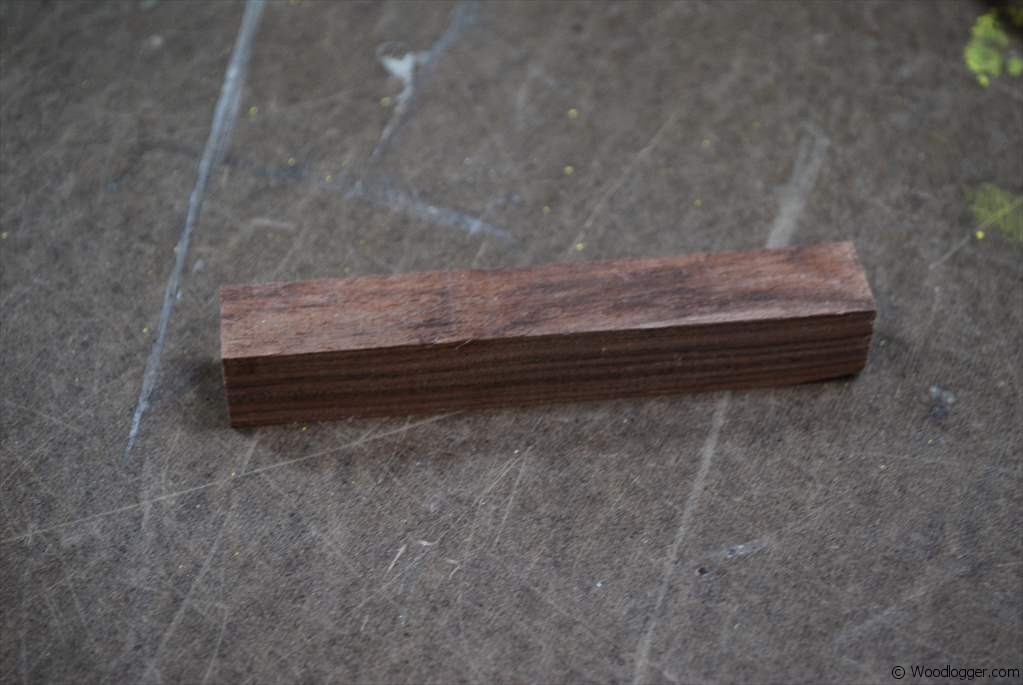 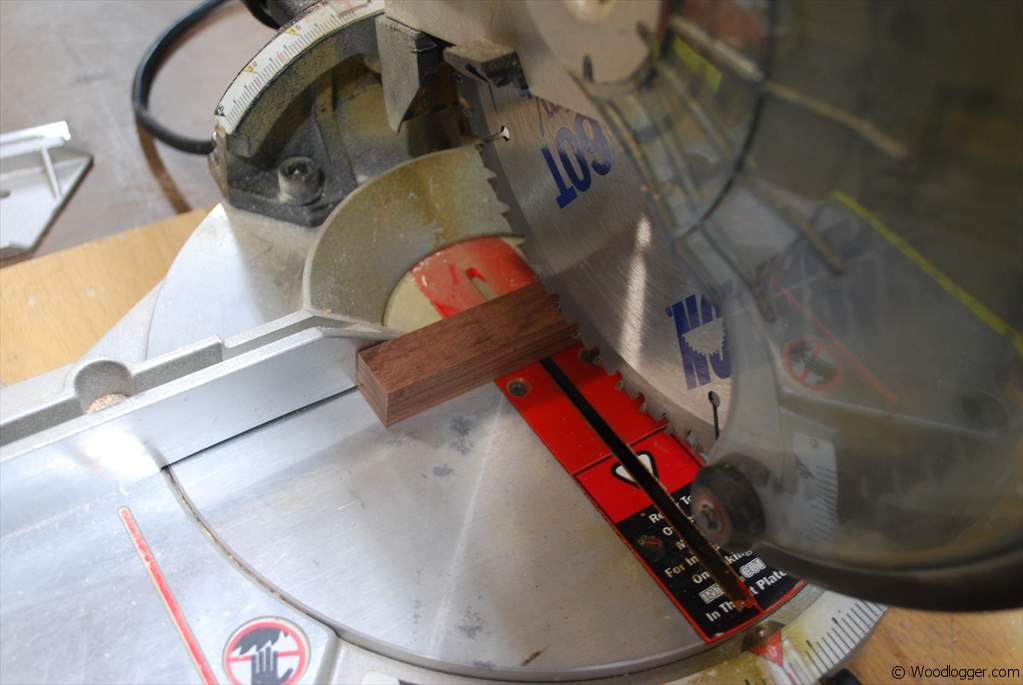 |
For this project I chose a blood wood blank. The brass insert uses a 3″ tube. I cut mine down to size using my miter saw. I cut it to a length of 3 – 1/8″ |
 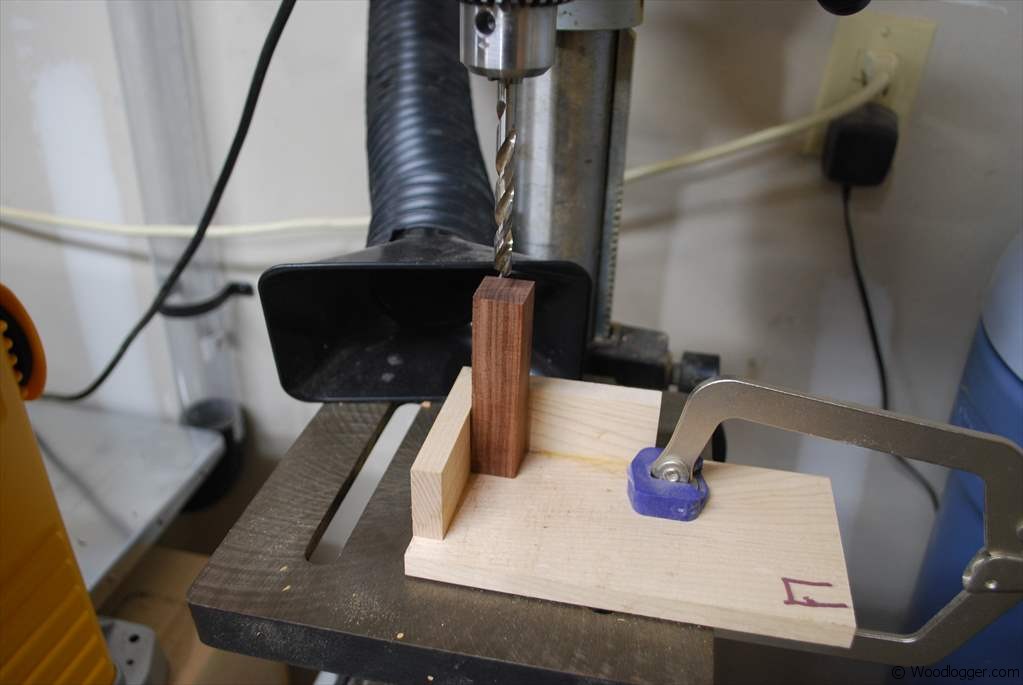 |
After getting my blank to the right size I marked the center on the blank. Then I drilled a hole using a 7mm drill bit. |
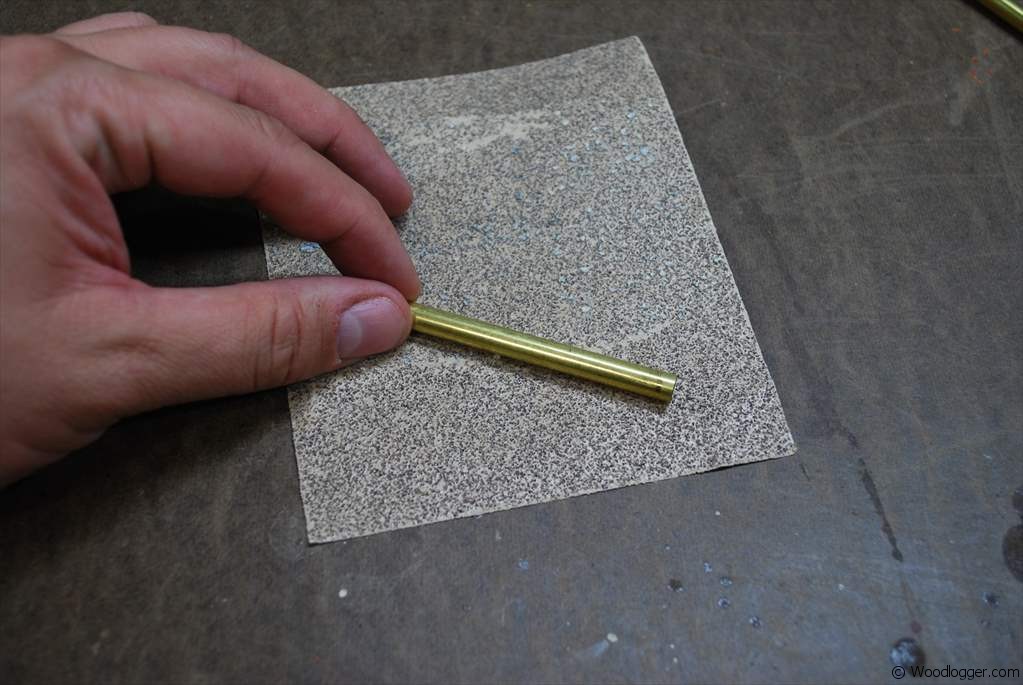 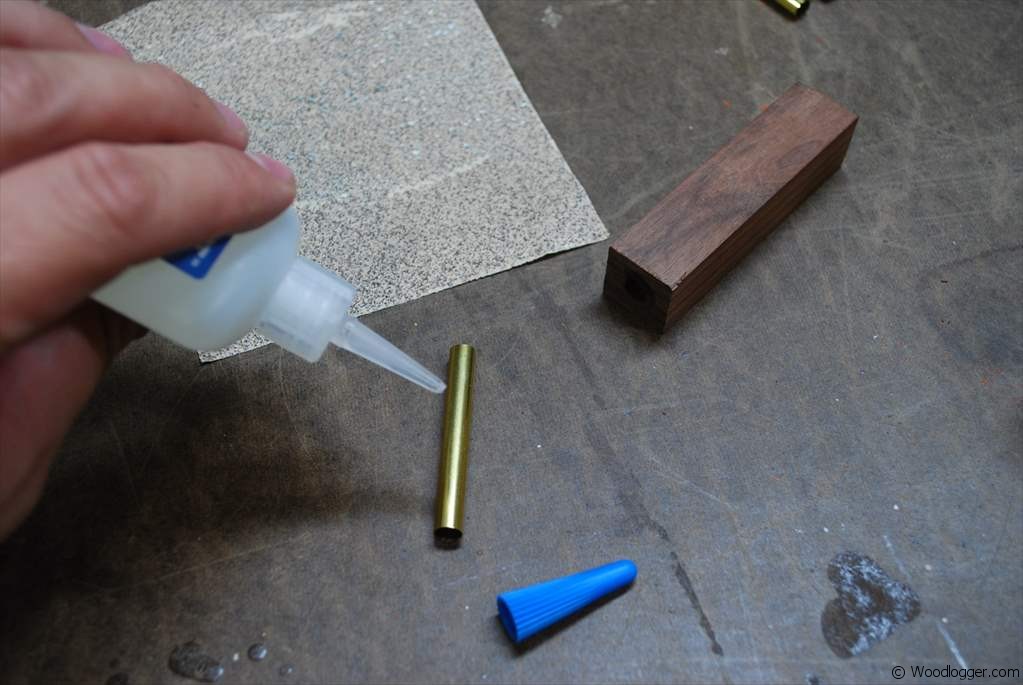 |
I scratched up the razor blank with a 60 grit sand paper. This is done to help the glue have something to grab onto. I use fast drying CA glue for my blanks. It really lives up to its name, you’ll need to work fast. |
 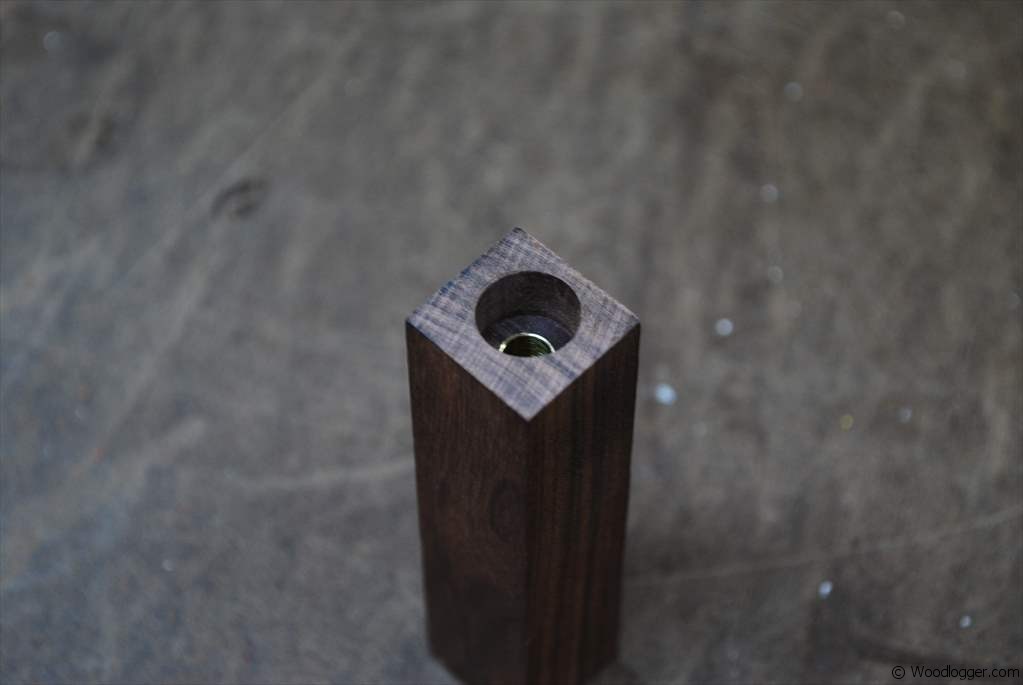 |
After the glue has dried in my blank, I used a barrel trimmer bit to trim up its ends. I drilled the wood down till it is basically even with the brass tube. |
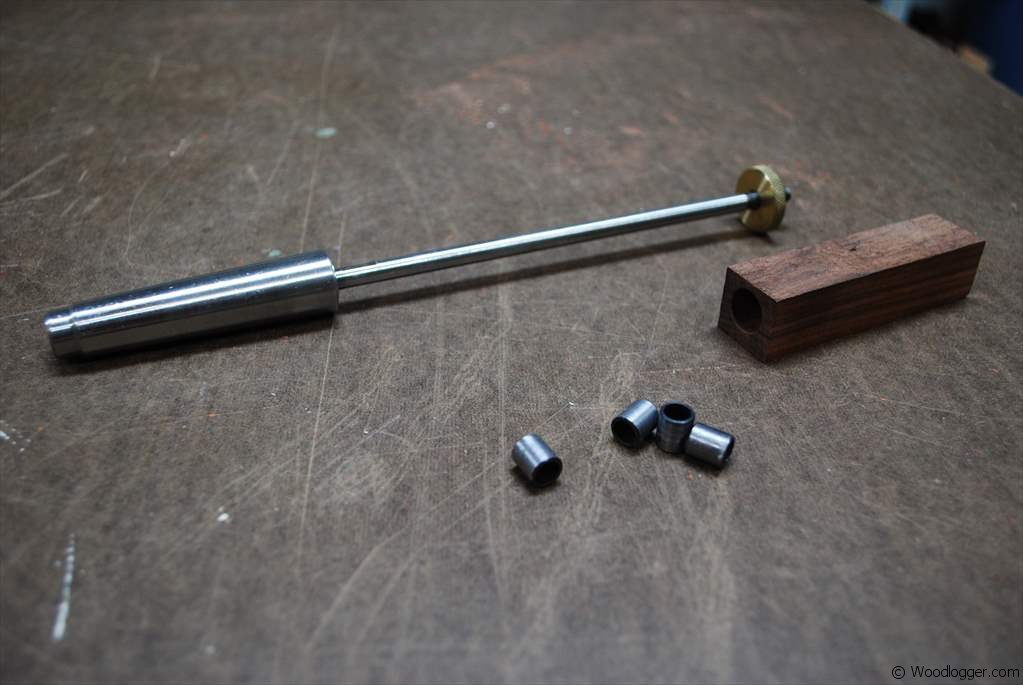 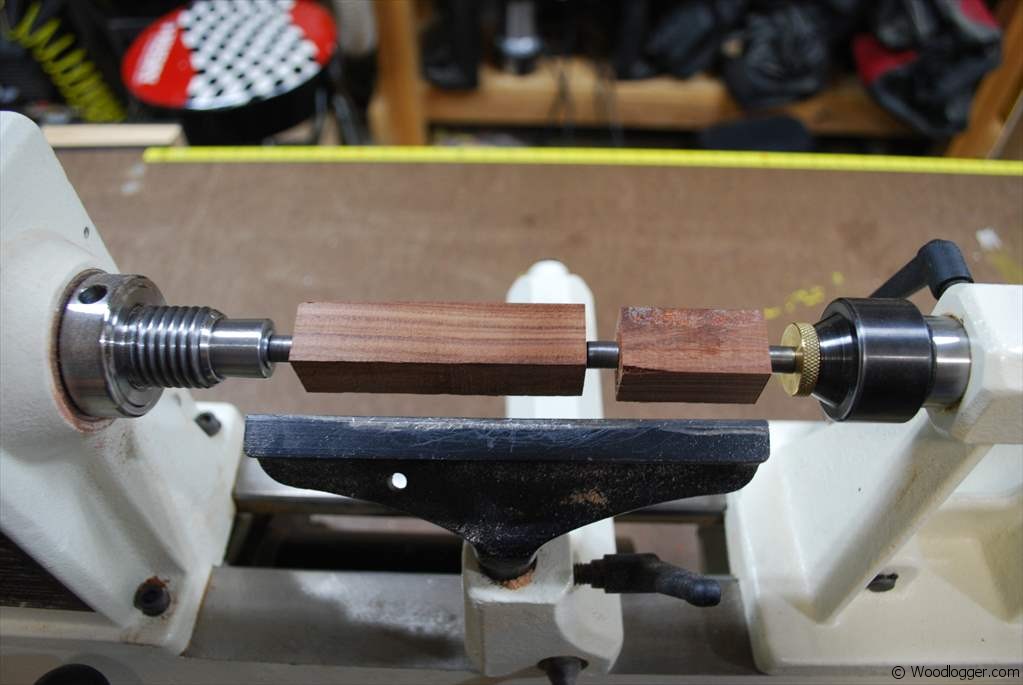  |
For turning the blank I used a #2 mandrel and razor kit bushing set. I also kept the other half of my razor blank(the scrap) to help with loading the mandrel. I turned the wood primarily using a bowl gauge and skew. Blood wood is a great wood for turning. |
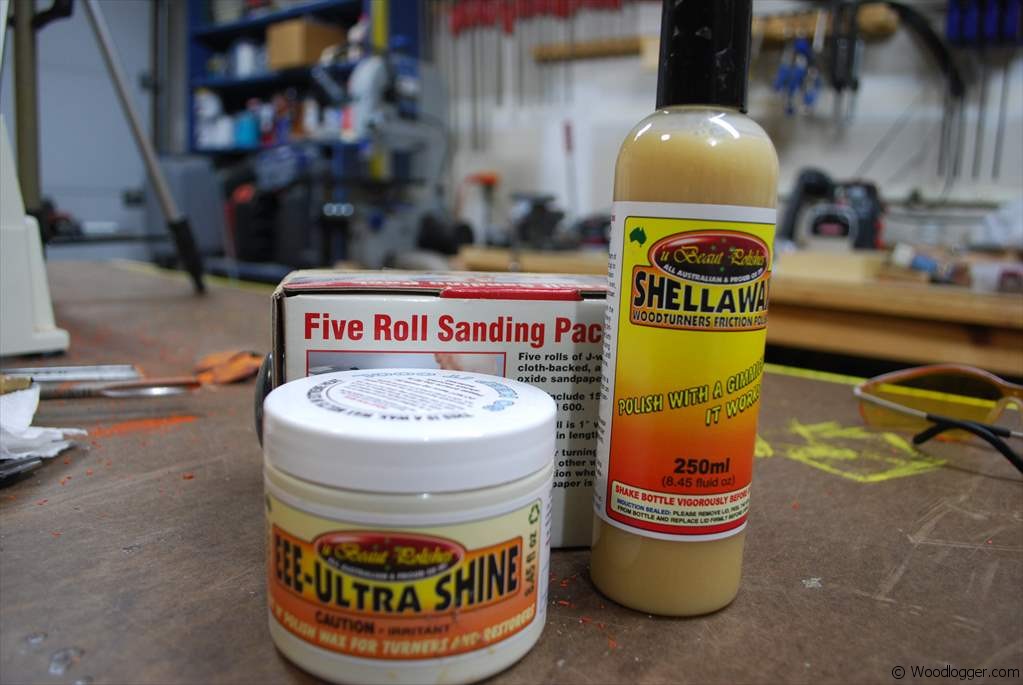 |
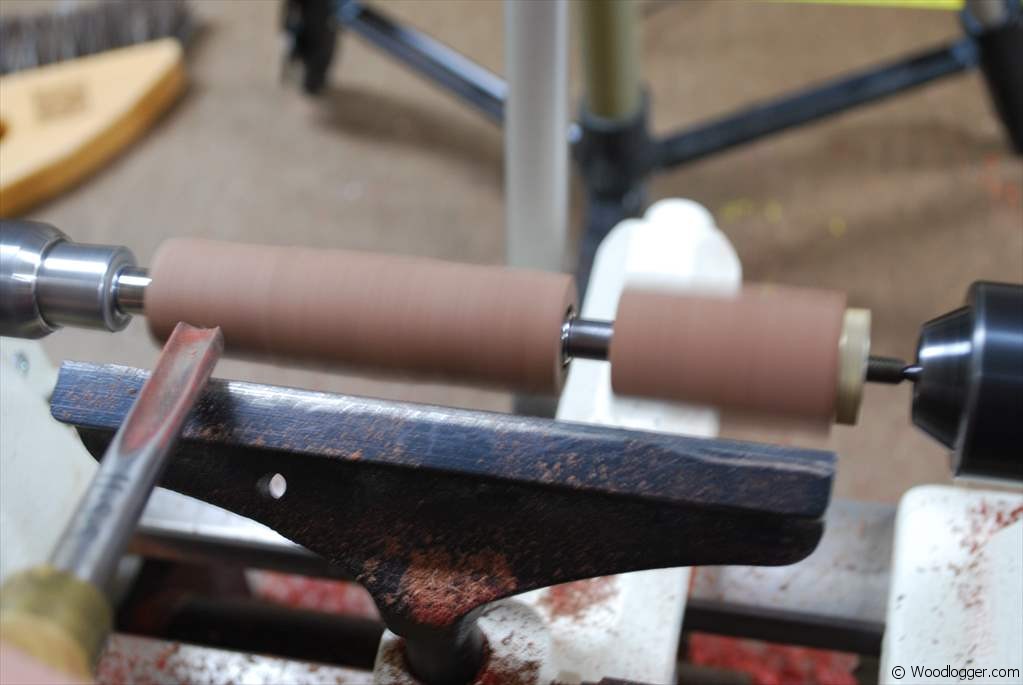
After turning was finished, I sanded down the handle starting with a 150 grit paper and eventually ending with a 600 grit paper. I then applied a few coats of EEE-Ultra Shine and then finally sealed it all up with a coat of ShellaWax. |
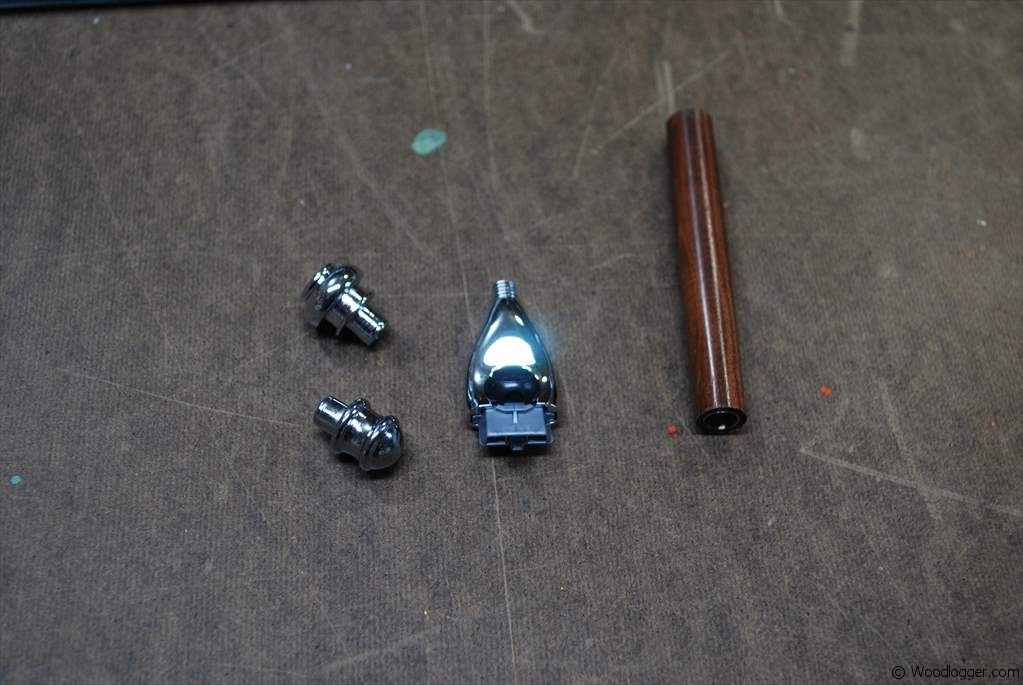 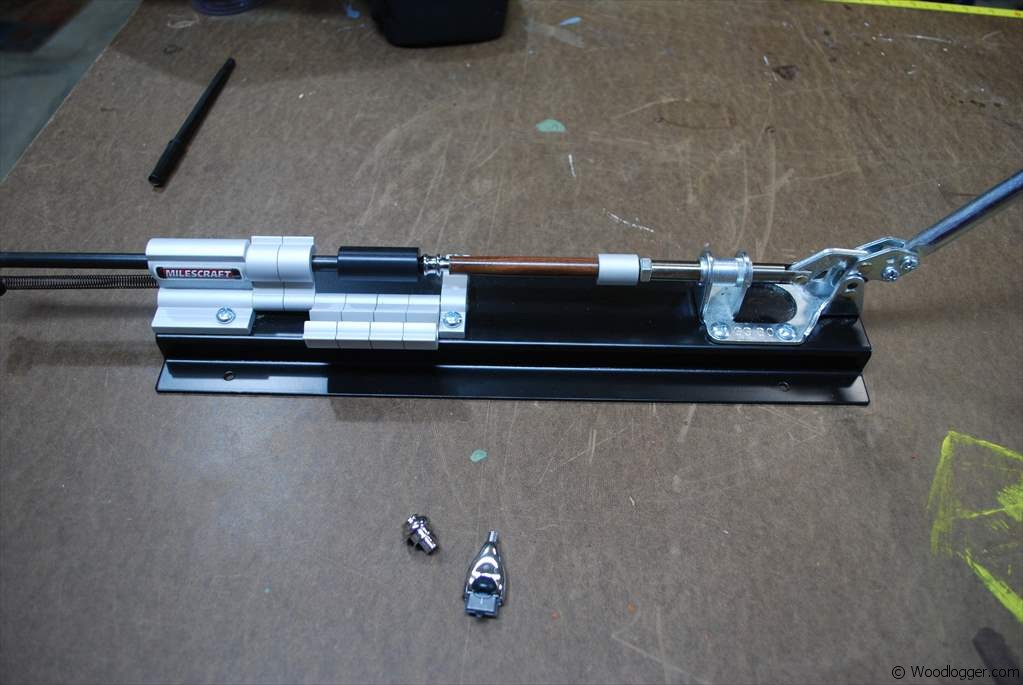 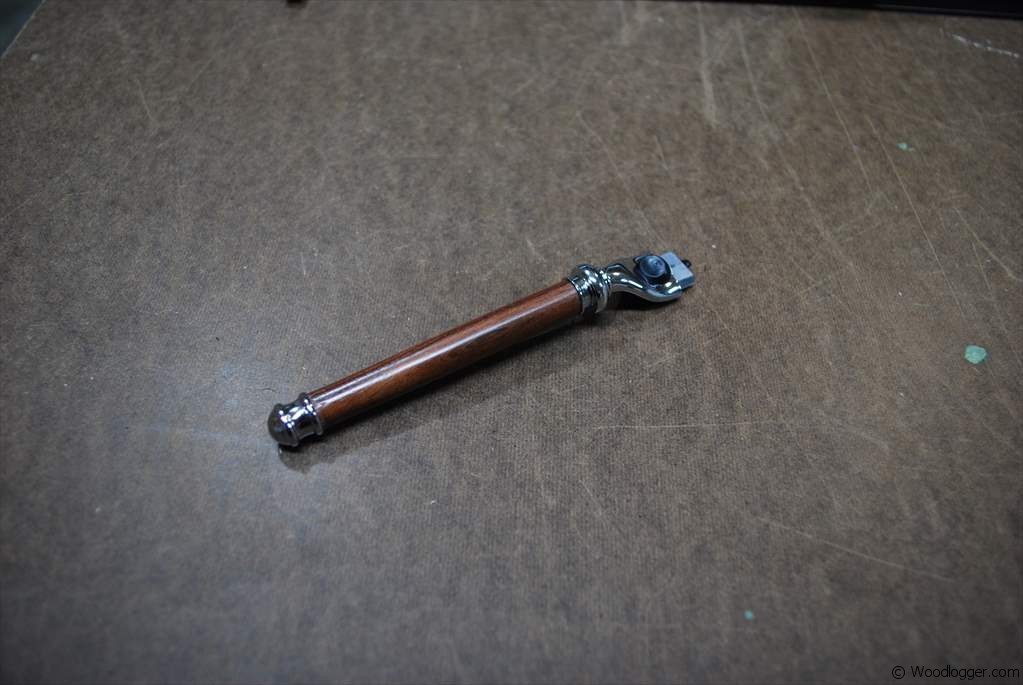 |
The assembly was a snap. I used my pen press to help with inserting the top and bottom piece. The blade holder screws into the top insert. The assembly for this kit is quick and painless. |
Items I Used to Finish this
