Turned Magnifying Glass
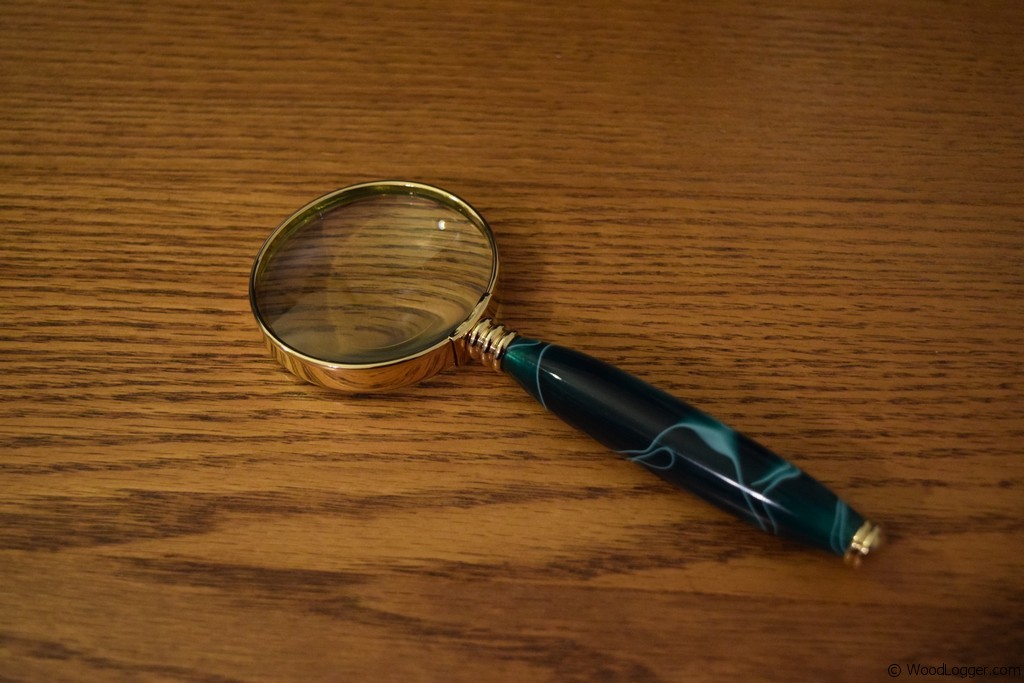 I found this magnifying glass kit at woodcraft. They’re incredibly easy to make, and they make awesome gifts. I made this magnifying glass for my kids. We’ll definitely have some fun playing with it. It would also make a great gift for someone special. I’ll include links at the bottom of this post where you can pick one up. I chose to use an acrylic blank for the handle. I think this green looks beautiful and it turned out great. For the finishing I used a micro mesh sanding kit. You can apply a polish if you like, but this one turned out great without it. This magnifying glass should last for years.
If you make one of these be sure to post a picture of it over on the WoodLogger Facebook Page. I’d love to see how yours turns out. (pun intended)
Material List
- (1) Magnifying Glass Kit
- (1) 1-1/2″ x 1-1/2″ x 6″ Acrylic or Wood Blank (I used a green acrylic)
Milling & Assembly
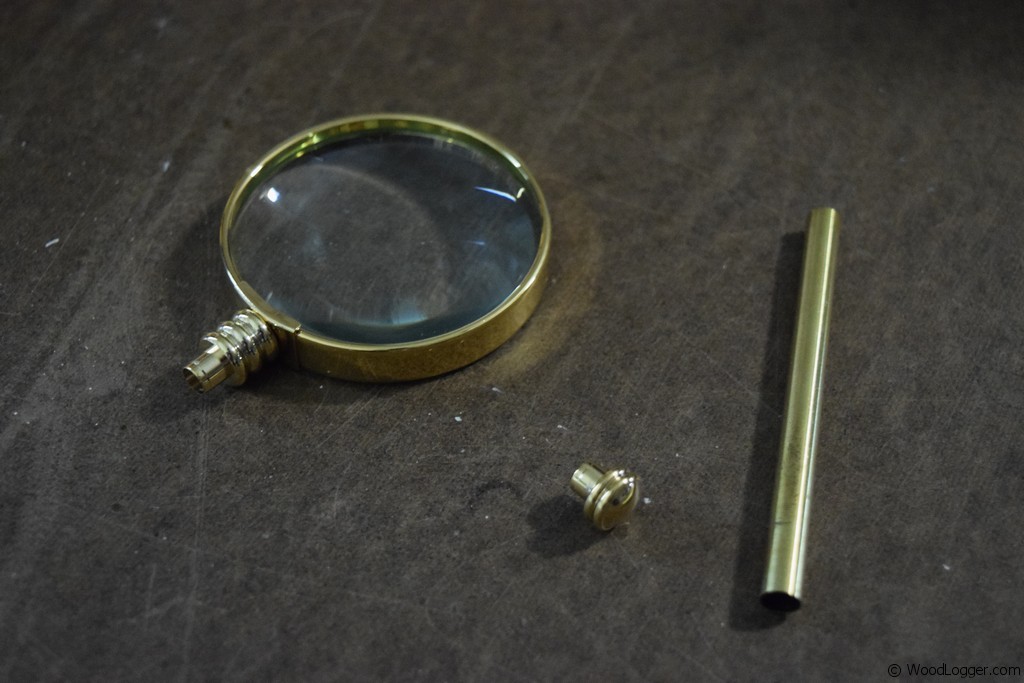 | The magnifying glass kit comes with only a few pieces. The brass tube, the glass, and two caps(one is for the glass to screw into). If you’ve turned any kit type projects you’ll find this one a snap to put together. |
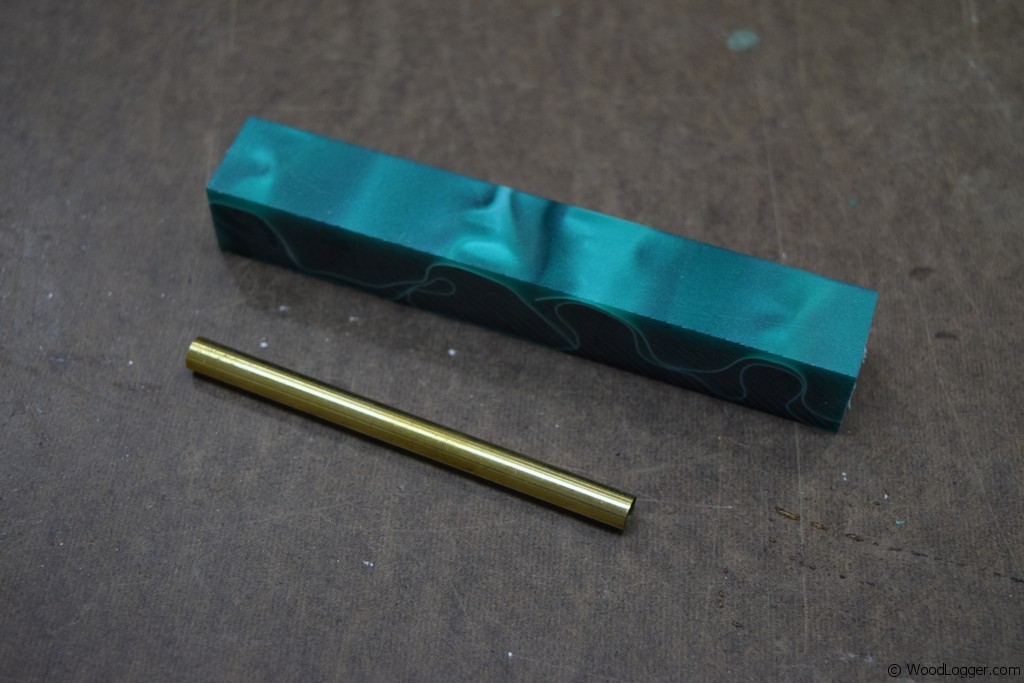
 | To get started I used an acrylic blank. I chose a funky green color for mine. I cut this one to a length about 1/8″ longer than the brass tube included in the kit. |
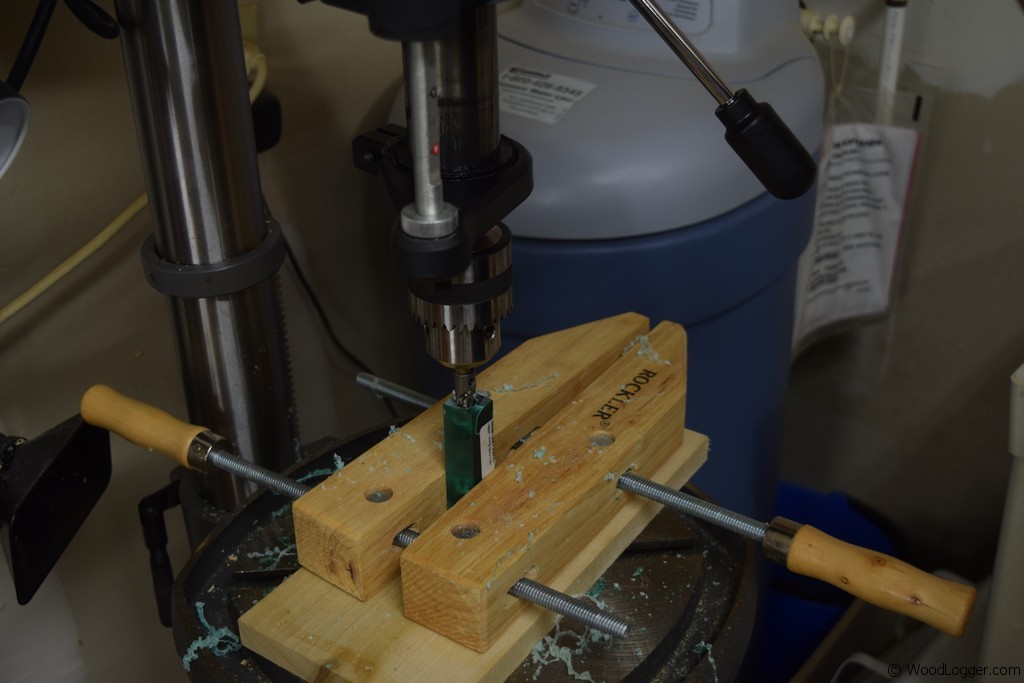
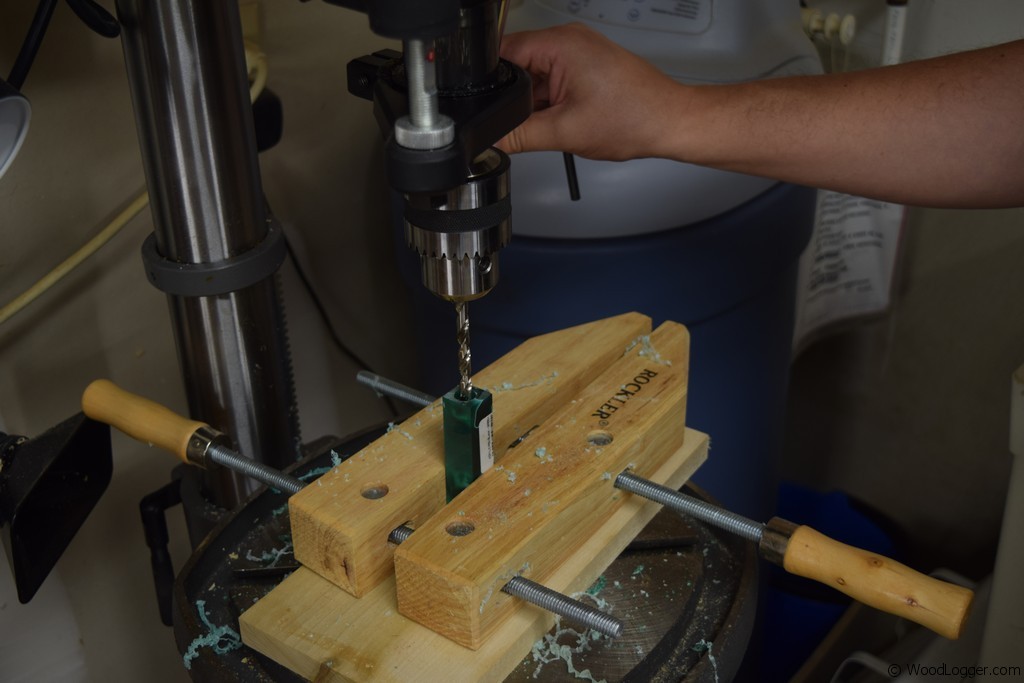 | To create a hole for the brass tube insert. I used a drill bit sized 7mm in length. |
 | Before I inserted the brass tube I used sand paper to scratch up the brass tube. This is to help the glue have something to hold onto after it is inserted in the tube. For the glue I used CA glue. It is a quick drying cement and holds up very well. |
 | After gluing up the tube; the next step is to use a barrel trimmer to make the ends flush with the brass tube. This is an important step; if the ends aren’t flush when you go to assemble your kit it’ll look a little strange. |
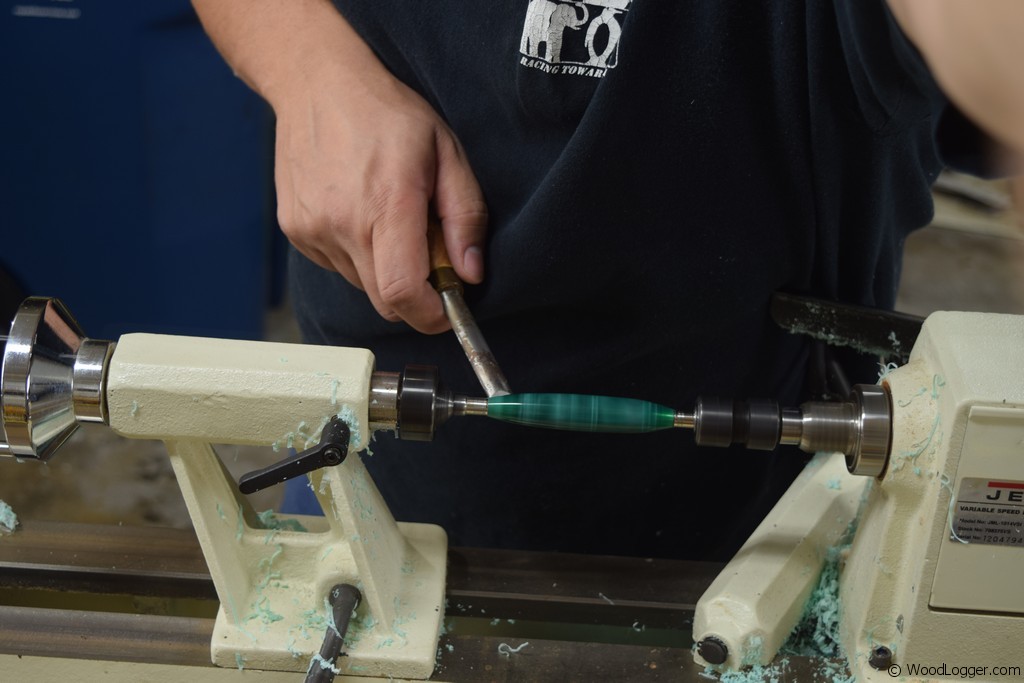 | Next up you’ll want to turn you blank. I chose a very simple profile for mine. This is the fun part of turning blanks as you have an unlimited set of options. I started by using a bowl gouge, and then switched to a skew. I left a little thickness in the middle as I wanted a more meaty handle for mine. |
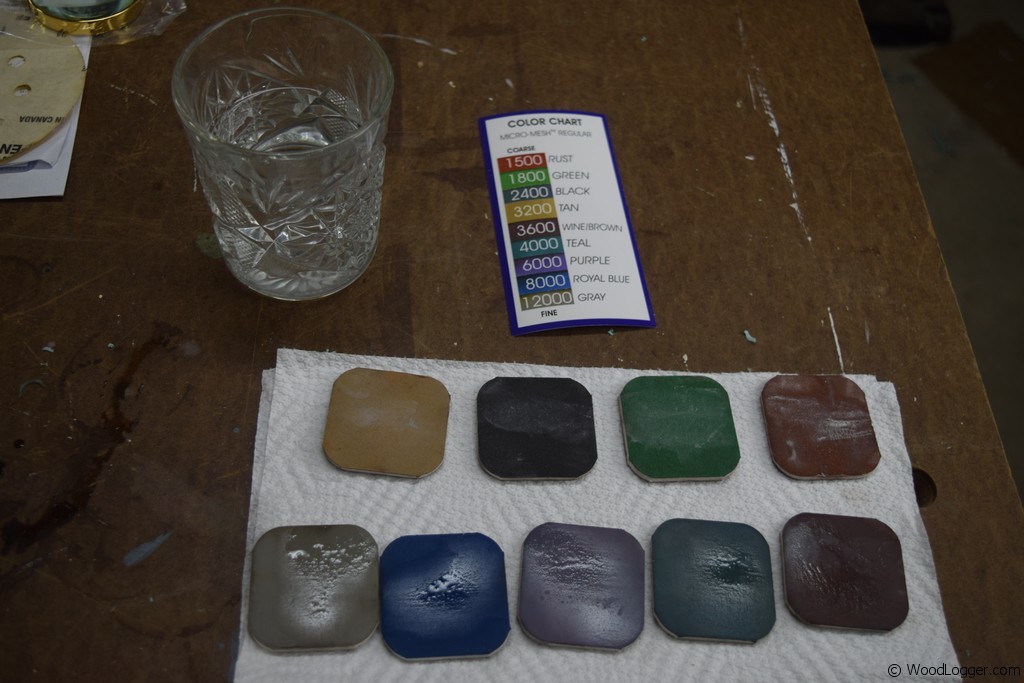 | When it came to finishing my turned magnifying glass. I used a micro mesh kit that has 9 sanding pads. The pads are color coded and I went from the smallest to highest grit. These pads are great and can be used over. Be sure to keep them wet when using, and then just wash them off when you’re done. Also when you have finished sanding use a soft cloth(not a paper towel it will scratch acrylic) to polish it up. |
 | When it came to assembly I used a pen press for the caps and simply screwed in the glass on one side. Again this magnifying glass kit is a great easy project and can be made in just a couple of hours(or less). |