


Cut List
There are a lot of options when it comes to building your box. You could simply use thicker stock for the mid section or a combination of thinner and thicker stocks. I fortunately have a thickness planner so I simply made the boards the size I wanted, but I could have just as easily bought the sizes that I needed. These size boards can be easily found in big box stores and a lot of hobby shops.
- (2) Middle – 3/4″ x 6″ x 5″
- (1) Top – 1/2″ x 6″ x 5″
- (1) Bottom – 1/4″ x 6″ x 5″
- (1) Axle Dowel to keep the lid with the box
Milling & Assembly
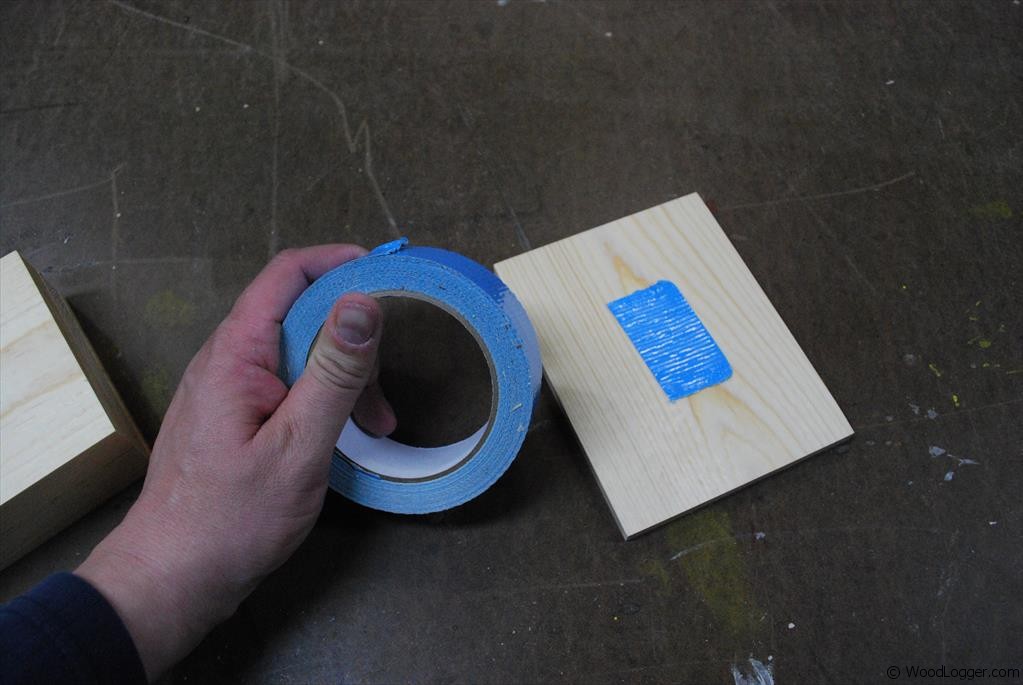 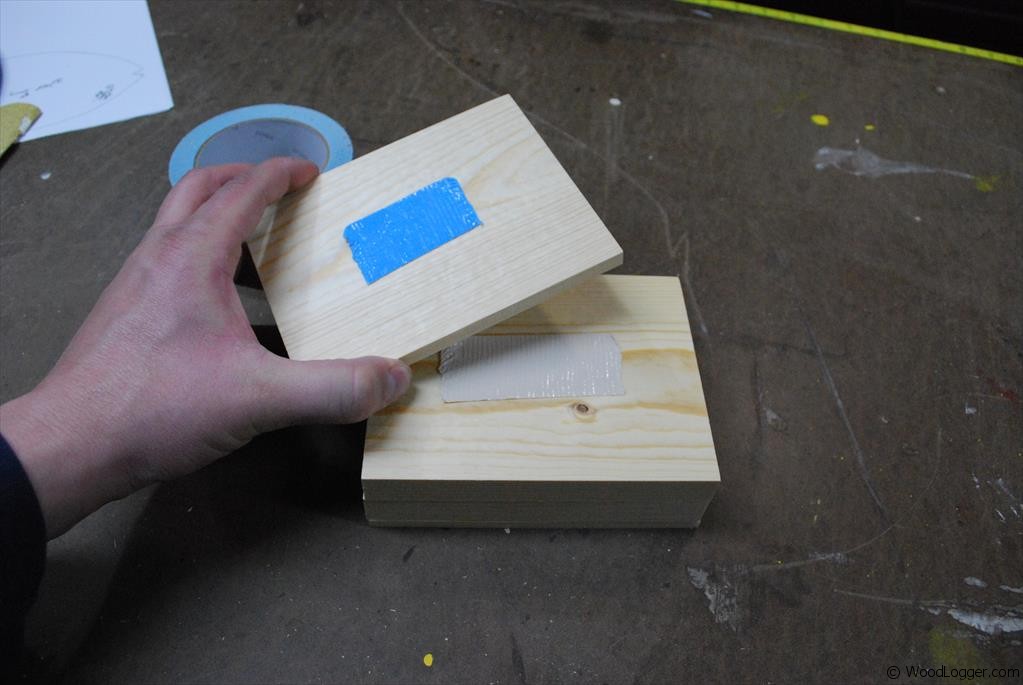 |
To get started on my treasure box I cut and sized all of my boards to the size that I needed. See the cut list section for what I did. Then I stacked and used double stick tape to keep all of my boards together. |
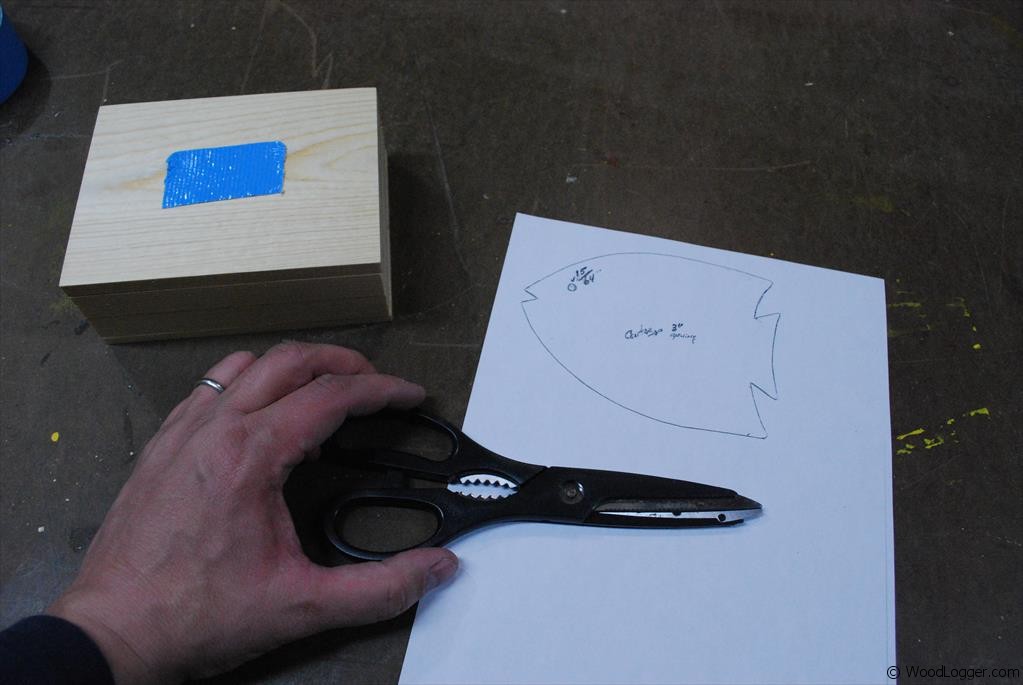 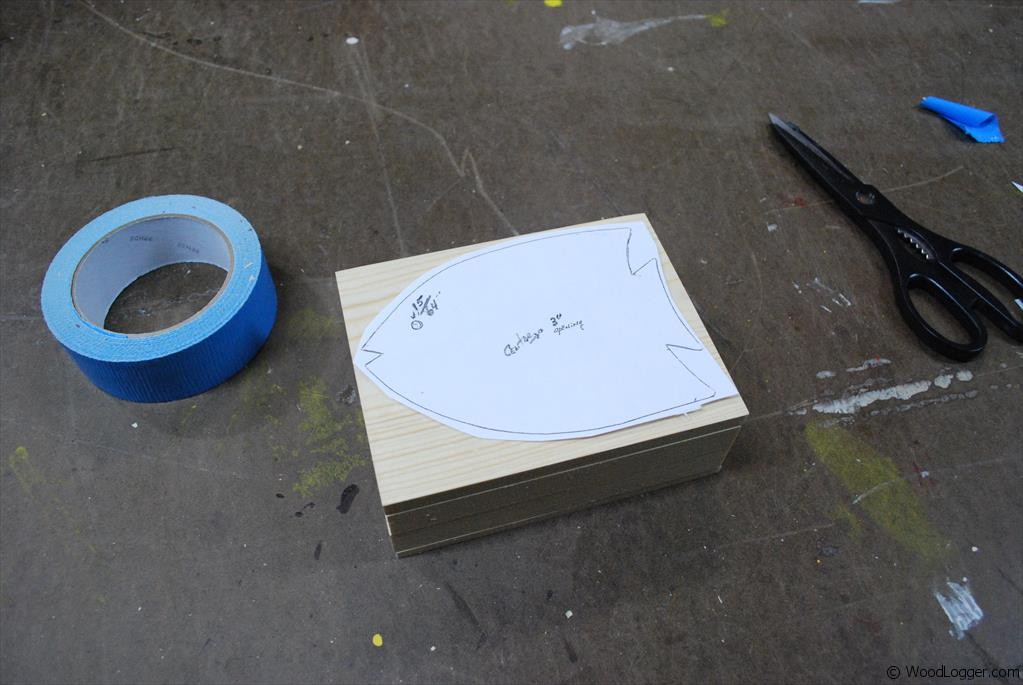 |
I cut out my fish template and attached it to my boards using double stick tape. This will be the guide used, to cut out my boards on a band saw. |
 |
I used a band-saw and cut out the shape of the fish. You could use a jig saw just as easily. |
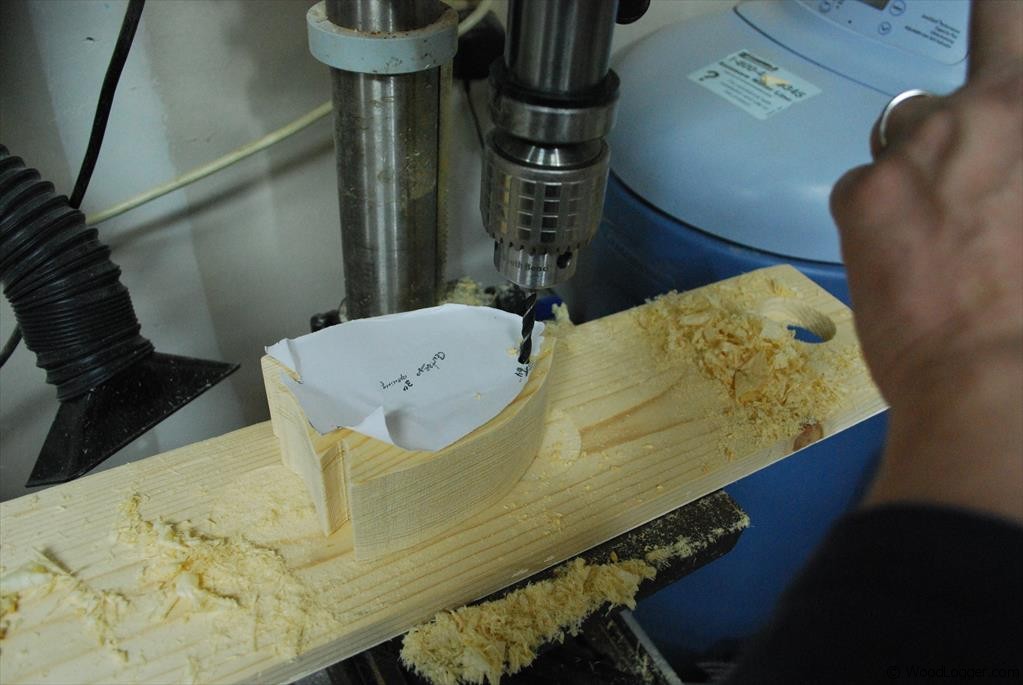 |
I then used a drill bit that matched the diameter of the axle dowel rod(fish eye). This will hold the lid together. |
 |
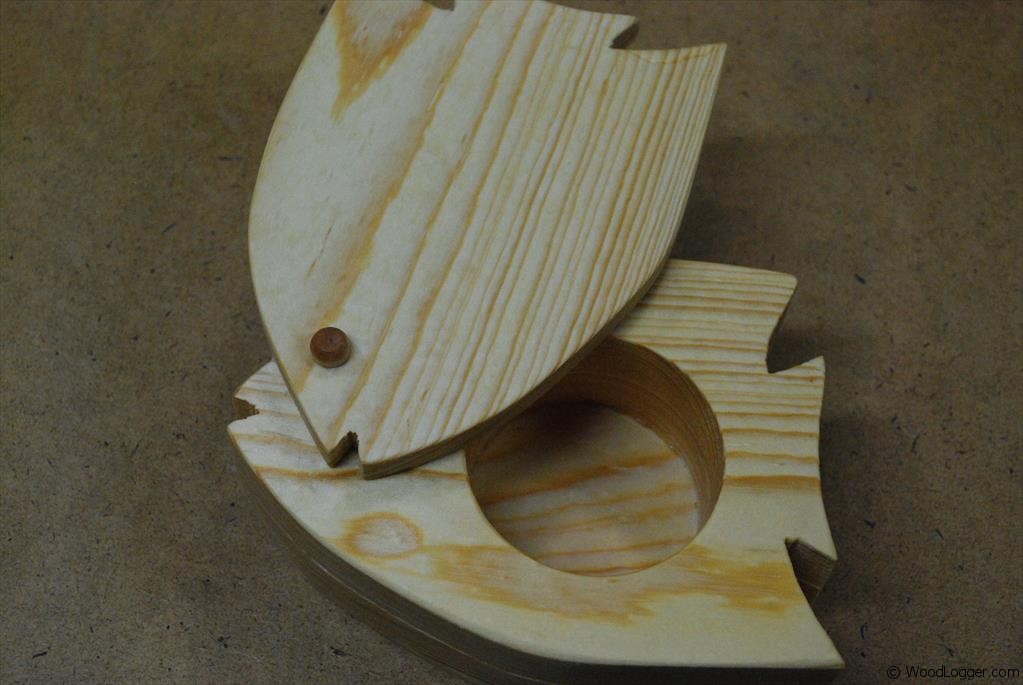
Next up is cutting the center hole that is used for storage. I removed the top and bottom pieces of my box and cut out the middle using a 2 – 1/2″ Forstner Bit and my drill press. |
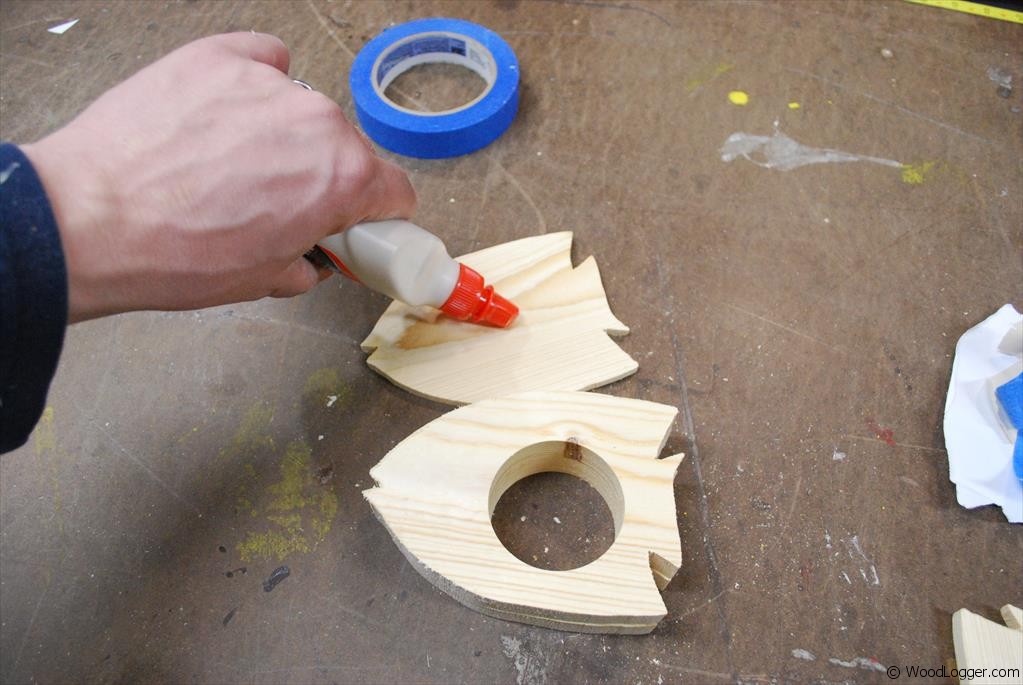 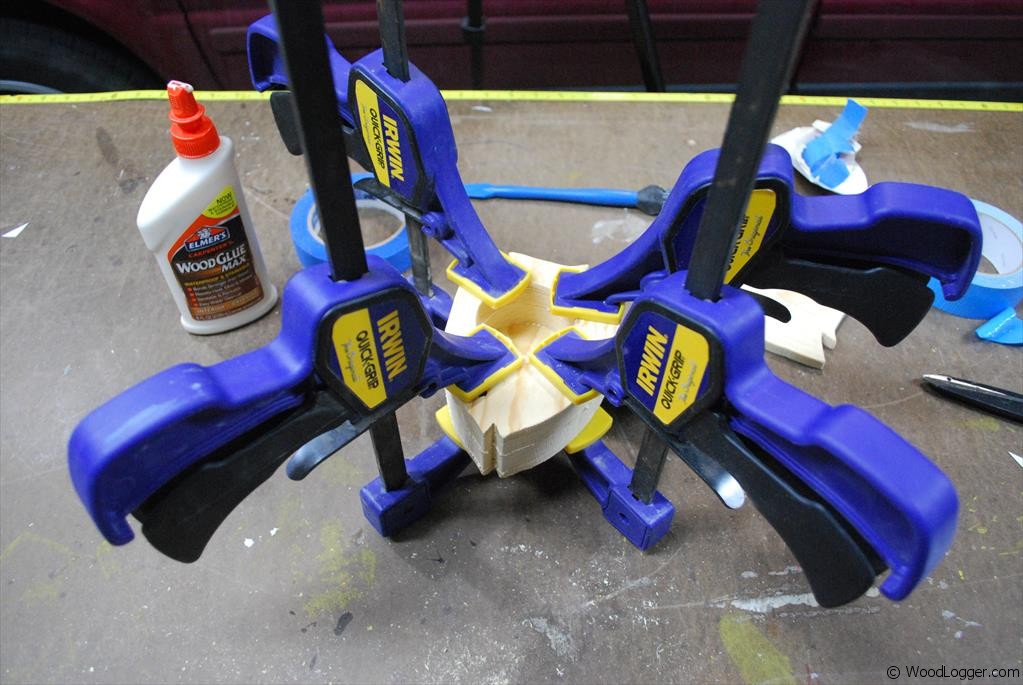 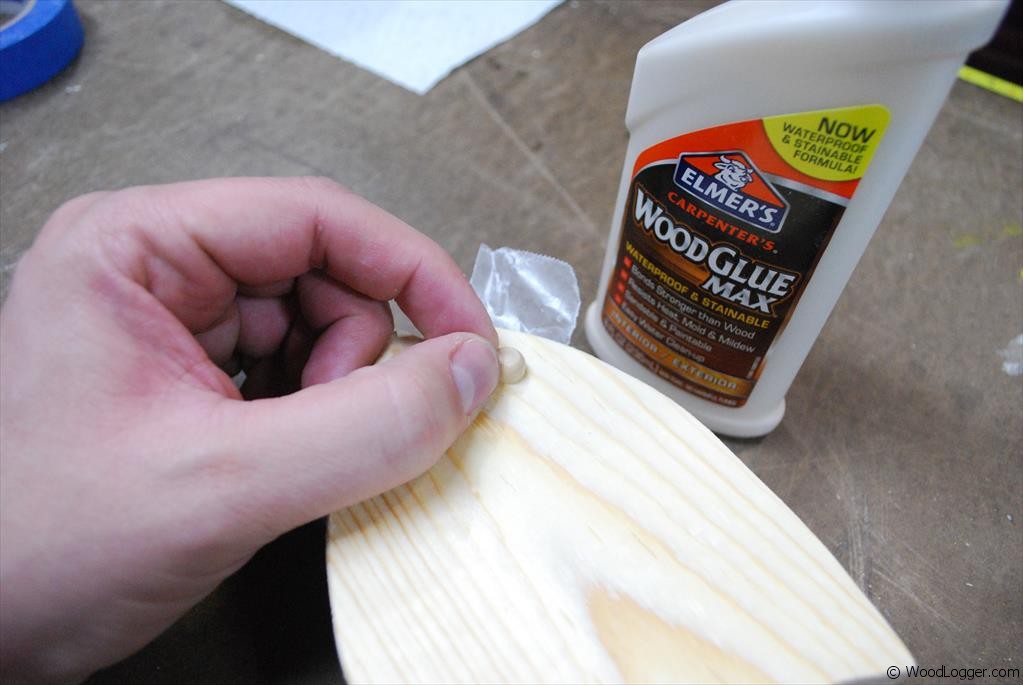 |
After drilling out the center section I applied glue to each piece of the box minus the lid of course. I clamped them up until it was dry.The last step in the assembly of the box is to glue the axle into the box. For this I put a SMALL amount of glue in the hole. Then I poked a hole in a piece of wax paper to act as barrier just in case any glue squeezed up the shaft of the hole. Tip: If your glue bleeds up to the top of the lid. You may be able to redrill out your holes. I was able to drill out my holes and use another dowel. Bottom line is you have to be a little careful with the glue up on this piece. |
Finishing
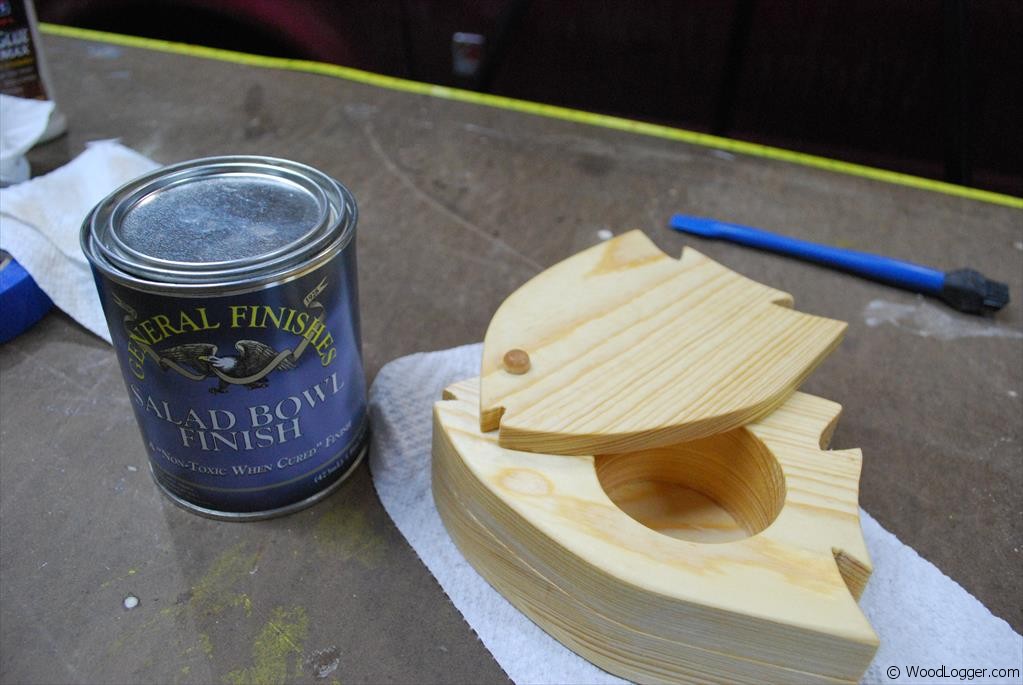
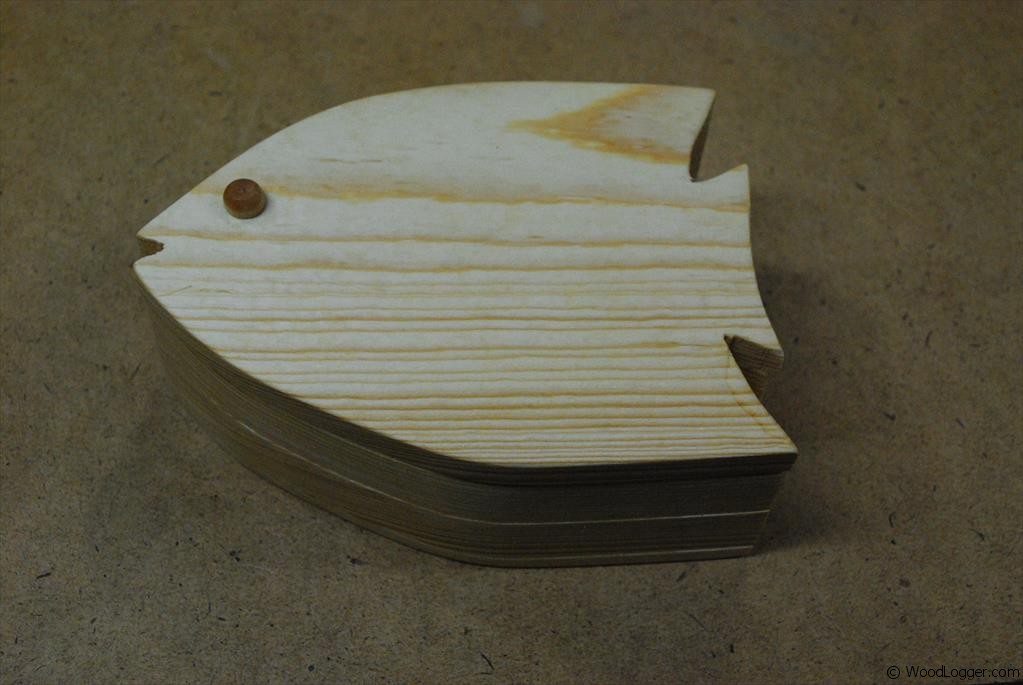
To finish this one up. I made sure all of my corners were broke and had no sharp edges anywhere. Then I chose to use a finish called salad bowl finish. I’ve used this before and it turned out great.
Items I Used to Finish this
