Fish Shaped Treasure Box
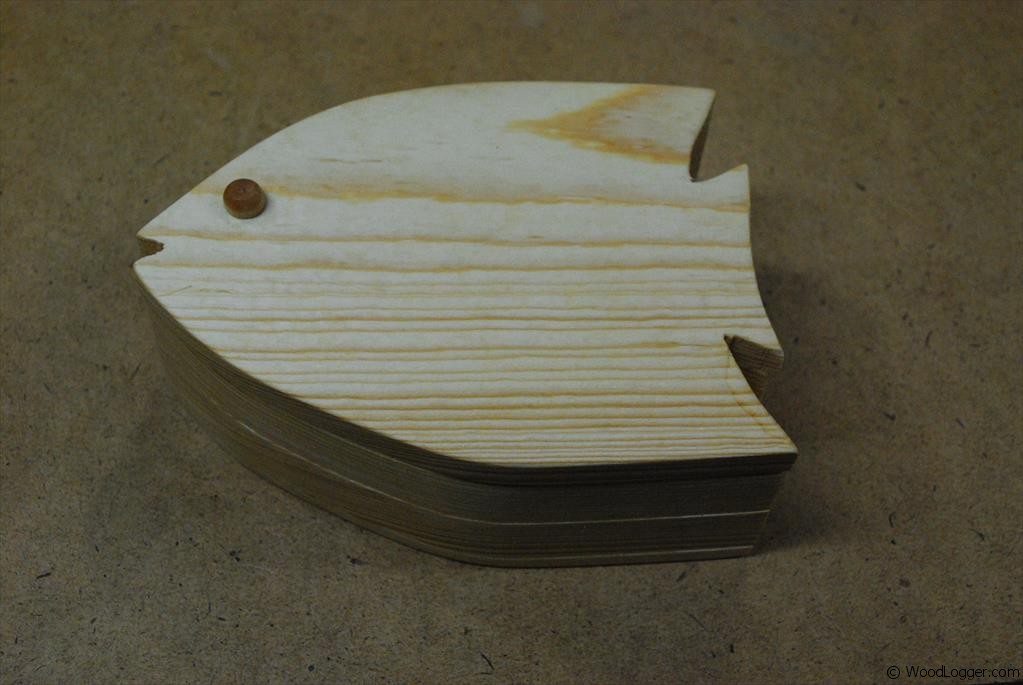
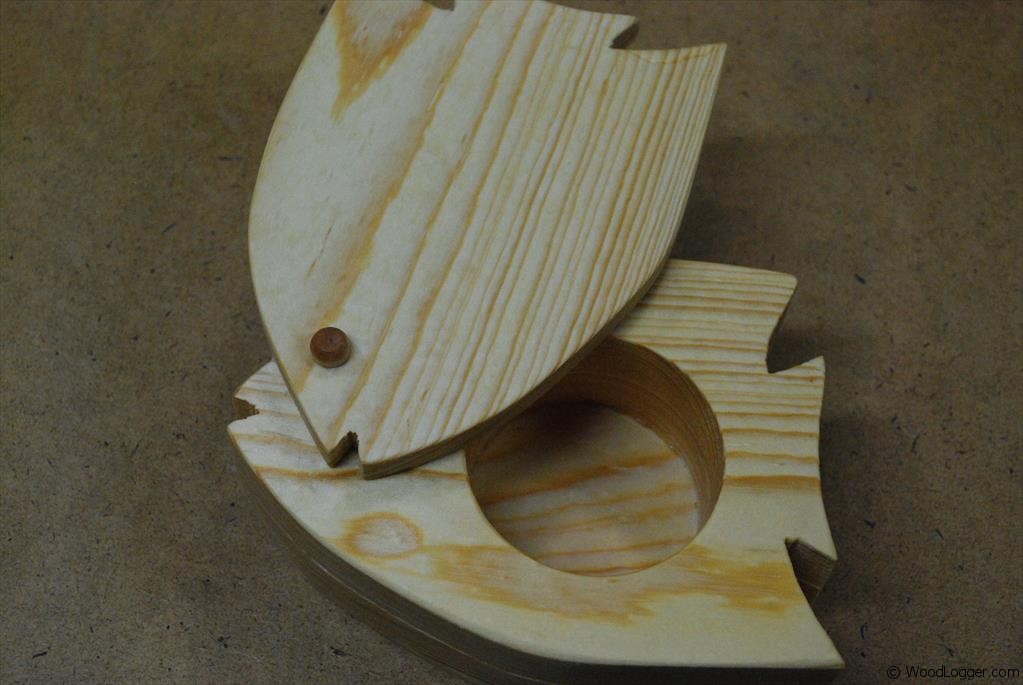 This keepsake box, or treasure box was a lot of fun to make. You’ll quickly find that after you make one you’ll get a lot of requests to make more. This is really an easy project to make you’ll need just 4 boards or less depending on the thickness of your materials. I made mine out of pine, but really any wood will work depending on the look you’re going for. The lid is held with an axle dowel that also looks like a fish eye. I’ll include a link at the bottom of this post where you can pick some up. This pattern came to me through a local woodworking club that I belong to. The group I belong to makes toys for low income households that are given as Christmas presents. It’s truly amazing to see thousand’s of toys made each year by this group. If you’re not part of a local woodworking club, or guild I would highly recommend that you look around and see if there is one close by, and if you live near Indianapolis check the group I belong too called the Central Indiana Wood Workers. If you make one of these be sure to post it over on the WoodLogger Facebook Page. I’d love to see how yours turns out.
Cut List
There are a lot of options when it comes to building your box. You could simply use thicker stock for the mid section or a combination of thinner and thicker stocks. I fortunately have a thickness planner so I simply made the boards the size I wanted, but I could have just as easily bought the sizes that I needed. These size boards can be easily found in big box stores and a lot of hobby shops.
- (2) Middle – 3/4″ x 6″ x 5″
- (1) Top – 1/2″ x 6″ x 5″
- (1) Bottom – 1/4″ x 6″ x 5″
- (1) Axle Dowel to keep the lid with the box
Milling & Assembly
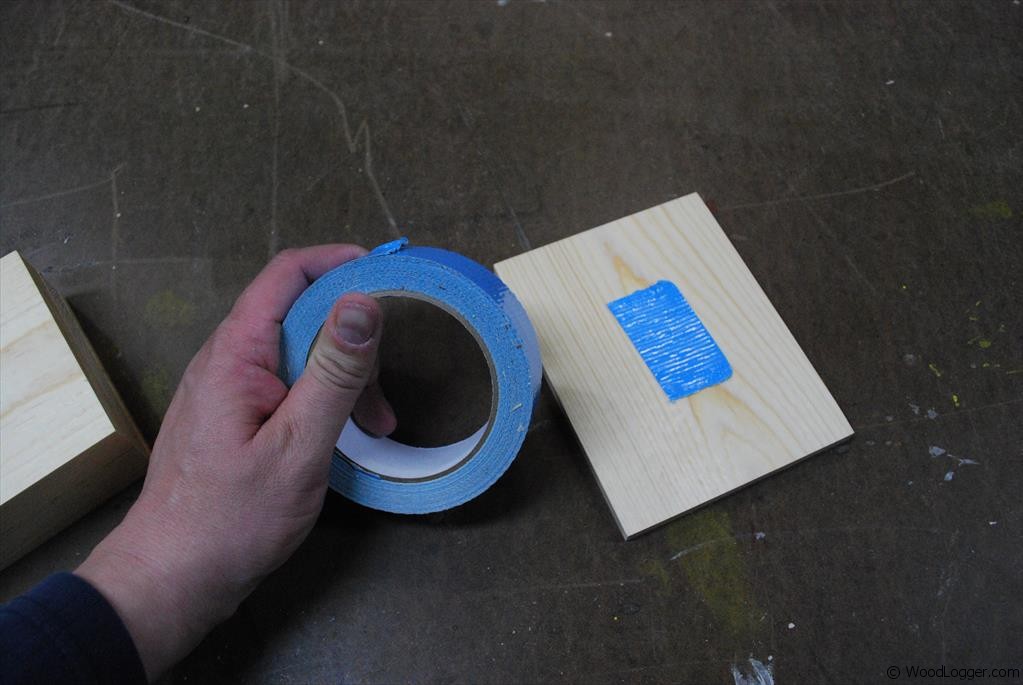 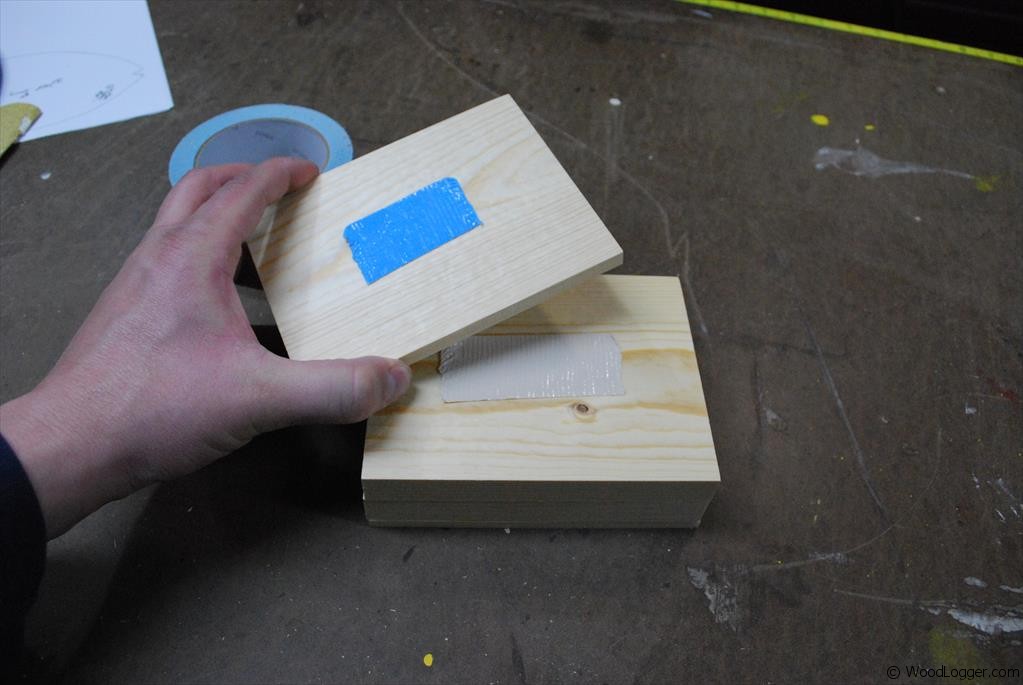 | To get started on my treasure box I cut and sized all of my boards to the size that I needed. See the cut list section for what I did. Then I stacked and used double stick tape to keep all of my boards together. |
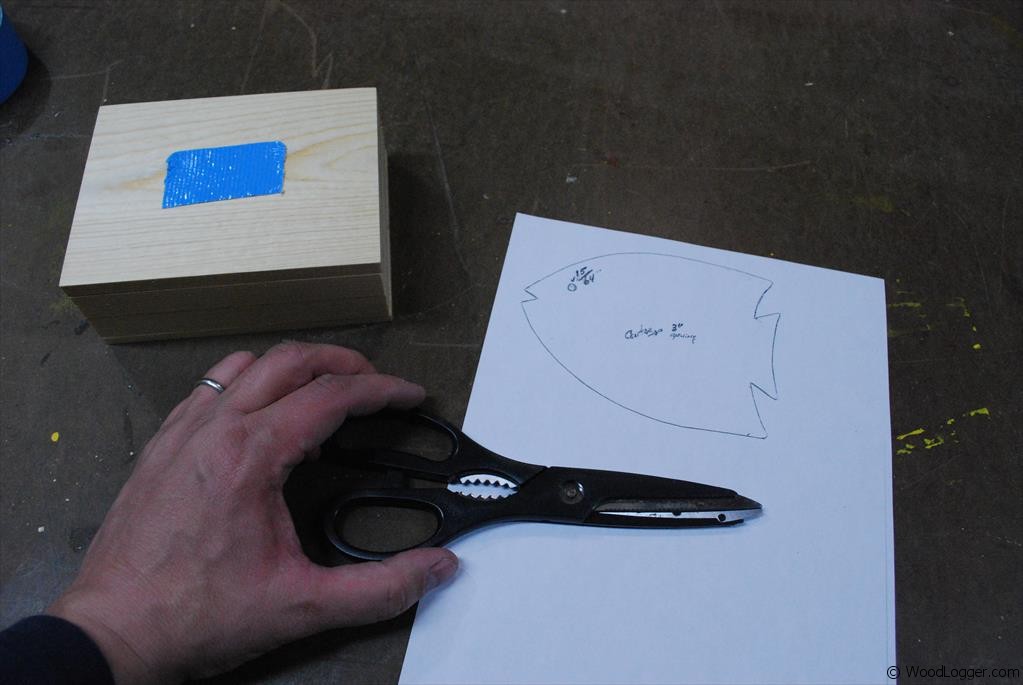 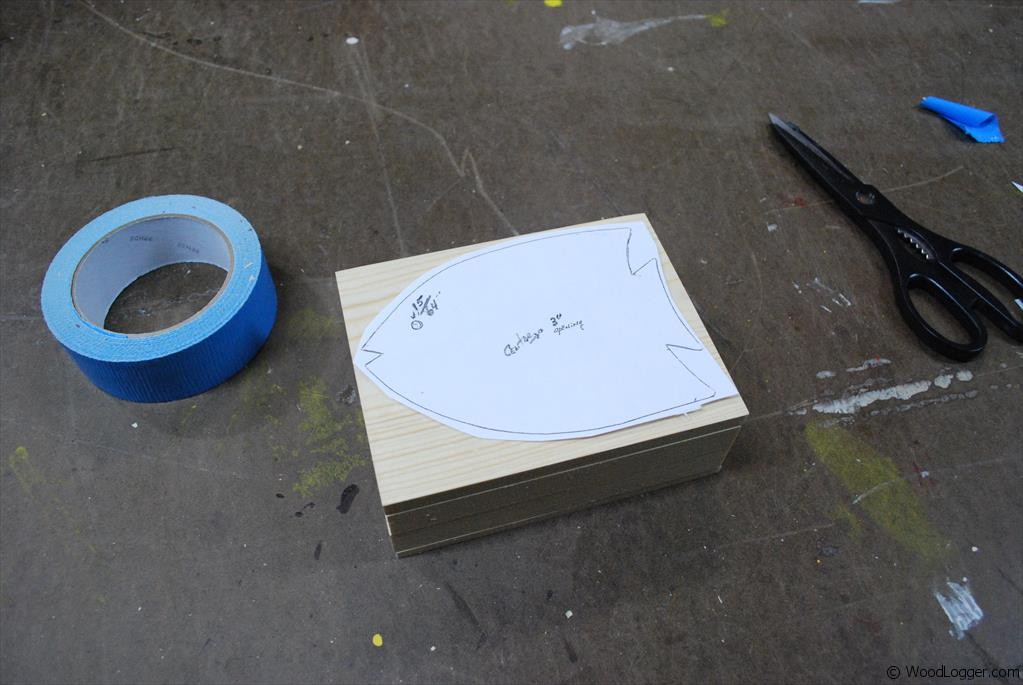 | I cut out my fish template and attached it to my boards using double stick tape. This will be the guide used, to cut out my boards on a band saw. |
 | I used a band-saw and cut out the shape of the fish. You could use a jig saw just as easily. |
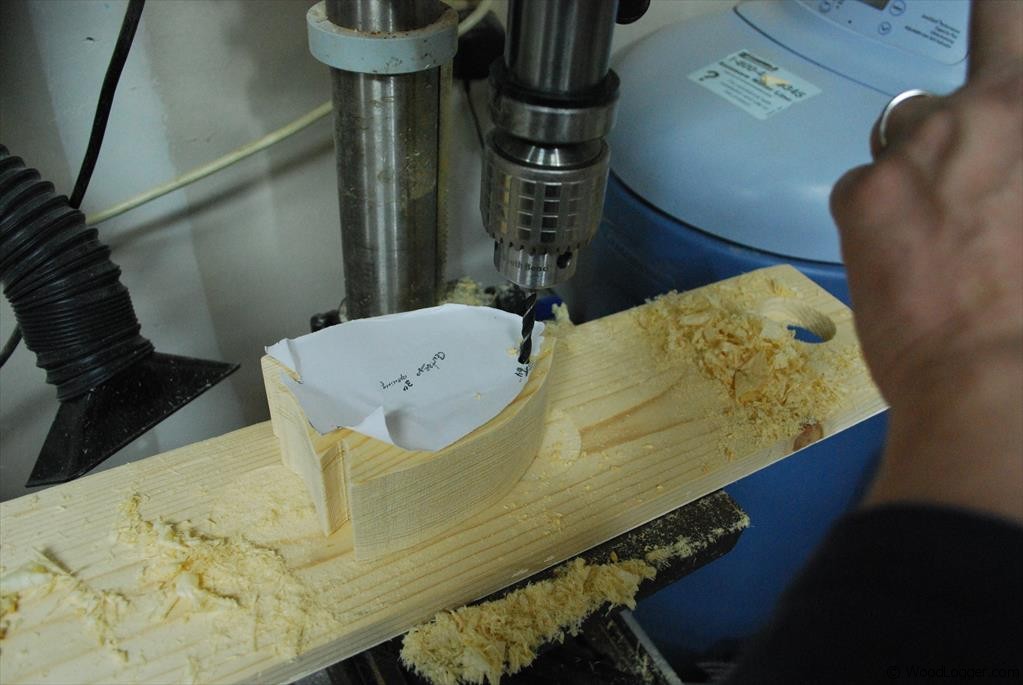 | I then used a drill bit that matched the diameter of the axle dowel rod(fish eye). This will hold the lid together. |
 | Next up is cutting the center hole that is used for storage. I removed the top and bottom pieces of my box and cut out the middle using a 2 – 1/2″ Forstner Bit and my drill press. |
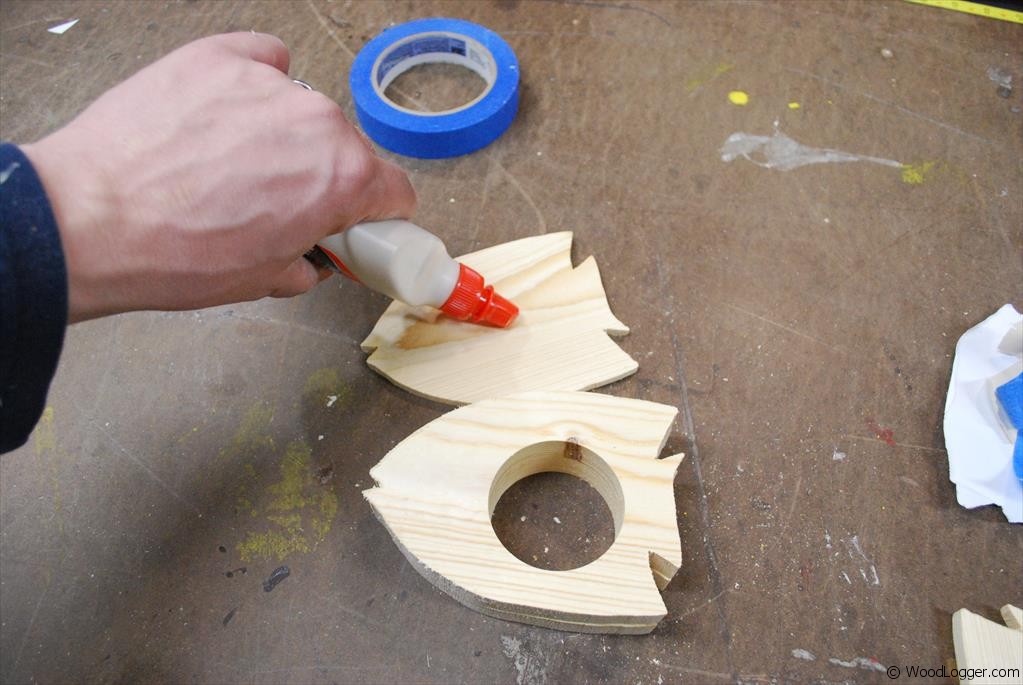 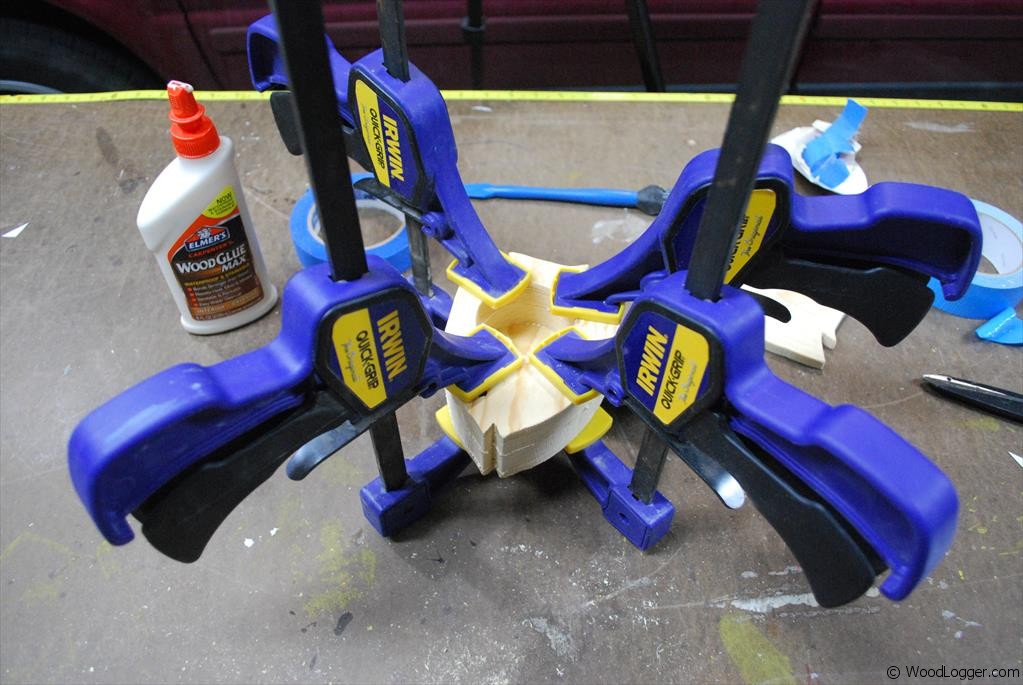 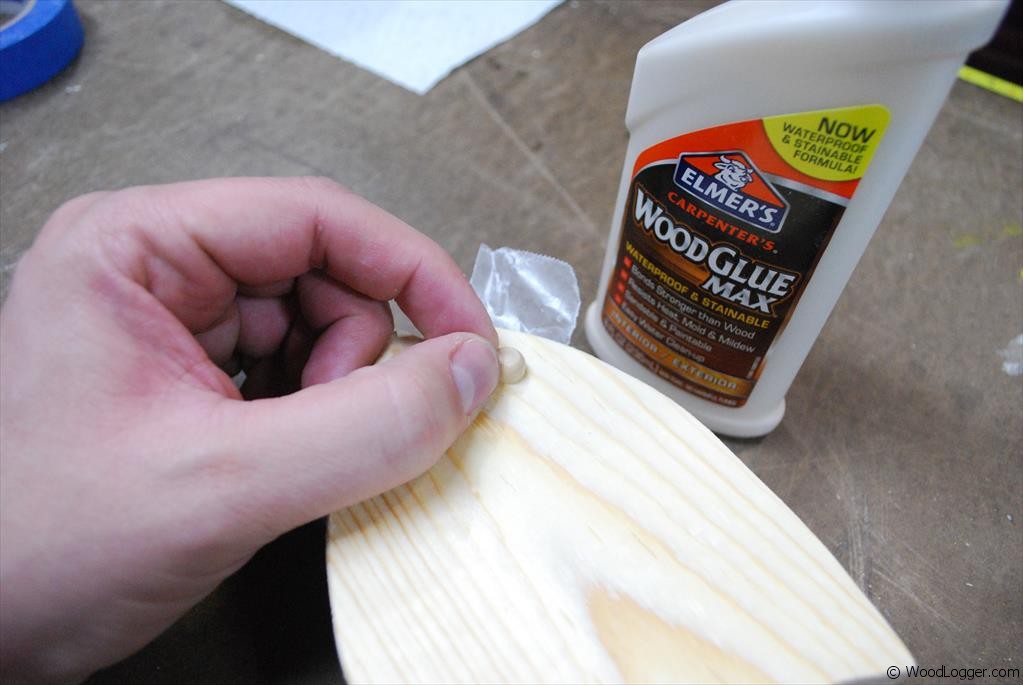 | After drilling out the center section I applied glue to each piece of the box minus the lid of course. I clamped them up until it was dry.The last step in the assembly of the box is to glue the axle into the box. For this I put a SMALL amount of glue in the hole. Then I poked a hole in a piece of wax paper to act as barrier just in case any glue squeezed up the shaft of the hole. Tip: If your glue bleeds up to the top of the lid. You may be able to redrill out your holes. I was able to drill out my holes and use another dowel. Bottom line is you have to be a little careful with the glue up on this piece. |
Finishing
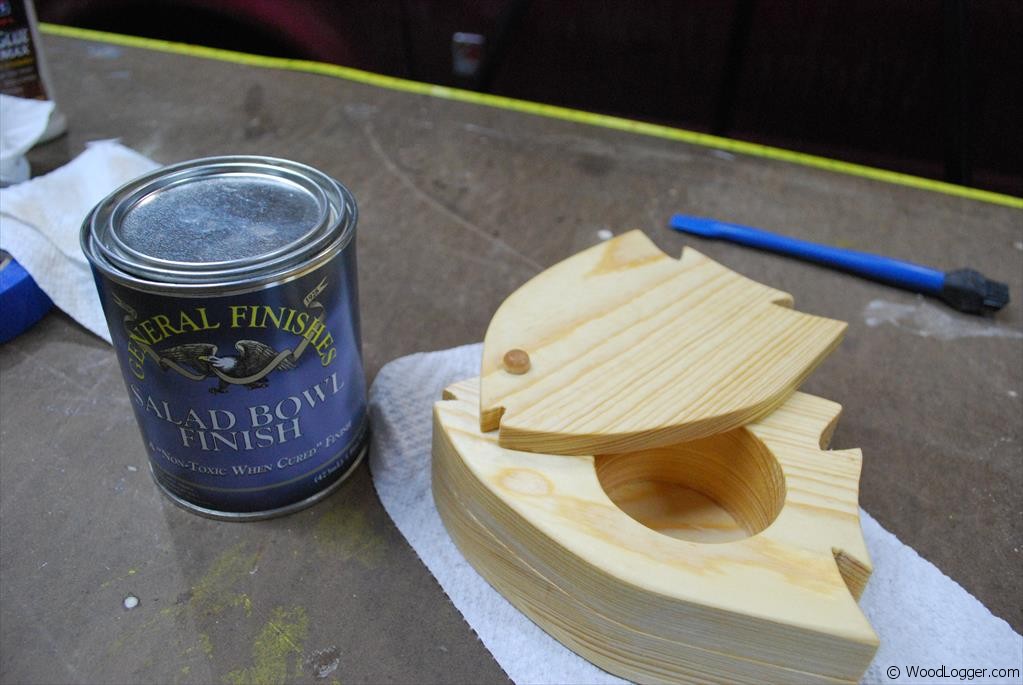
To finish this one up. I made sure all of my corners were broke and had no sharp edges anywhere. Then I chose to use a finish called salad bowl finish. I’ve used this before and it turned out great.
Items I Used to Finish this