How to Turn Your Own Darts
 The Dart Turning kit from Rockler, is a fun a little project that you can do in just a couple of hours. The kit includes three darts and you can choose either the soft tip, or steel tip kit. In this post I used the soft tip kit. I chose wood for mine, but I think an acrylic finish would look great too. If you want to check out the kit from Rockler; I have included a link to it near the bottom of this post.
If you make one of these be sure to post a picture of it over on the WoodLogger Facebook Page. I’d love to see how yours turns out.
Material List
- (1) Dart Turning Kit
- (1) Acrylic or wood blank at least 7/8″ square and 3″ long.
Milling & Assembly
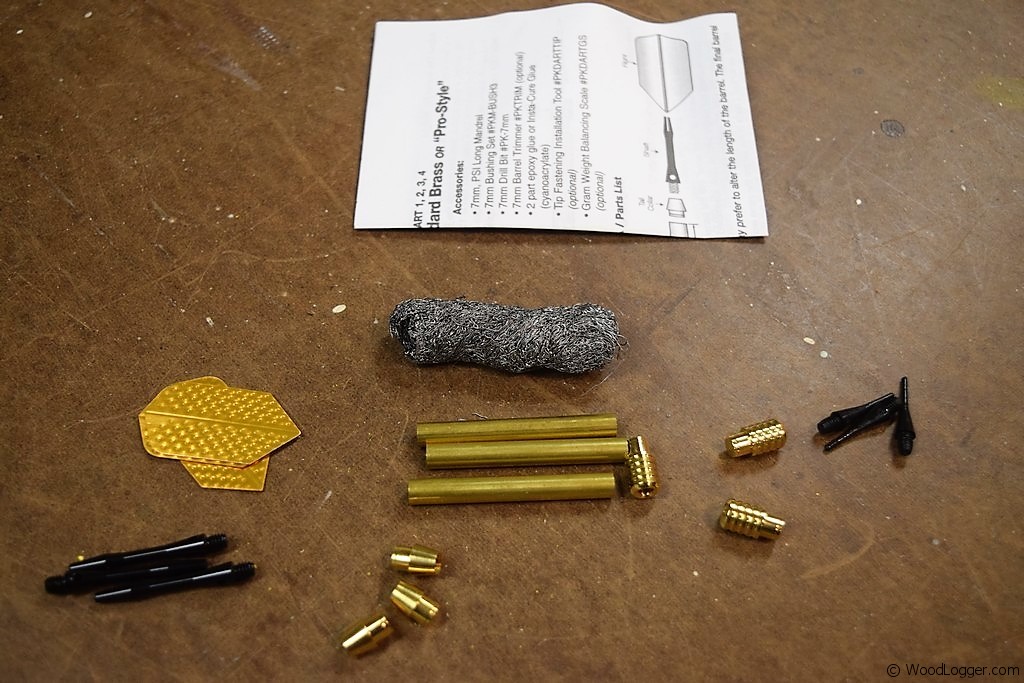 | I purchased this Dart Turning Kit from Rockler. It’s available online or if you’re lucky like me, you have a Rockler retail store near you. The kit is available in either a soft-top or steel tip. The kit comes with almost everything you need to make three darts. You will need to provide you’re own turning blank |
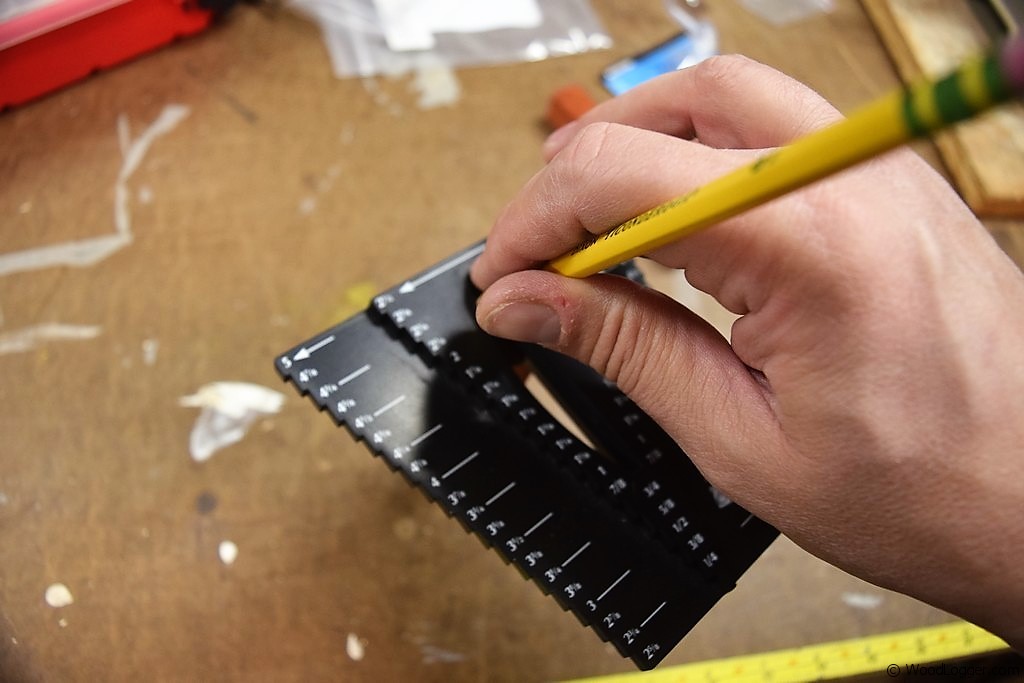
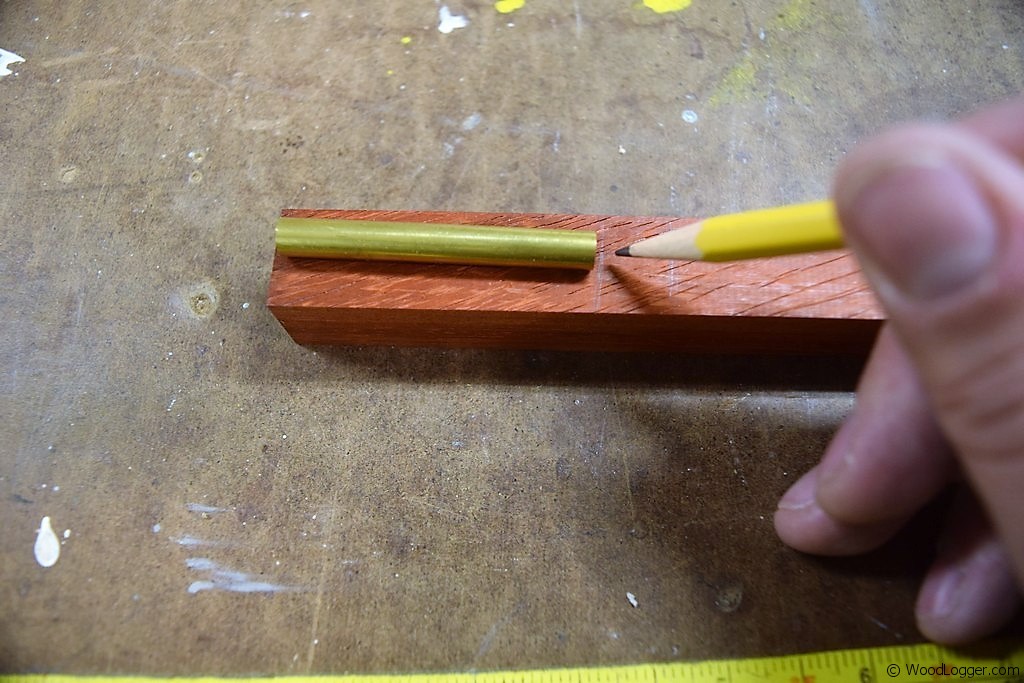 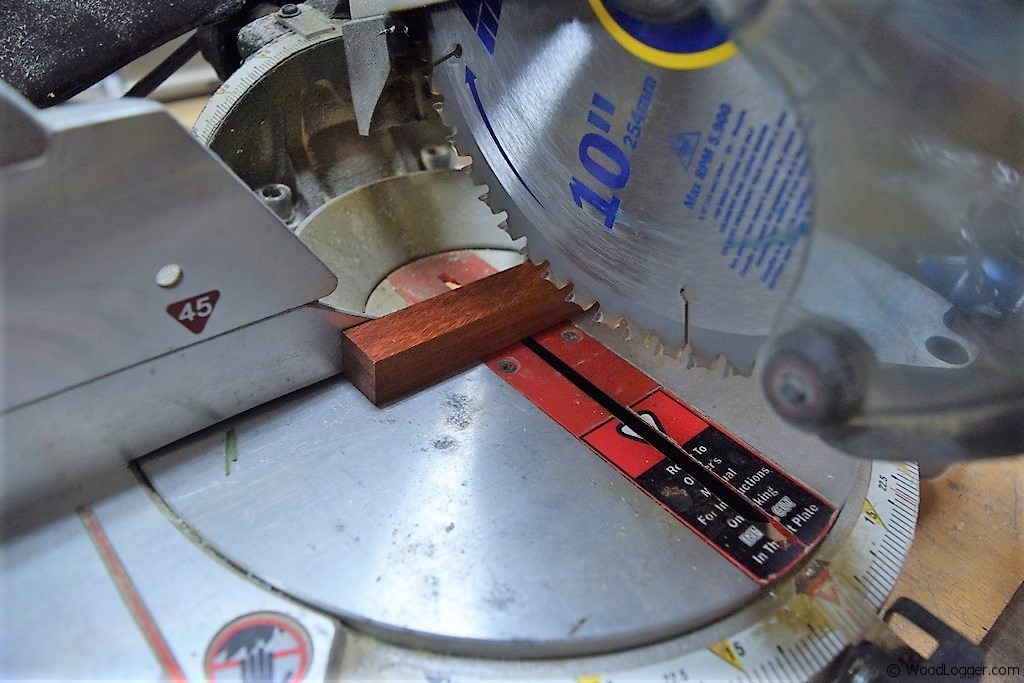 | To get started with the dart turning kit I struck a line about 1/16″ to 1/8″ longer than the length of the included brass tube. I then used a miter saw to cut the wood blank to length. |
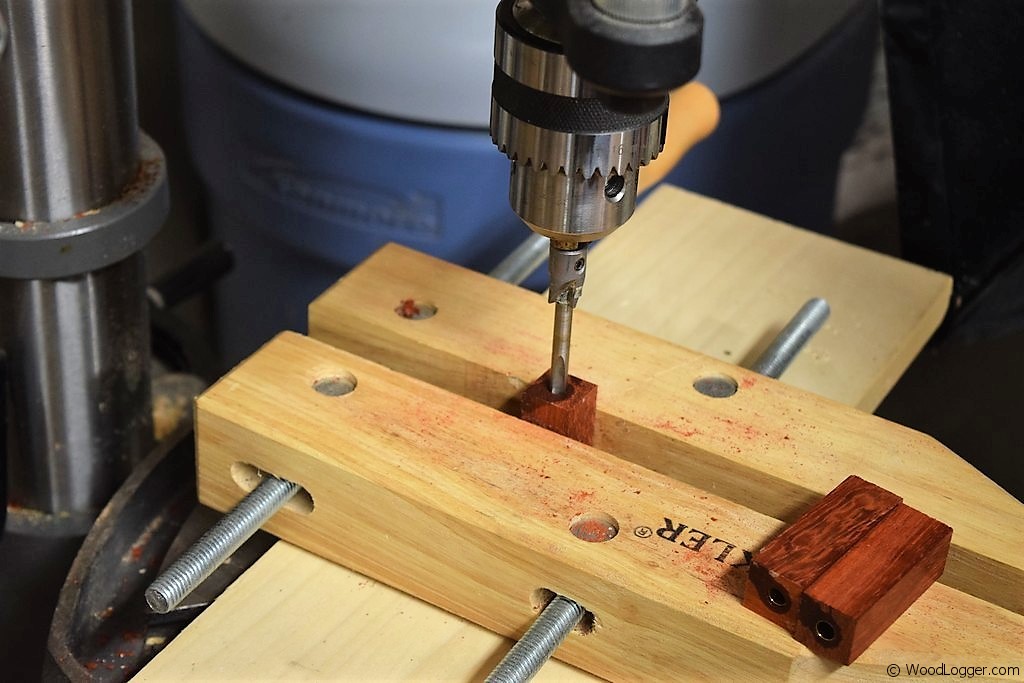
 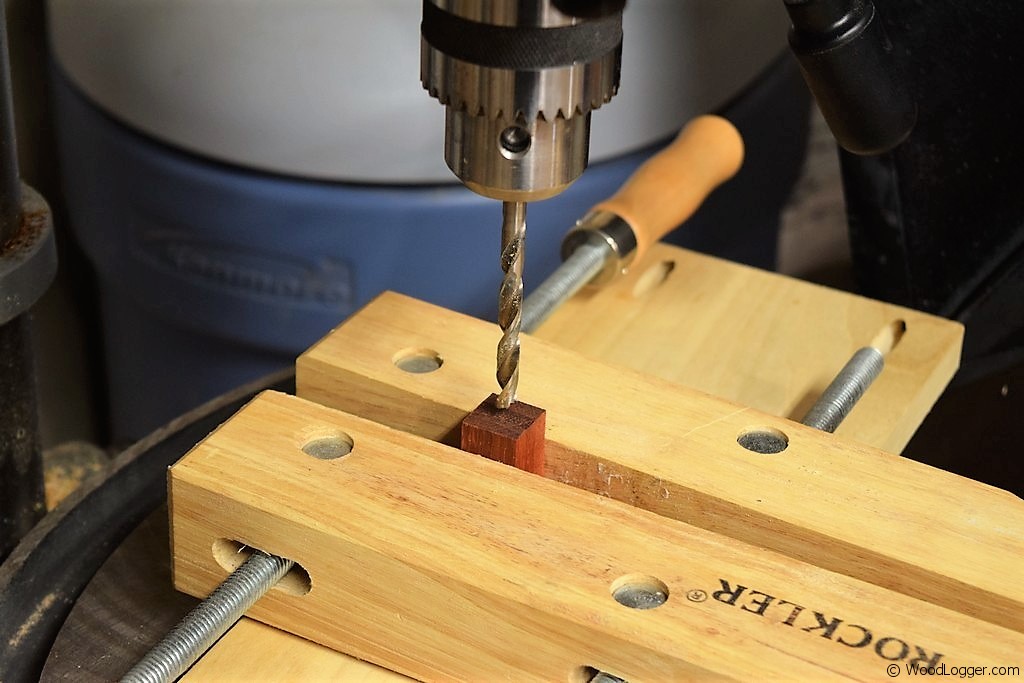 | Next up for your darts I found the center of the acrylic blank on one end. I used a center finder(nice to have), but you can certainly just use a ruler. After that I drilled out the center using a 7mm drill bit. |
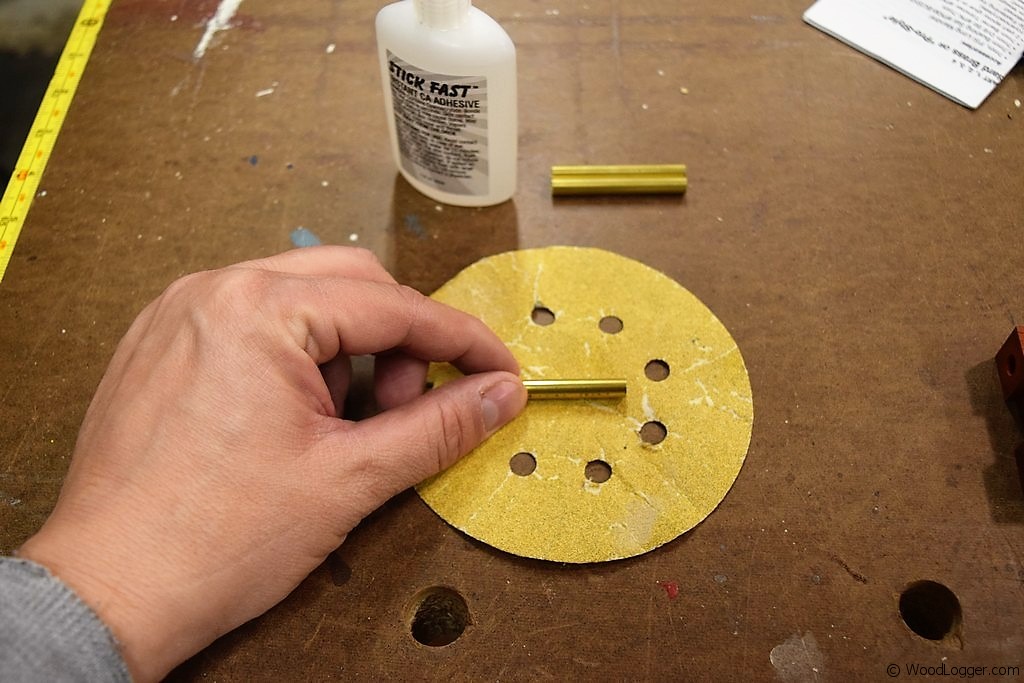   | After the blank is all drilled out; the next thing is to work on the brass tube that will be inserted into the key ring pocket knife. To get the brass tube ready, first use some sand paper to mar up the smooth brass. This will help give the glue something to grab onto. After that I used a medium CA glue and applied it all over the tube. Be careful as you don’t want to get any glue on the inside of the tube.
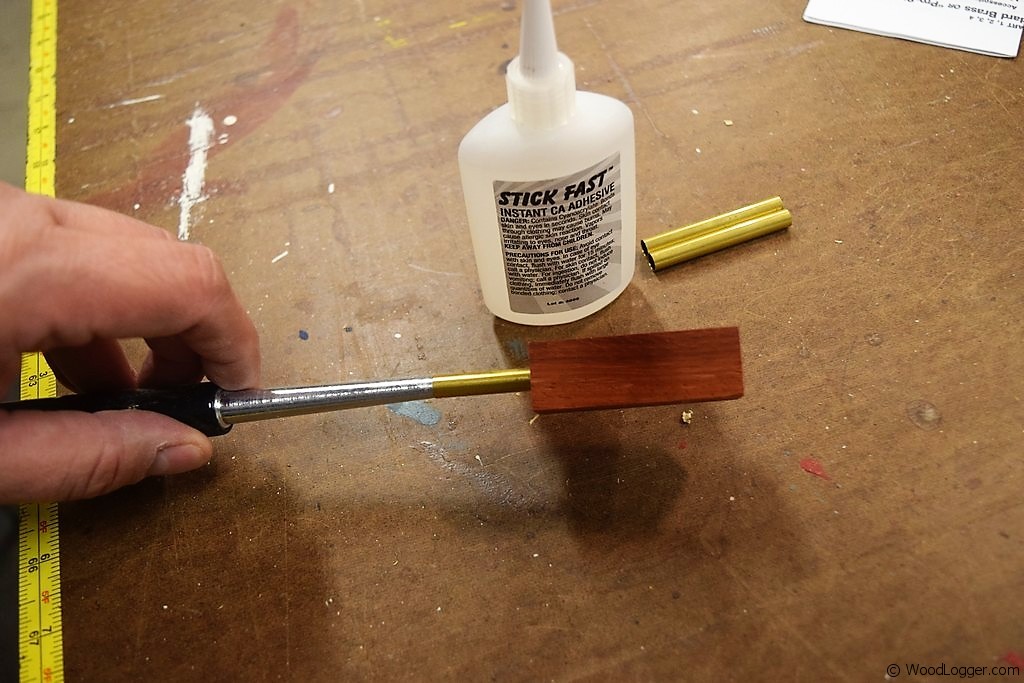
Next up I went back to my drill press and used a barrel trimmer on each end of my blank. You’ll need to make sure the end if flush with the brass tube. When it comes to assembly it’ll be important that this is flush. |
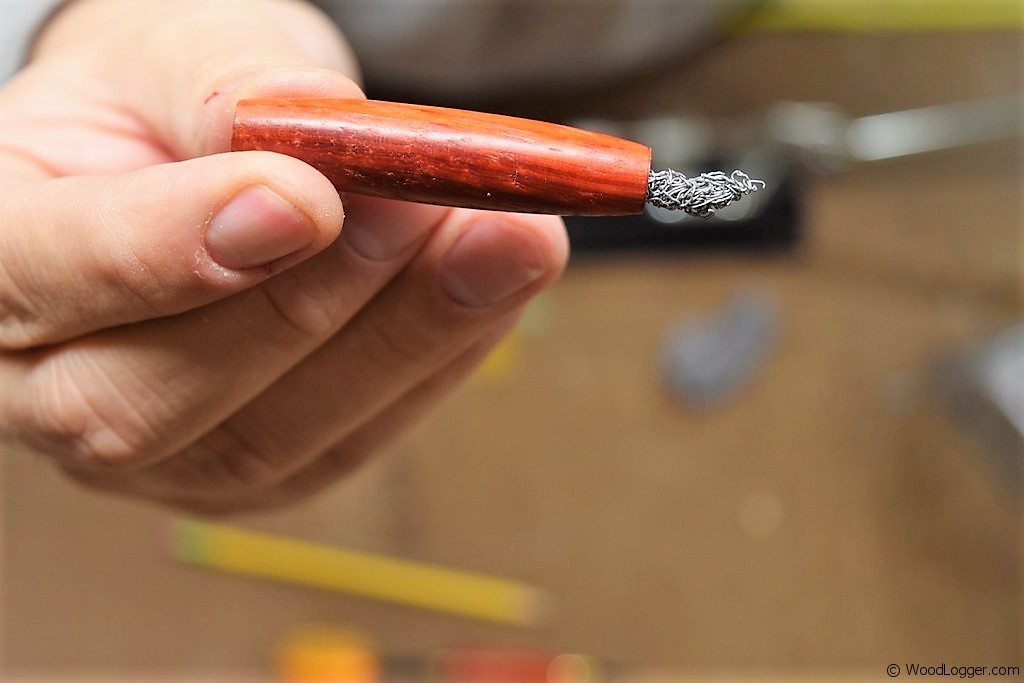
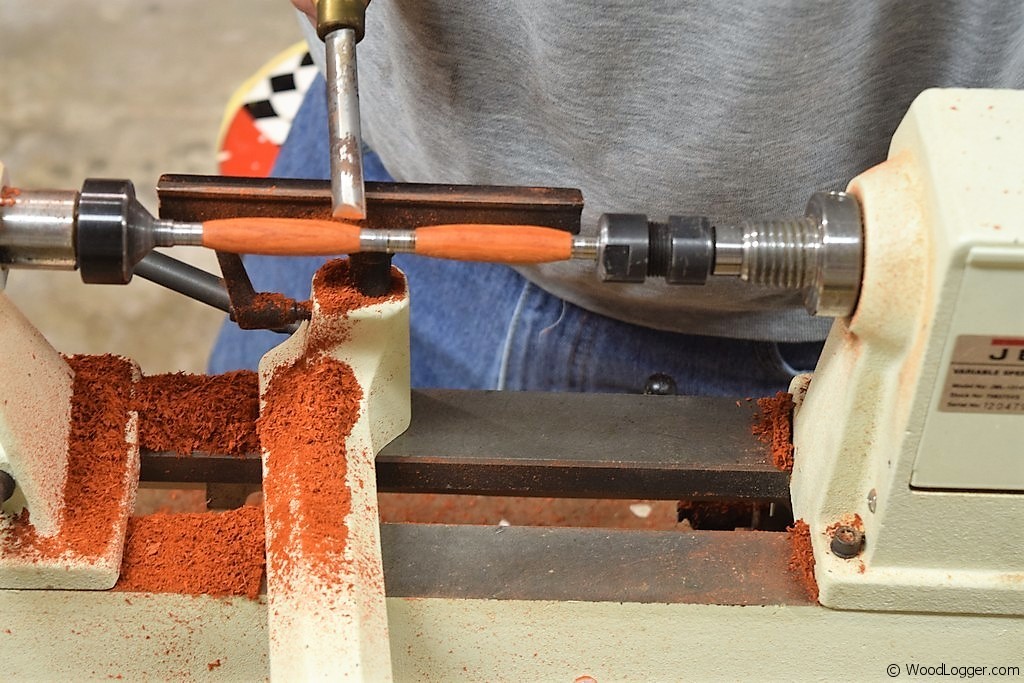 | After the glue has dried, insert the blank using the bushings designed for this kit onto the mandrel. As the blank is fairly large there isn’t a lot of turning required on this one. I like to start with a bowl gauge until the rough edges are gone and then move to a skew. To finish off the blank I worked my way through a set of 5 different sandpapers. Starting at a grit of 150 and working my way up to 600 grit. I then applied a coat of EEE Ultra-Shine and then a small amount of ShellaWax. |
  | For the assembly I used some of the included iron weight to balance the darts and attain a weight of 14 grams. This is a nice feature of this kit. You can add as much weight to your darts to attain the weight and feel that you want.
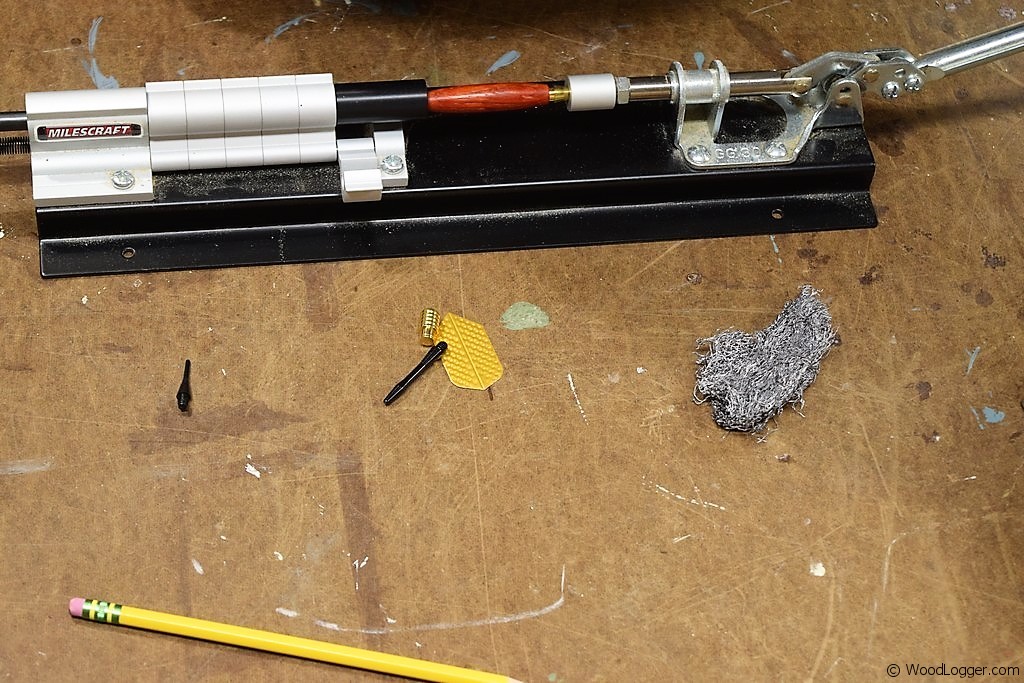
The last step for your darts is to insert the caps for the nose and tail fittings. I used a pen press to help with mine. If you’re going to get serious about turning pens or working on kit projects like this, then a pen press is an essential part of this. I really like the milescraft pen press kit show in the picture. |
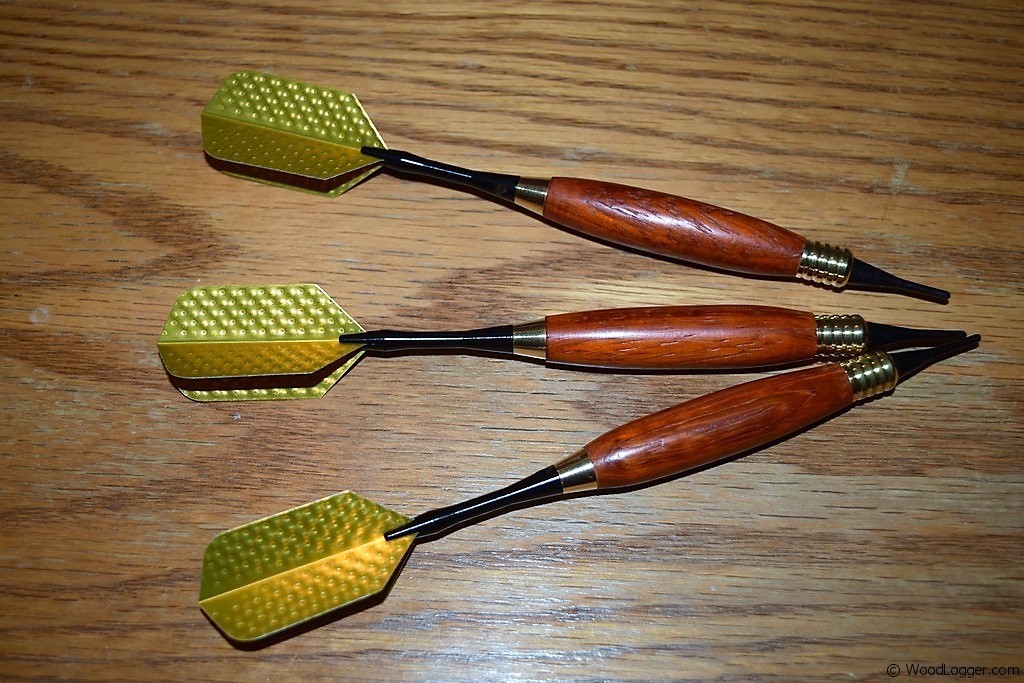
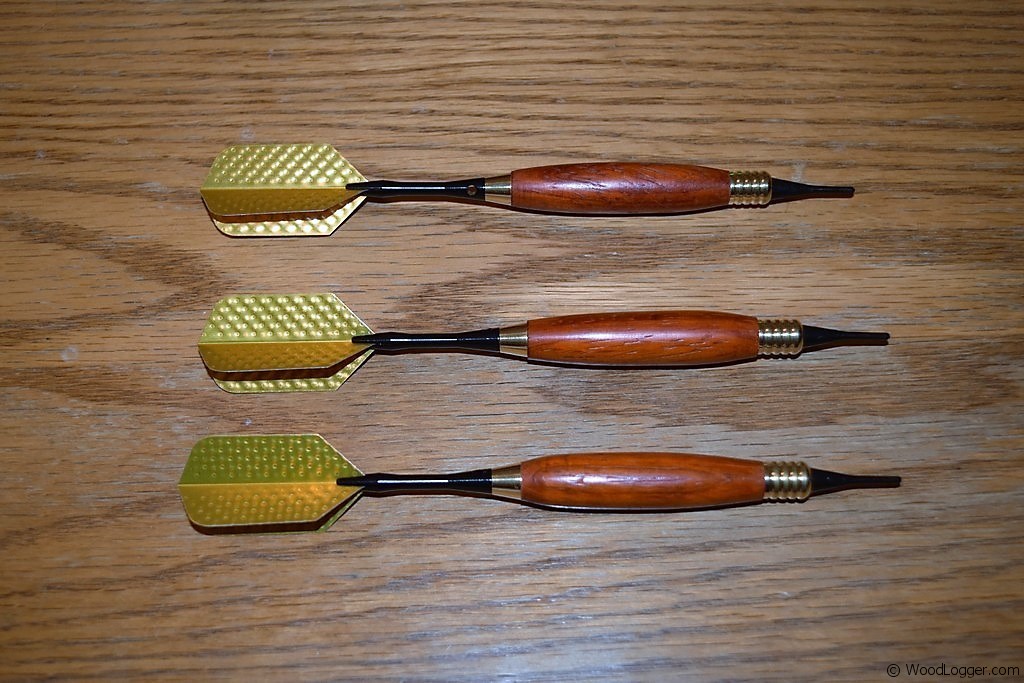 | After everything is assembled there are three darts that make up the kit. This really is a fun and easy turning kit to make. Having the ability to make your darts look, feel, and weigh exactly how want is a great bonus. |
I was given a big piece of lignum vitae or iron wood. what can i make from it. It is really hard
I made a custom dart board surround about 6 months ago for a client. I wish I knew about these then. My customer would have loved them. Thanks for sharing!!