How to Build A Raised Garden Bed
- Facebook105
- Twitter17
- Pinterest743
- Mix
- Tumblr11
- Print499
- E-mail296
- 1.7Kshares
 About a year ago, I built a raised garden bed, and it worked out so well that I decided to make another one. Raised garden beds are not only easy and quick to build (usually just a few hours), but they offer a variety of benefits for your garden. They improve soil drainage, reduce weed growth, and make it easier to control the quality of your soil. Plus, they’re easier on your back when it comes to planting and harvesting!
For this project, I used rough-sawn, untreated cedar—an ideal choice for outdoor use because it’s naturally resistant to rot and insects. When choosing lumber for your own raised bed, I highly recommend untreated wood to avoid any chemicals leaching into your soil, especially if you’re growing vegetables. Cedar can last for many years outdoors, making it a long-term investment.
I made my bed 4 feet wide by 8 feet long and 11-1/4 inches deep. These dimensions make the project super simple since you can just cut three 8-foot boards in half for the sides. For the corner posts, I used sturdy 4″ x 4″ cedar, and I held everything together with 2-1/2″ screws. The 4-foot width also allows easy access from either side, which is important for tending to plants without stepping into the bed and compacting the soil.
If you’re placing the bed directly on soil, consider adding a weed barrier at the bottom to keep invasive plants at bay. If you skip the barrier, it’s essential to clear any existing vegetation and turn the soil a couple of times to ensure your plants have the best start. Whether you’re growing veggies, herbs, or flowers, raised garden beds offer a great way to optimize your garden space and make tending to your plants more enjoyable.
If you make one of these be sure to post a picture of it over on the WoodLogger Facebook Page. I’d love to see how yours turns out.
Material List
- (9) 2″ x 4″ x 8′ Untreated Cedar (I used rough cut cedar)
- (1) 4″ x 4″ x 8′ Untreated Cedar (I used rough cut cedar)
Cut List
- (6) Ends – 2″ x 4″ x 4′
- (6) Anchors – 4″ x 4″ x 11 1/4″ (Check the actual width of (3) 2″x4″ to ensure the length of the anchor)
Milling & Assembly
 | For the lumber I used (9) 2″x 4″x 8′ untreated cedar boards and (1) 4″ x 4″ x 8′ untreated cedar board. I also used rough sawn cedar boards, but that is strictly a preference. Whatever lumber you choose be sure it’ll hold up well outside and be sure it’s untreated as you don’t want any chemicals leaching into the dirt. |
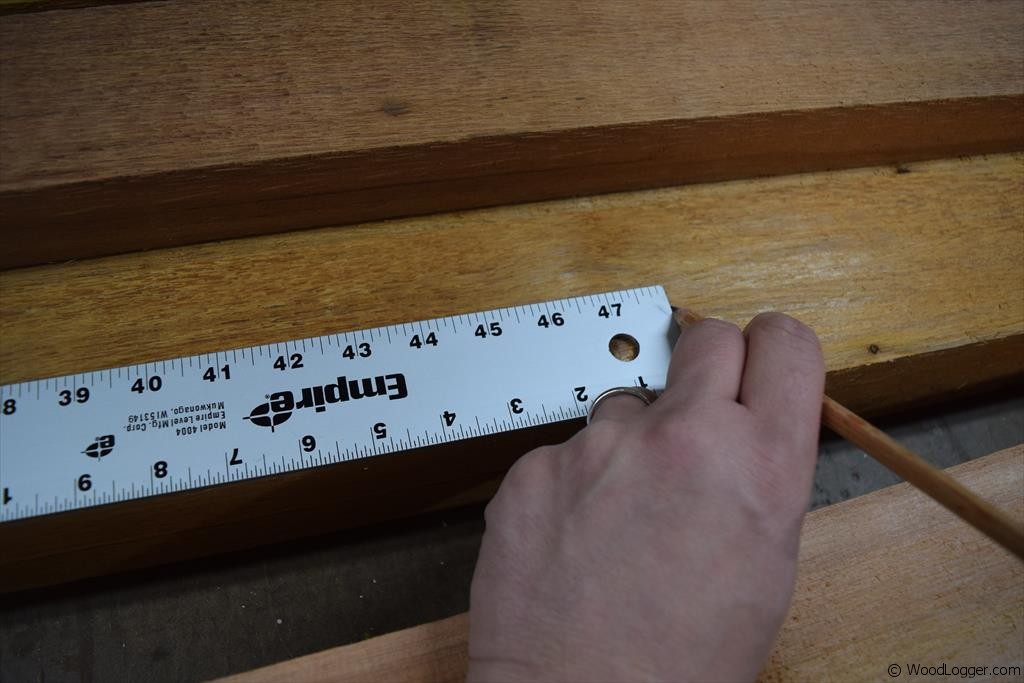 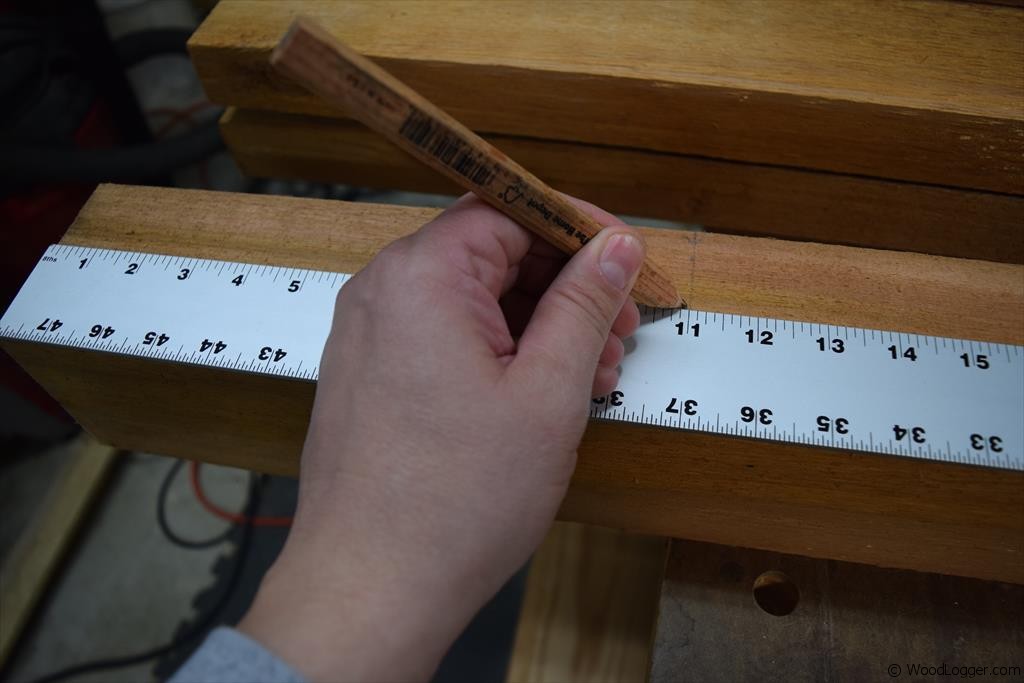 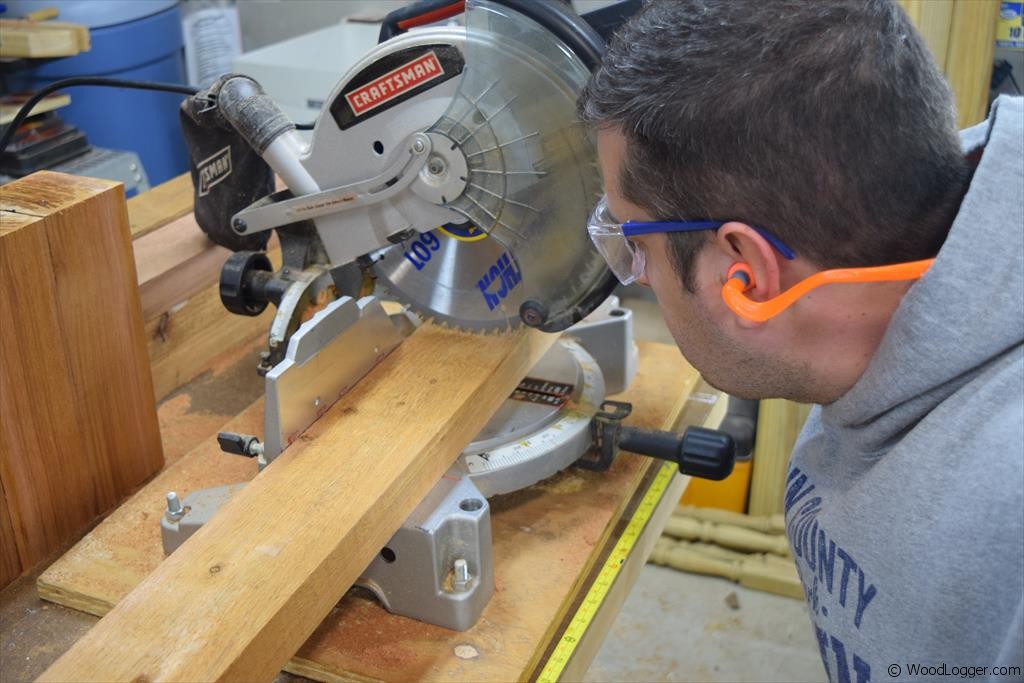 | To get started on the rough cuts for the raised garden bed I measured (3) of my 2 x 4’s and cut them in half giving me my end boards. Next I measured out my 4 x 4 posts to a length of 11 – 1/4″ (which is the same length as three 2×4’s). |
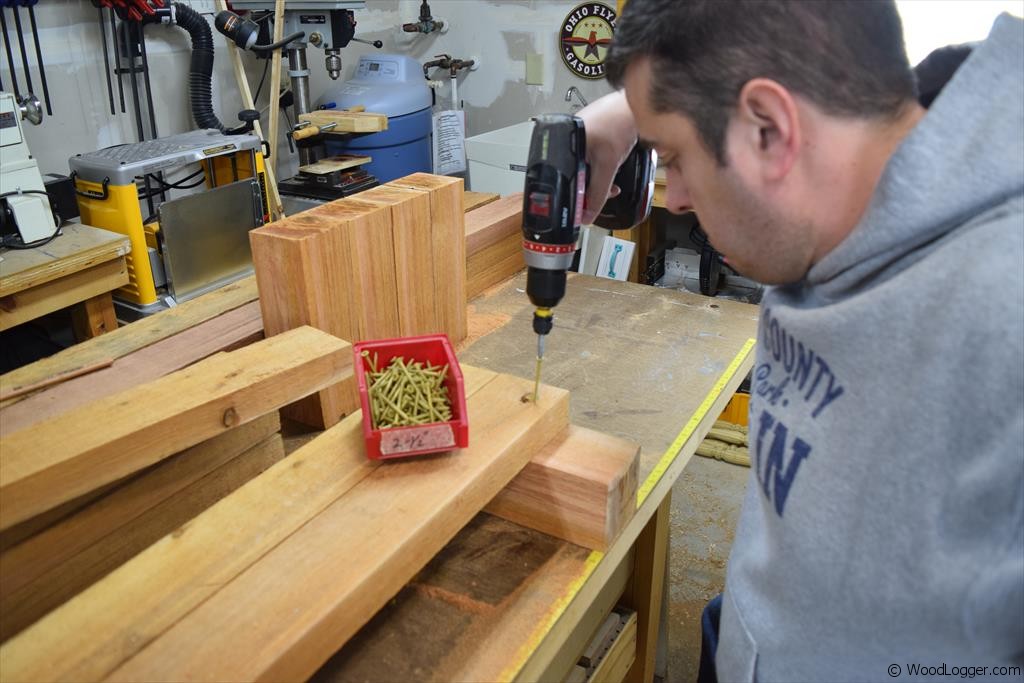 | To get started on the assembly I attached the end boards to the posts using 2-1/2″ screws. |
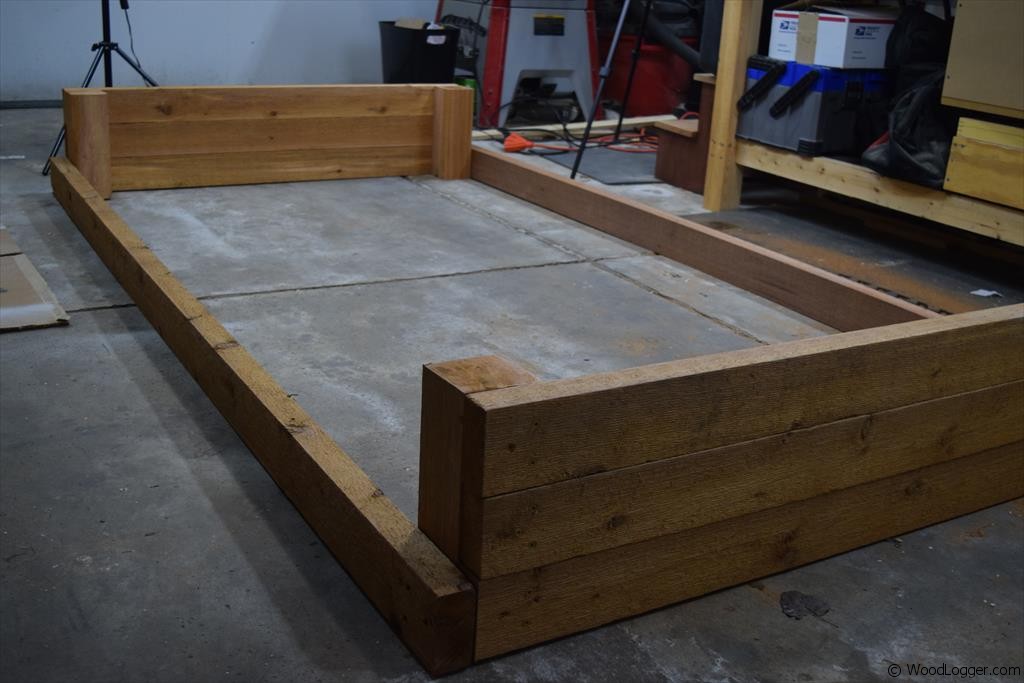 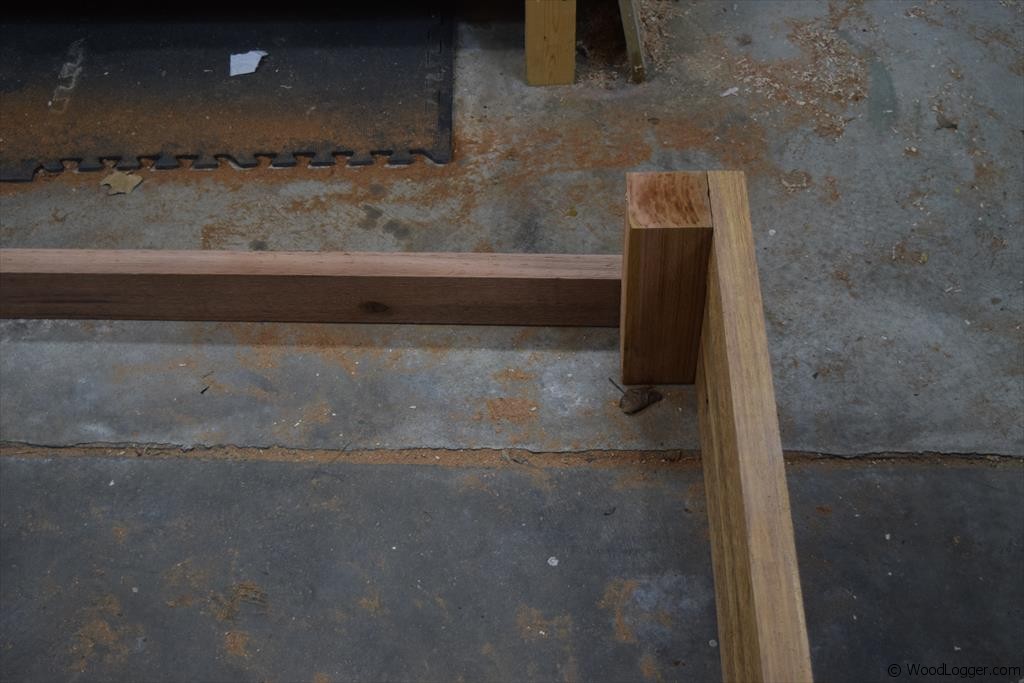 | After I had the end boards attached I then attached my 8′ boards to the posts. |
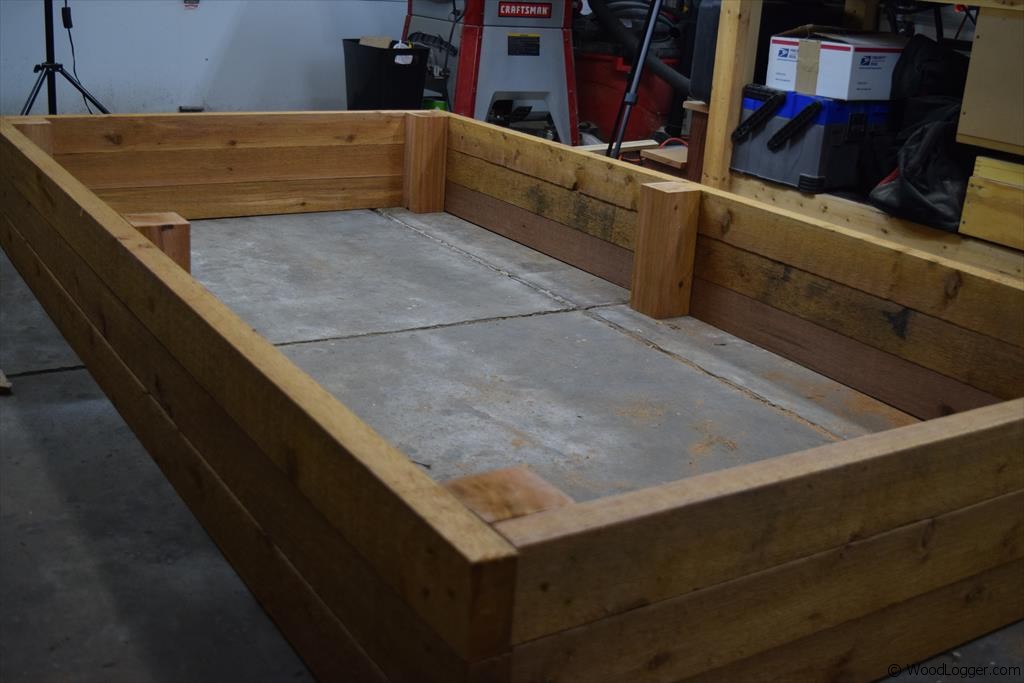 | Here is my raised garden bed; basically complete. I attached center posts in the middle of my 2 x 4 x 8’s. This might not be necessary but I wanted to avoid any warping in my boards. |
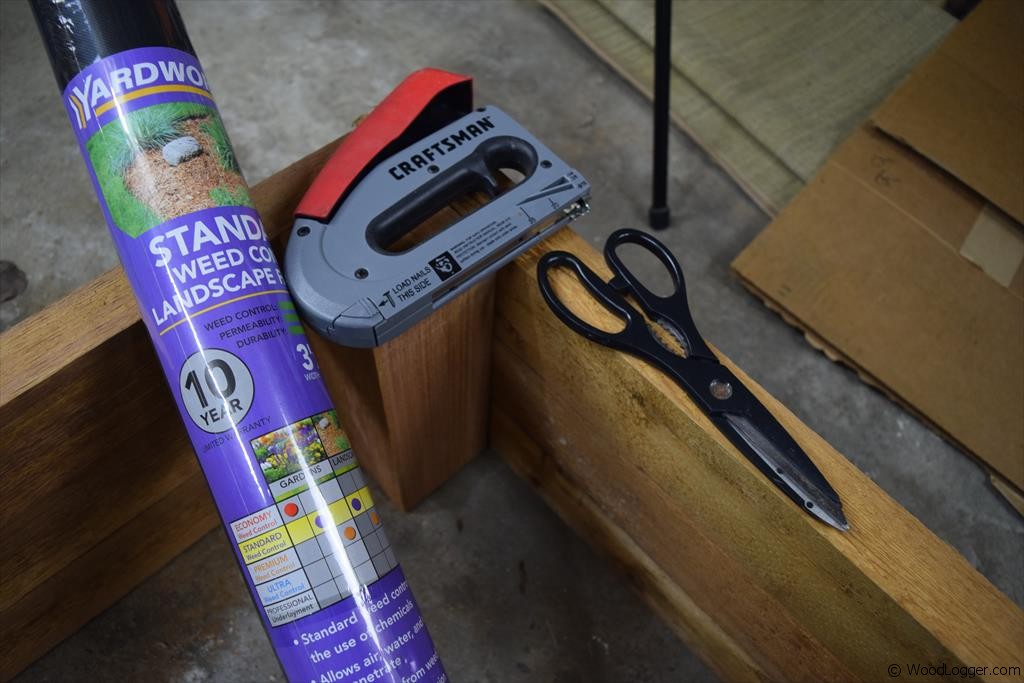 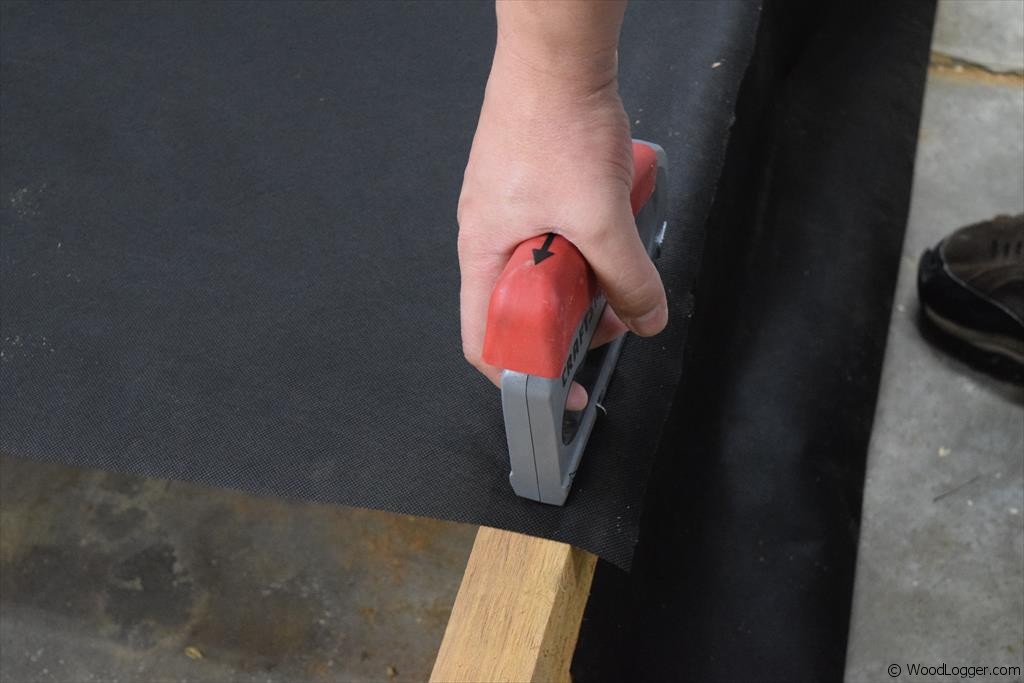 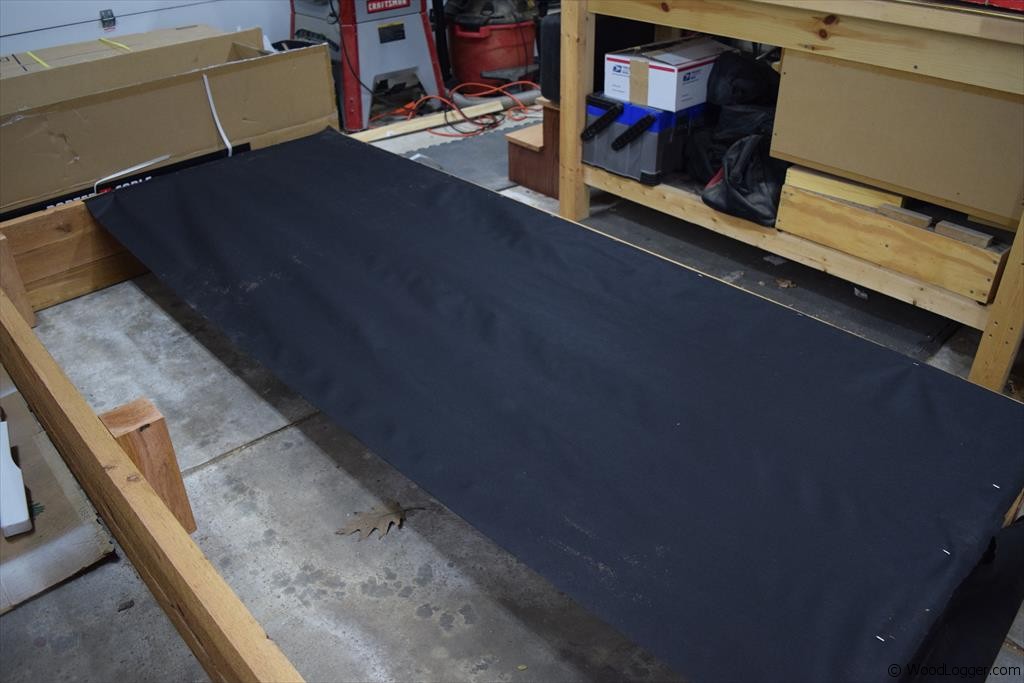  | Next up is an optional step.If you have good soil or want to use the soil under the box you don’t need to do this step. If however, like me you have not so great soil and want to use the soil in the box a weed barrier is an excellent item to add.To attach this, simply roll out a weed barrier cloth and cut and attach it to the box. I used staples to attach mine, but brads would work just as well. |
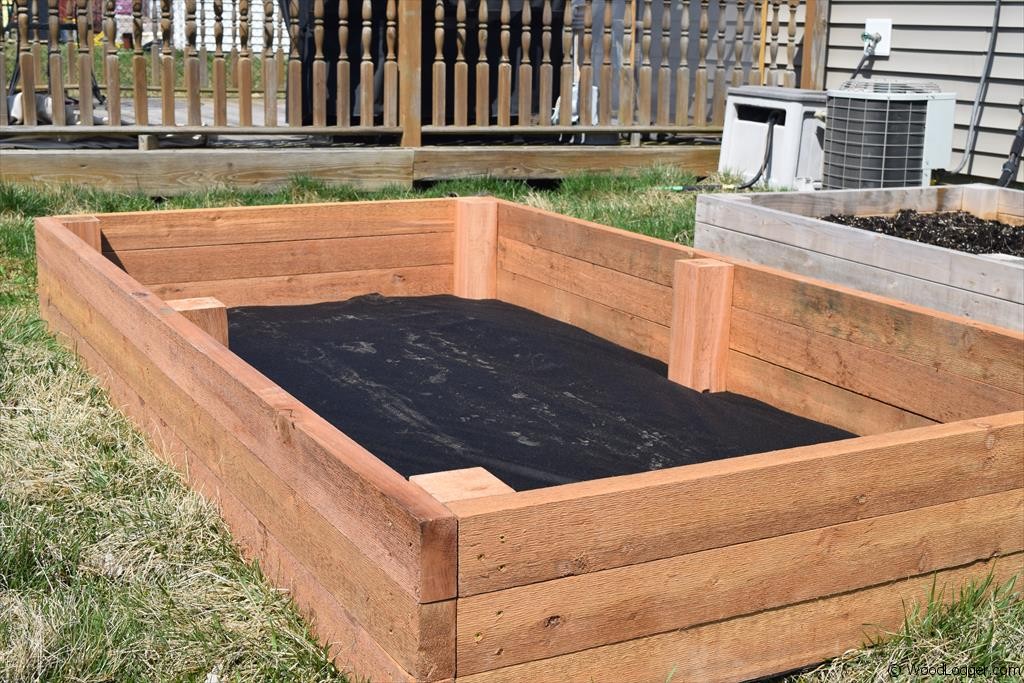
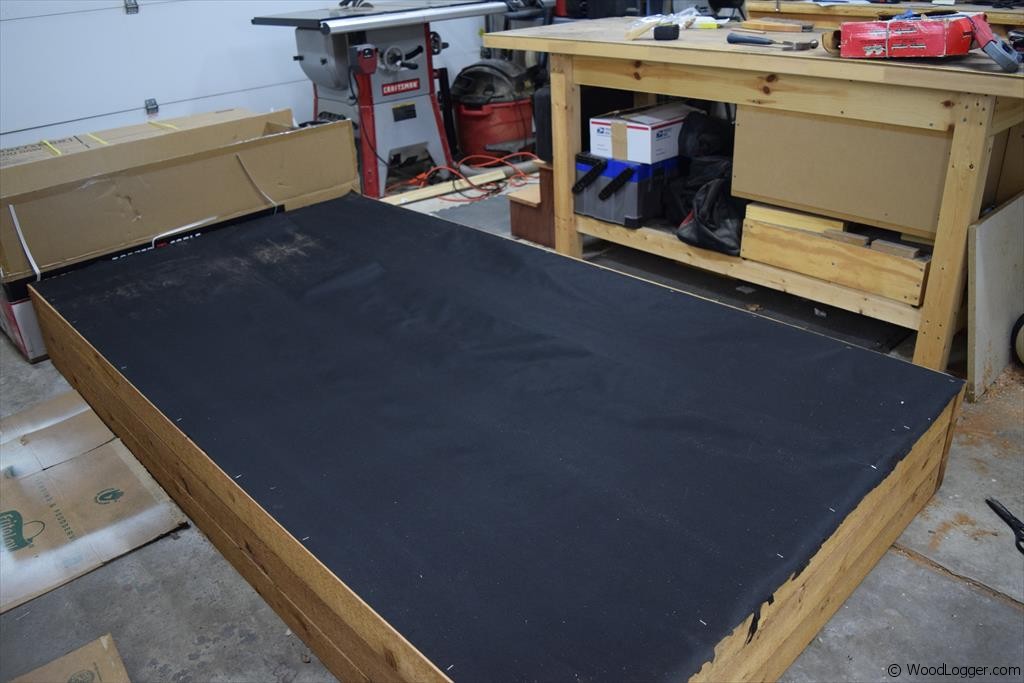
| | After I completed the Raised Garden Bed, I positioned it in my yard and flipped it over. All that’s left is to add dirt and grow your plants. |
Enter your email if you want a free subscription to this site(we’ll never share your email):
- Facebook105
- Twitter17
- Pinterest743
- Mix
- Tumblr11
- Print499
- E-mail296
- 1.7Kshares
Depending on where you live, 2 x 12s may be very hard to find and/or very expensive compared to 2 x 4s and even 2 x 6s or 2 x 8s. Apart from that, 2 x 12s should work just fine. An advantage of using multiple narrower boards is that you can replace just one if it gets damaged and not replace a whole side or end. A disadvantage of multiple narrower boards is that it can be hard to find boards that fit together nicely without gaps. So, there’s a trade off between cost, fit, and flexibility.
Hi WoodLogger,
At 1:30 you asked a question – When trees are cut into lumber, it is rough cut to full inch dimensions. (2″ = 2″). Then it is stacked and dried (wet wood is really heavy). After drying (and some warping), a little bit (1/8″) is removed off each surface, ensuring each piece is the same size. This makes the original rough cut board (2″ x 4″) into finished cut board (1 3/4″ x 3 3/4″).
Are 3 – 2×4 boards or 2 – 2×6 better for the raised bed? (Ignoring any slight cost advatage.)
I would go with two 2×6”. Sturdier and less board gaps.