Home ProjectsPet ProjectsProjects
Cat Window Perch
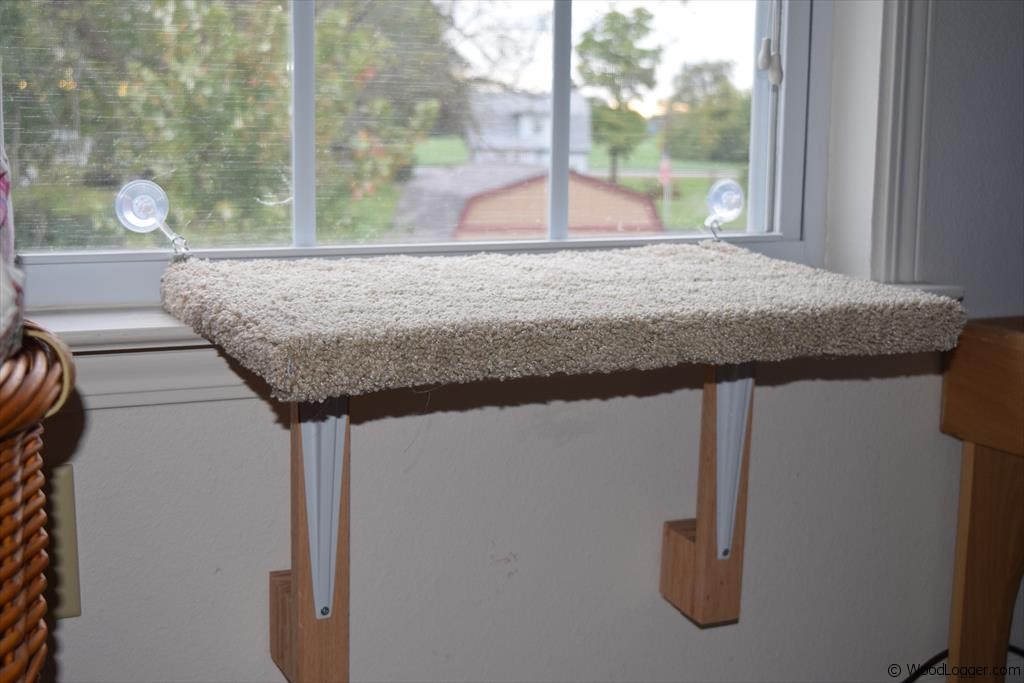 I’ve been wanting to make or buy a cat window perch or bed for awhile now. I looked around at quite a few available in stores and also looked at different project plans. I found a plan from a book titled: Birdhouses & More by A.J. Hamler. It’s a great book and the plan was extremely easy to follow. The amount of lumber needed for this project is minimal. In fact I was lucky enough to make the entire thing out of scrap lumber. The carpet on top of the window cat perch is a simple bath mat that I picked up in a box store. This really is a fun and easy project to make and your cat will love it, and if you make one of these be sure to post it over on the Woodlogger Facebook Page. I’d love to see how yours turns out.
Cut List
- (2) 1 – 1/2 x 12″ Wall Railing
- Wall Railing Spacer (will vary on depth of window sill)
- (1) 13″ x 22″ Bed Board (I used 3/4″ plywood for mine)
Milling & Assembly
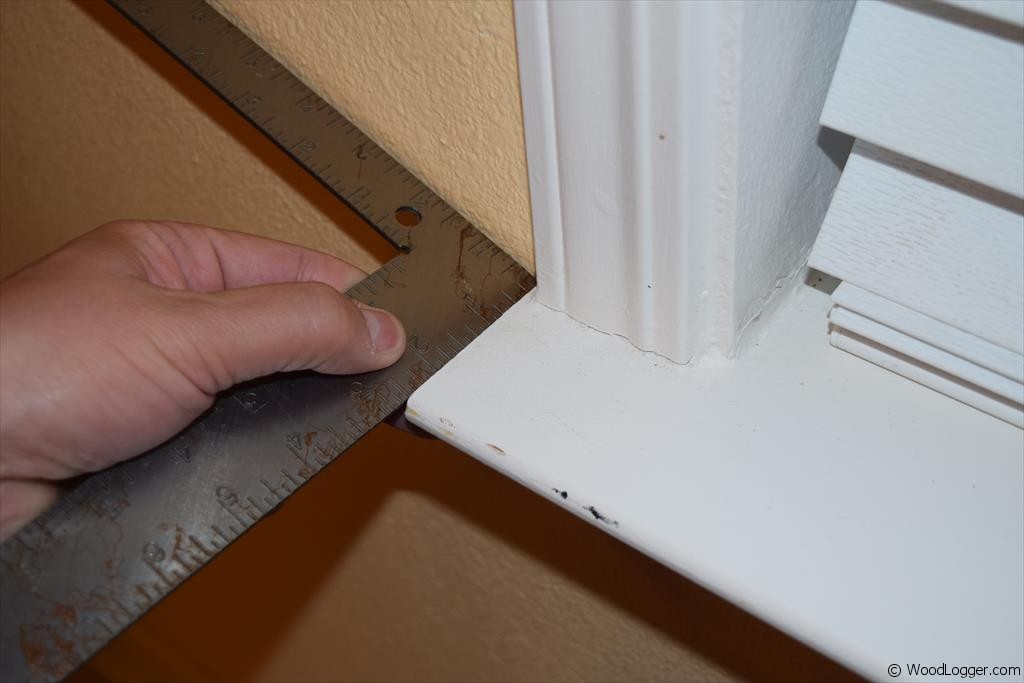 | The first thing I did to get started was to measure the length of my window sill from the wall to the end of the sill. I used the length to figure out how thick my support brackets would need to be from the bottom of the cat perch to the wall. |
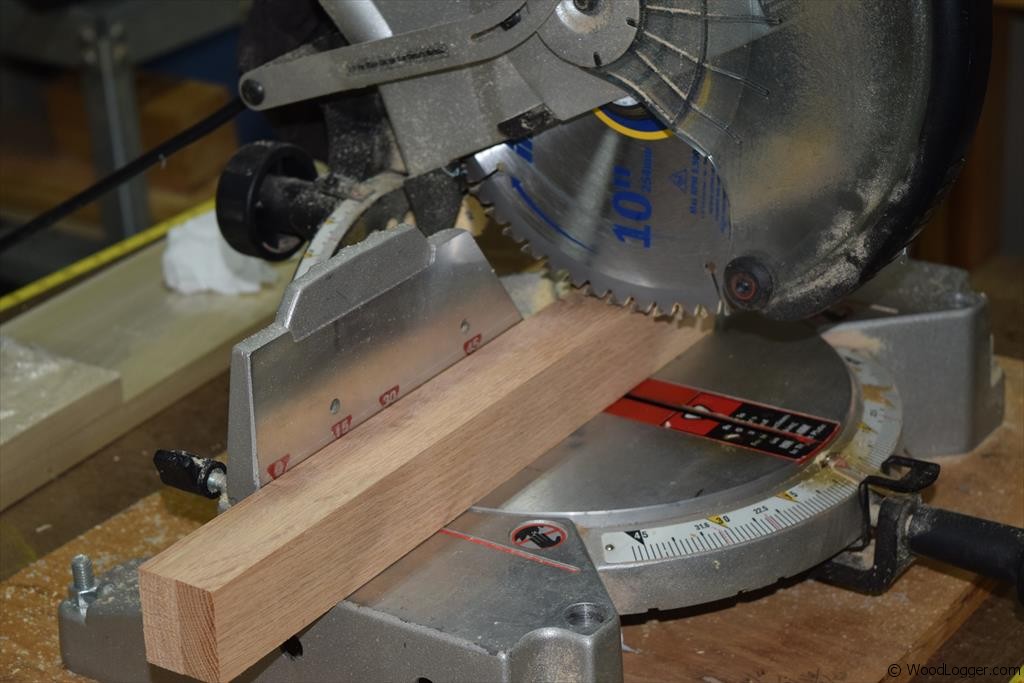 | I cut the legs and small spacers with a miter saw. I made mine 12″ in length to support the angle bracket. |
 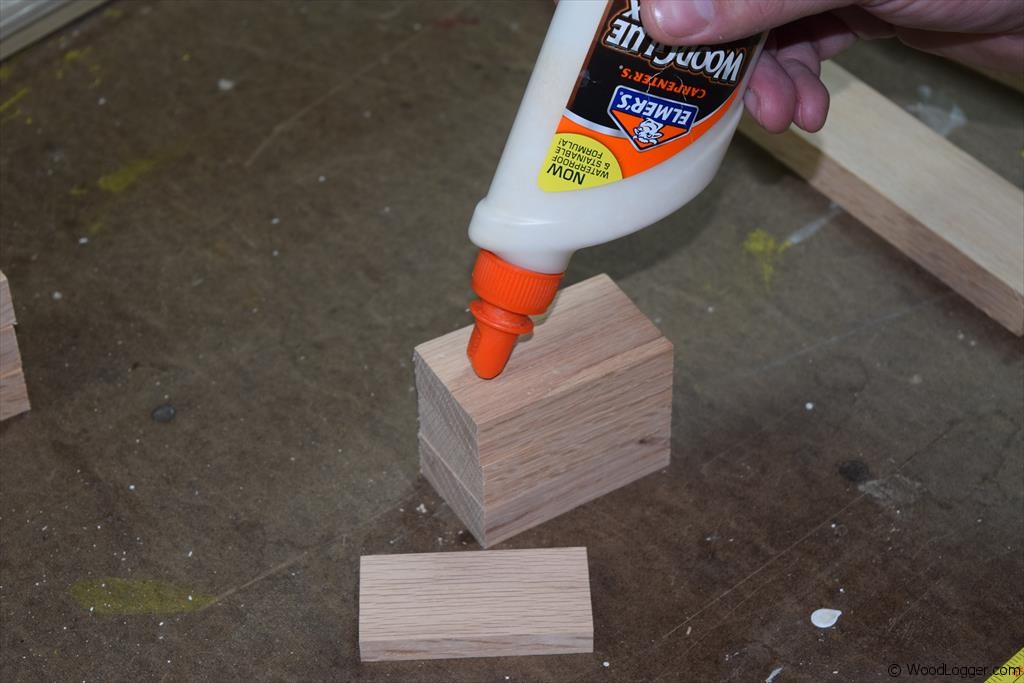 | For the support legs, I needed to make the bottom of these thick enough to rest up against the wall under the window sill. I cut small spacers and used glue to secure it all together. |
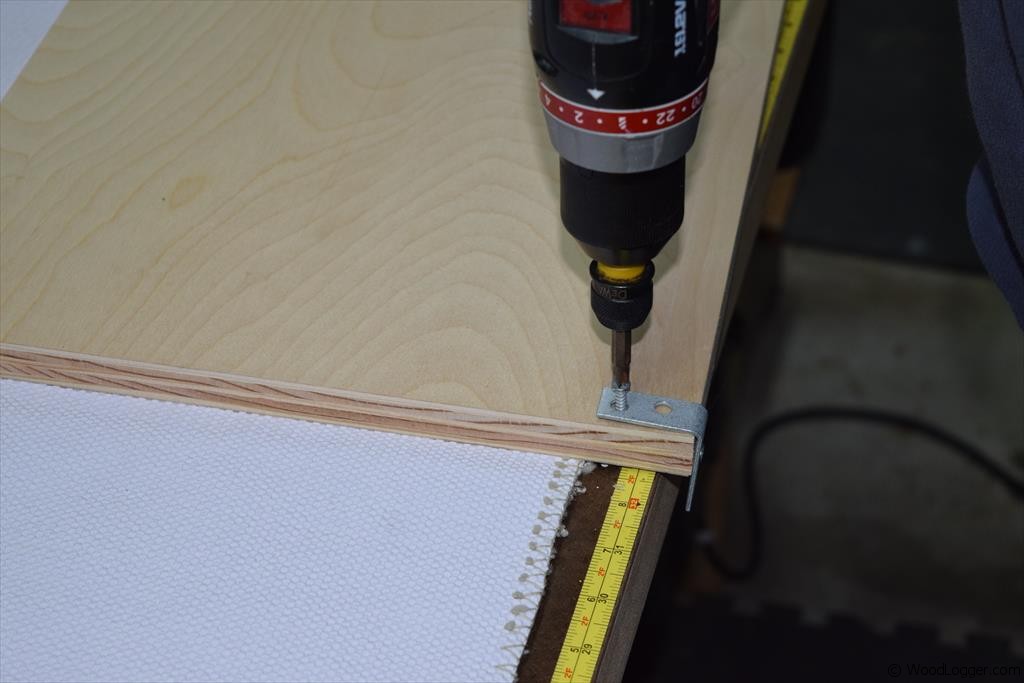 | Before securing the carpet to the cat perch I attached angle brackets to the ends of my board. This will be used to help secure it to a window when you’re ready to install it. |
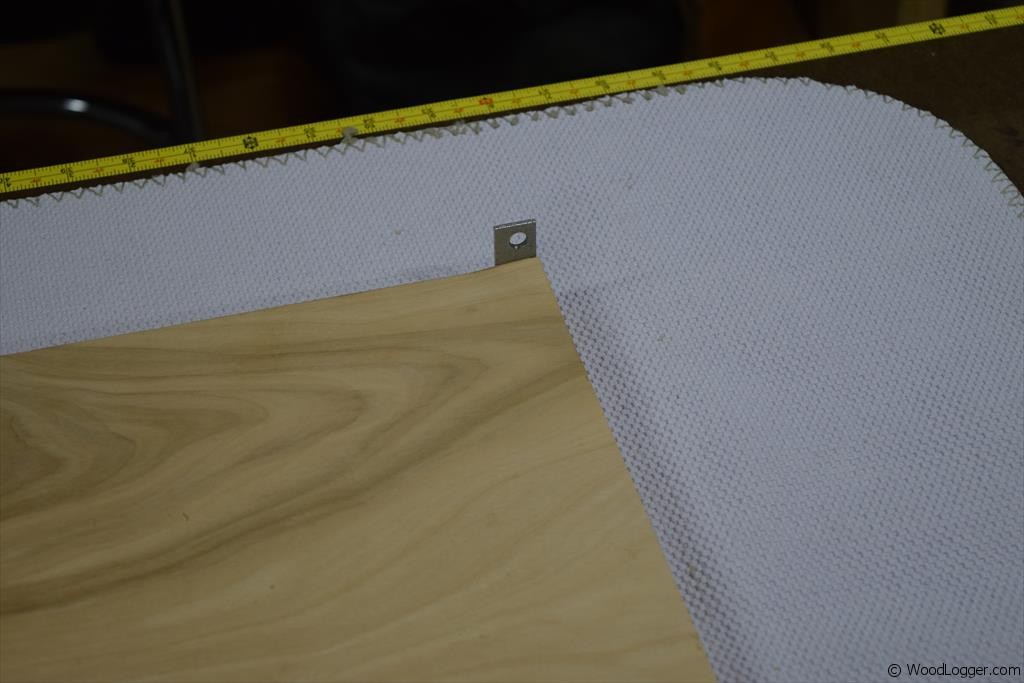 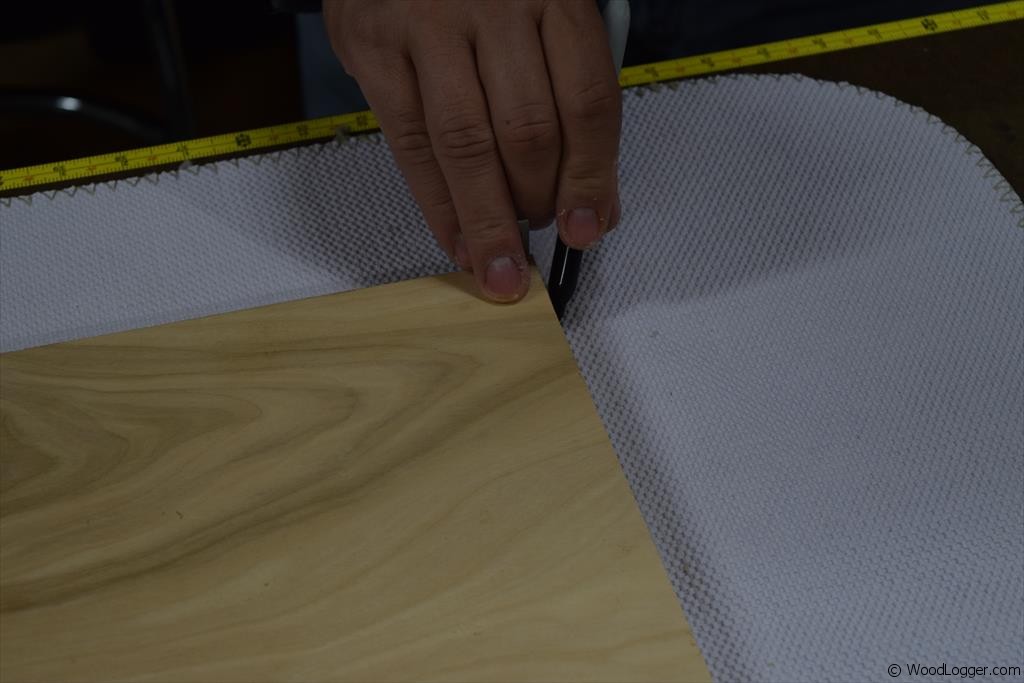 | For the carpet that goes on top of the perch/bed I used a bath carpet that I picked up at a box store. To fit it to the board I marked up the edges and cut angles on each side so I would know where and how far to cut the carpet. |
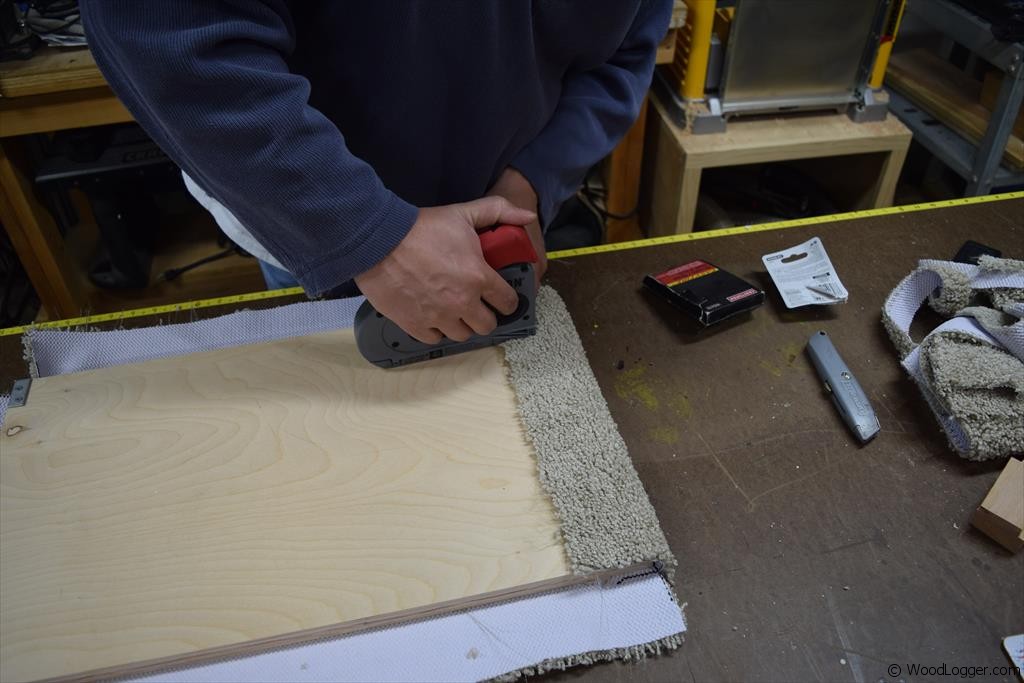 | After getting everything cut out, I folded over the carpet and pulled it snug. I used staples to hold the carpet in place. |
 | Next up I attached the brackets to the support legs, and then attached the other end of the brackets to the bottom of the bed. |
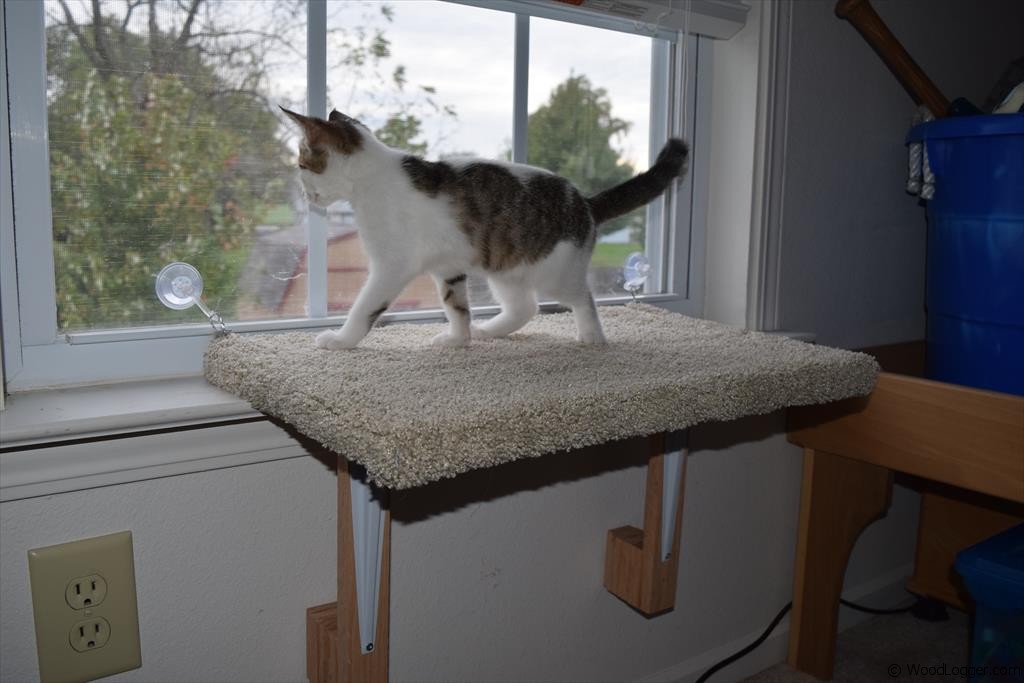 | To install the cat perch I used suction cups to help hold it in place. |
Enter your email if you want a free subscription to this site(we’ll never share your email):
Items Used to Finish this
Great job on the window perch. That looks like one happy cat!