The Kreg K5 jig is a fantastic tool that woodworkers will find very helpful. In the review below I’ll go over all of the key features that I thought were important. I’ll also speak a little bit about some of the other Kreg Jigs I use. As a bonus I made a simple picture frame using my K5. I’ll show you how I put that together.
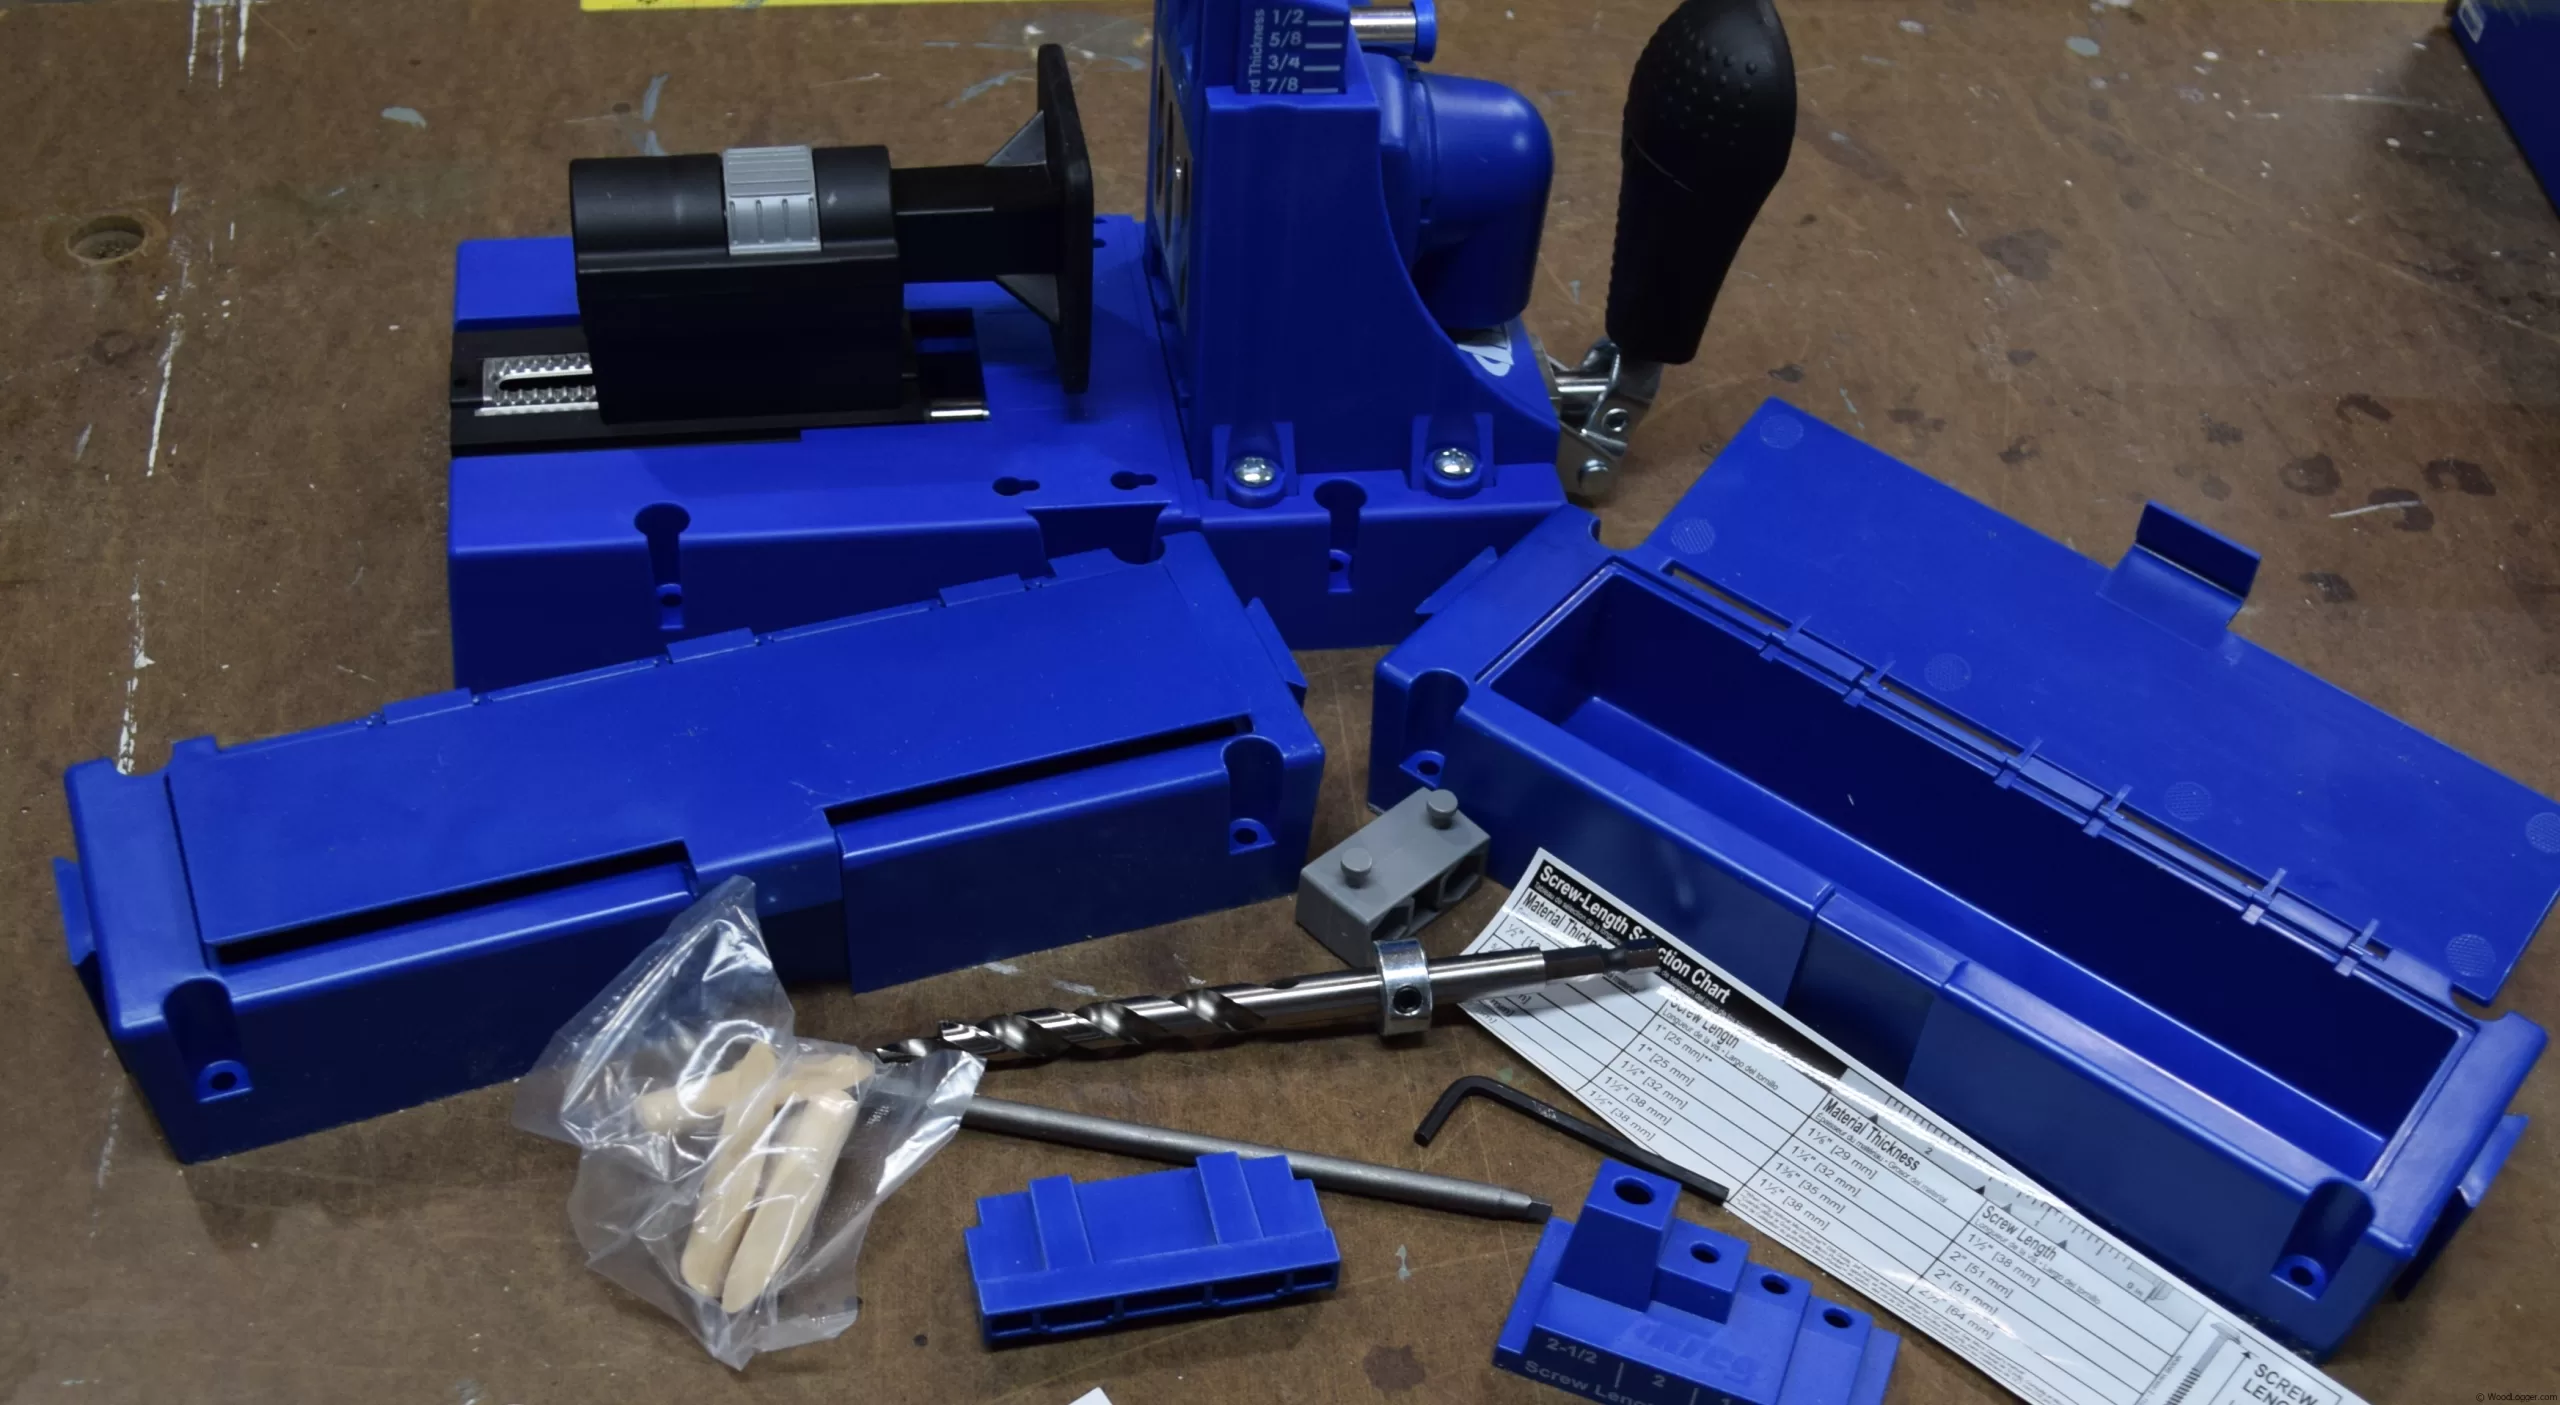
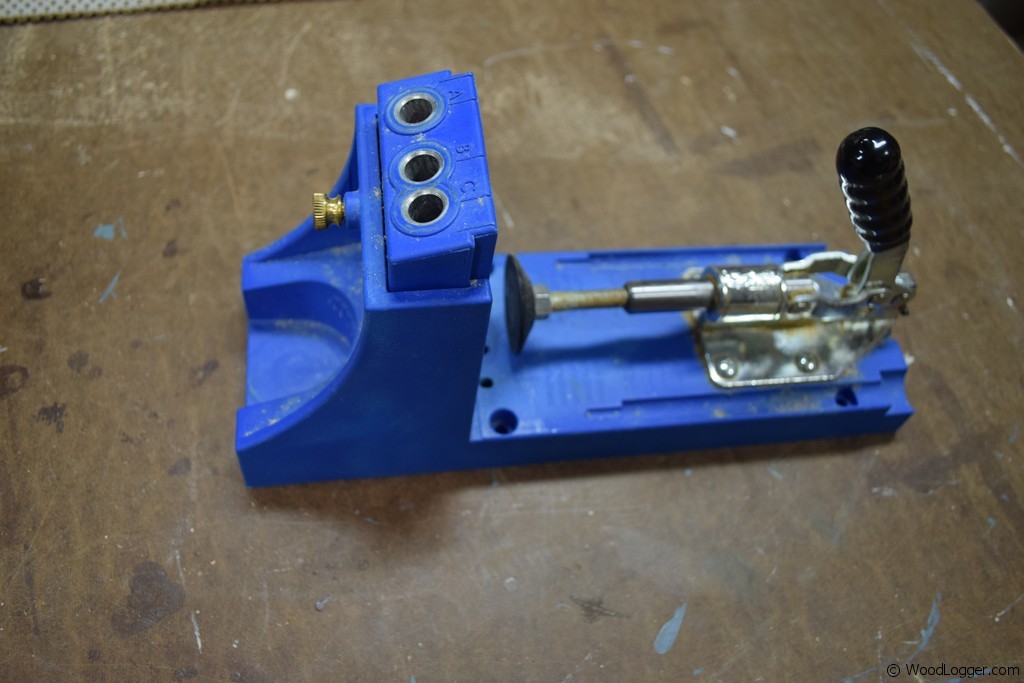
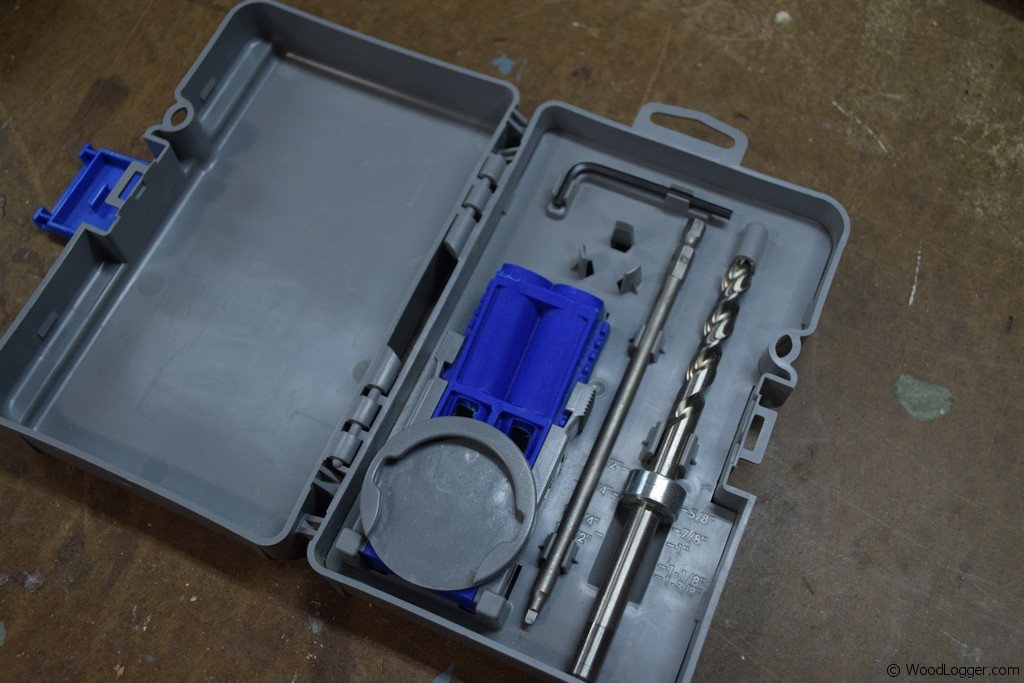
Features included with the Kreg K5
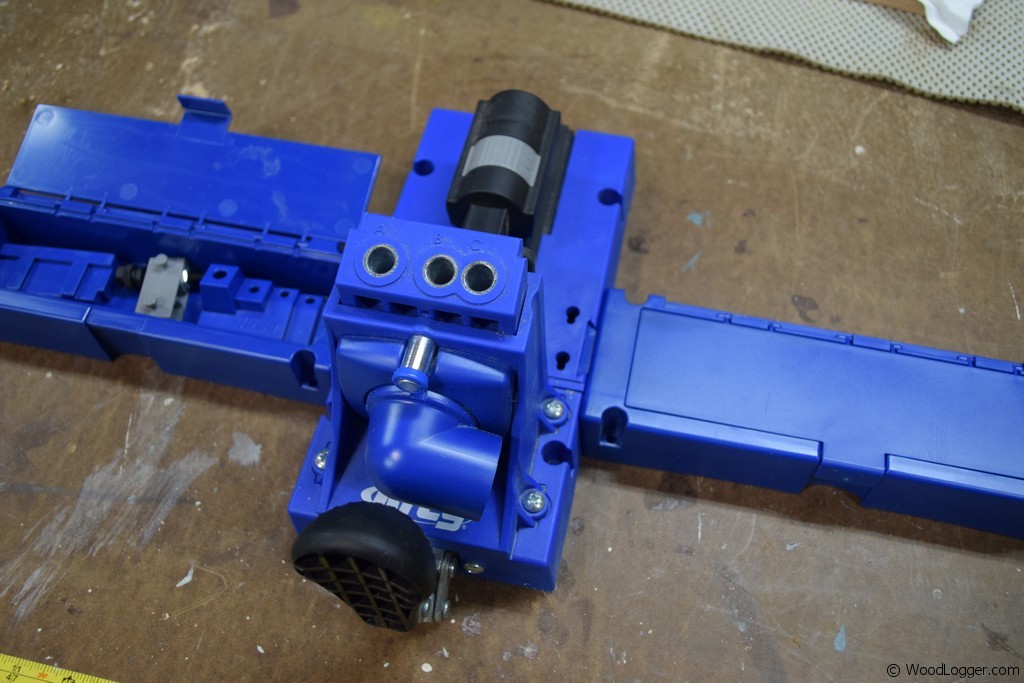
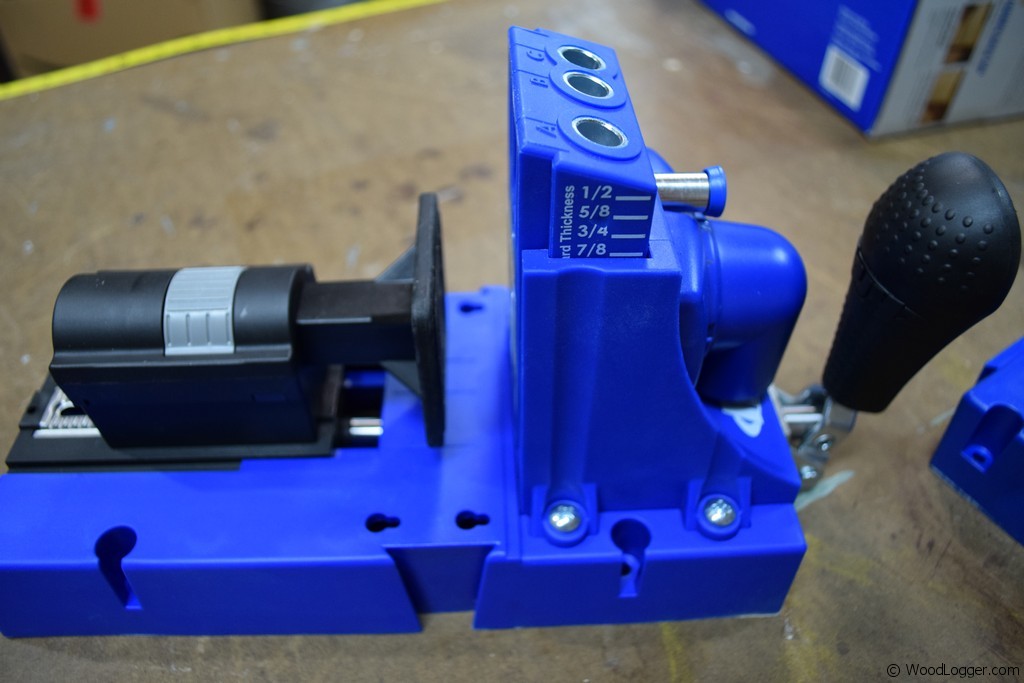
- Kreg K5 Base
- 2 Extension Wings
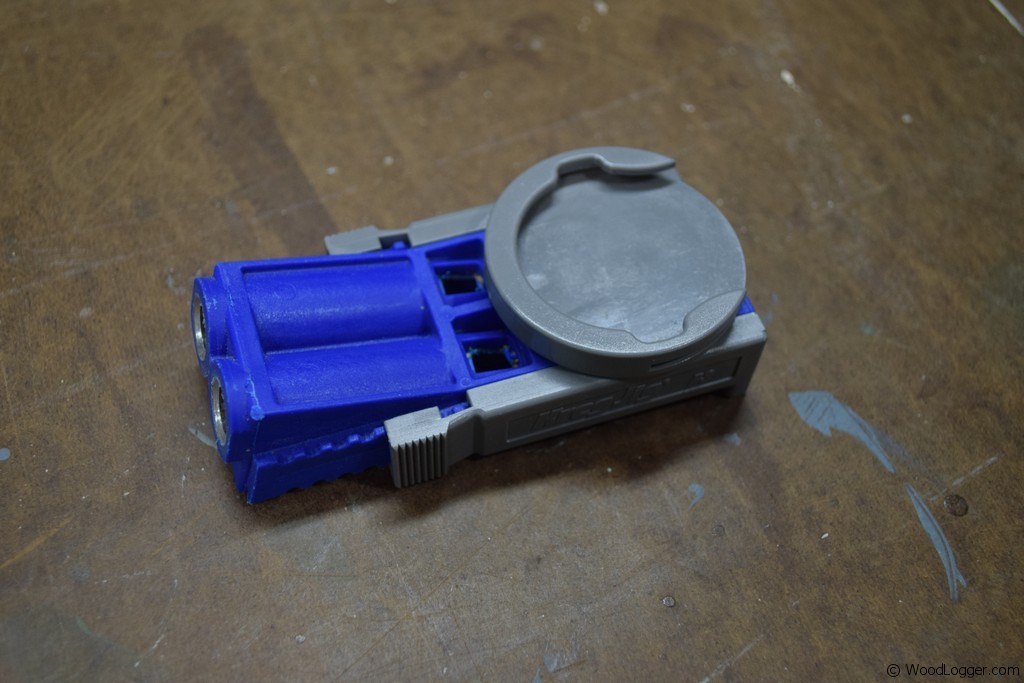
- Dust Collection Port
- Spacer Block
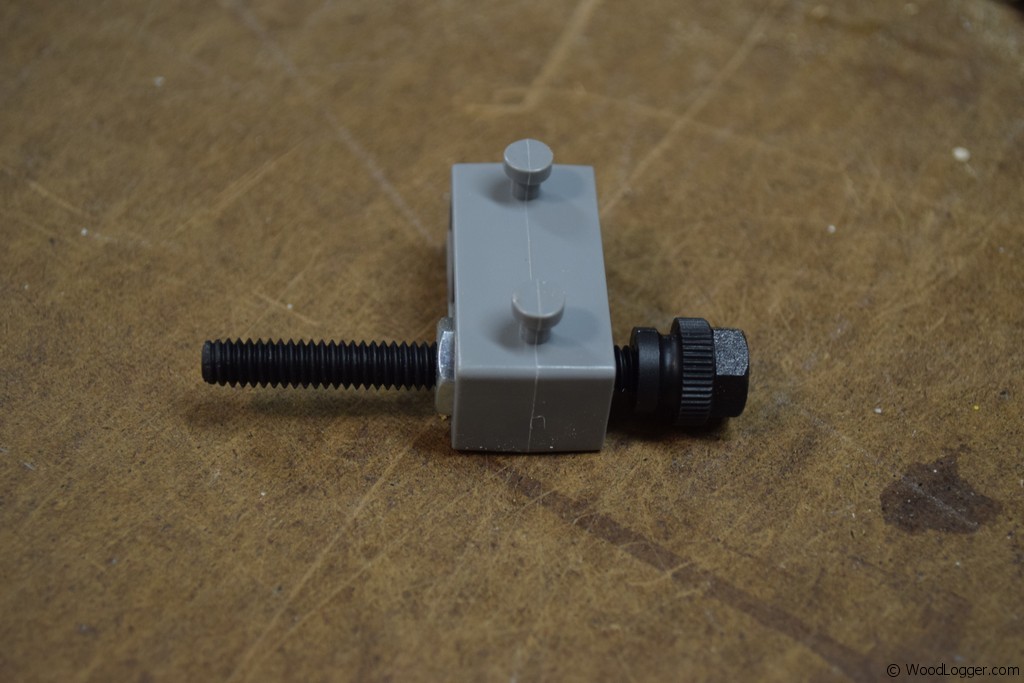
- Stop Block
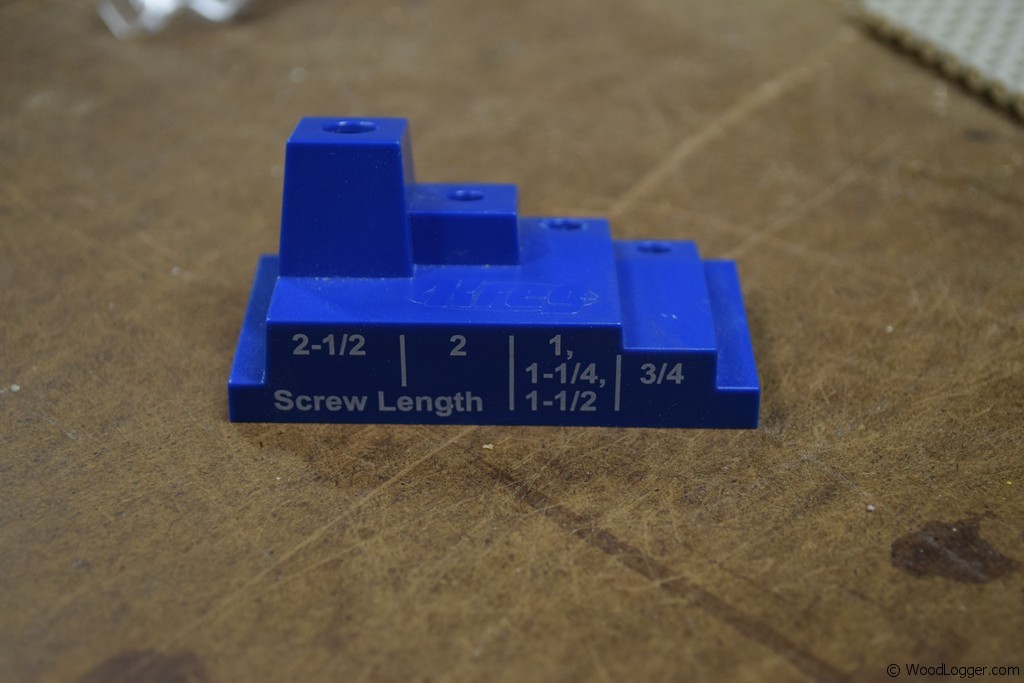
- Drill Bit Block
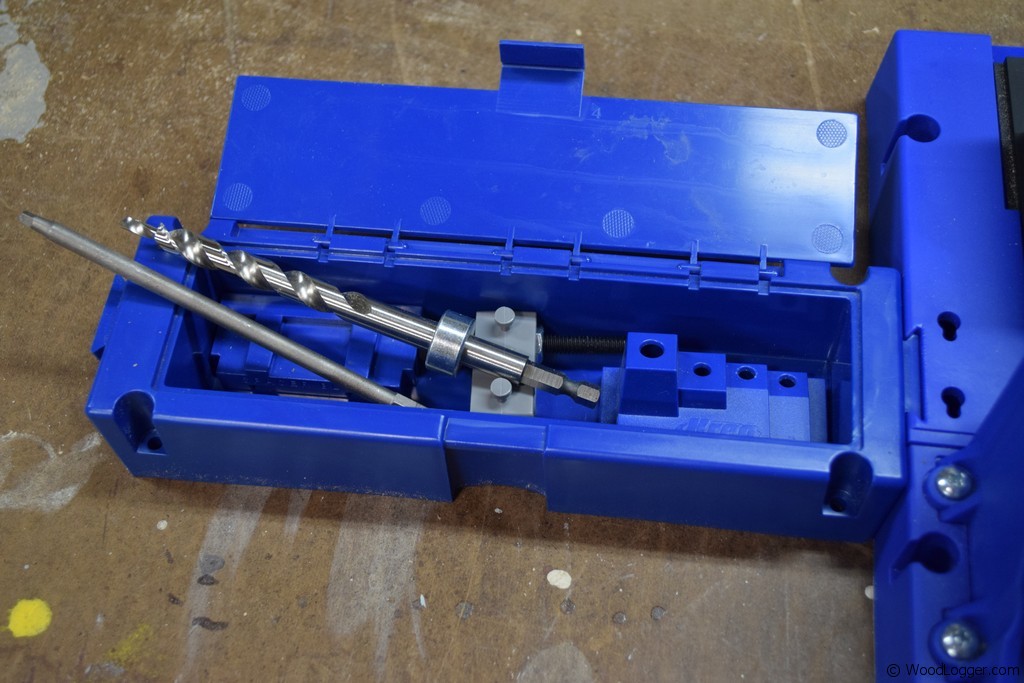
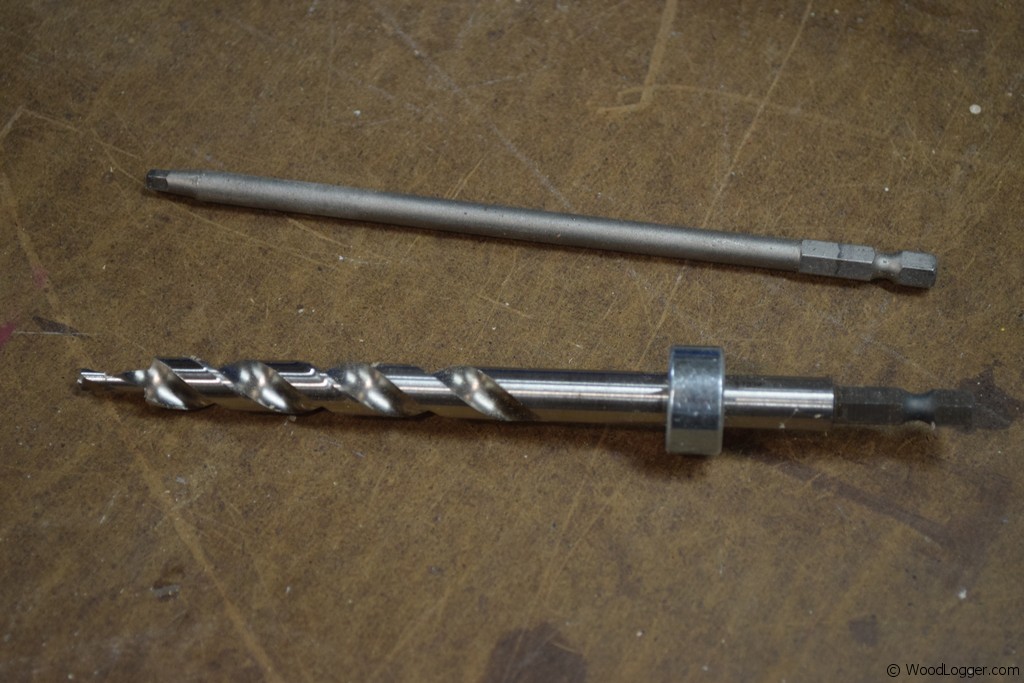
- Drill Bit with stop collar
- Driver Bit – 6″
- Starter Screw Set, and Guide Book
 |  |
 |  |
 |  |
Overall the Kreg K5 Jig is a really easy to use product. It feels rugged enough for the casual woodworker. A big plus is how sturdy it feels. Some of the other jigs I’ve seen are a little flimsy and don’t include very good instructions (if any at all). If you have a project where you’ll need to drill pocket holes, I think you’ll find that the K5 does an excellent job doing this. It’s reasonably priced at most big box stores that sell Kreg products or online at amazon.
A Few Other Kreg Jigs
The Kreg K4 jig is the jig that I have used the most. Similar to the K5 but with some obvious differences. The biggest being that the jigs clamp lever is located in the rear, not the front. The K4 (as of the date this was written) is still available online, and in big box stores.
The Kreg R3 is an excellent starter jig. It was the first Kreg Jig I ever owned. In theory you could do everything you want with just this one jig, although it would be a little difficult. The R3 is great if you only have a couple boards that need pocket holes.
The Kreg Jig Mini is the most basic pocket hole jig I think has ever been made. It is especially useful when you find you have missed a pocket hole drill out and you’re in the middle of assembly. This jig can be easily mounted to a board with a single clamp.

Pocket Hole Picture Frame
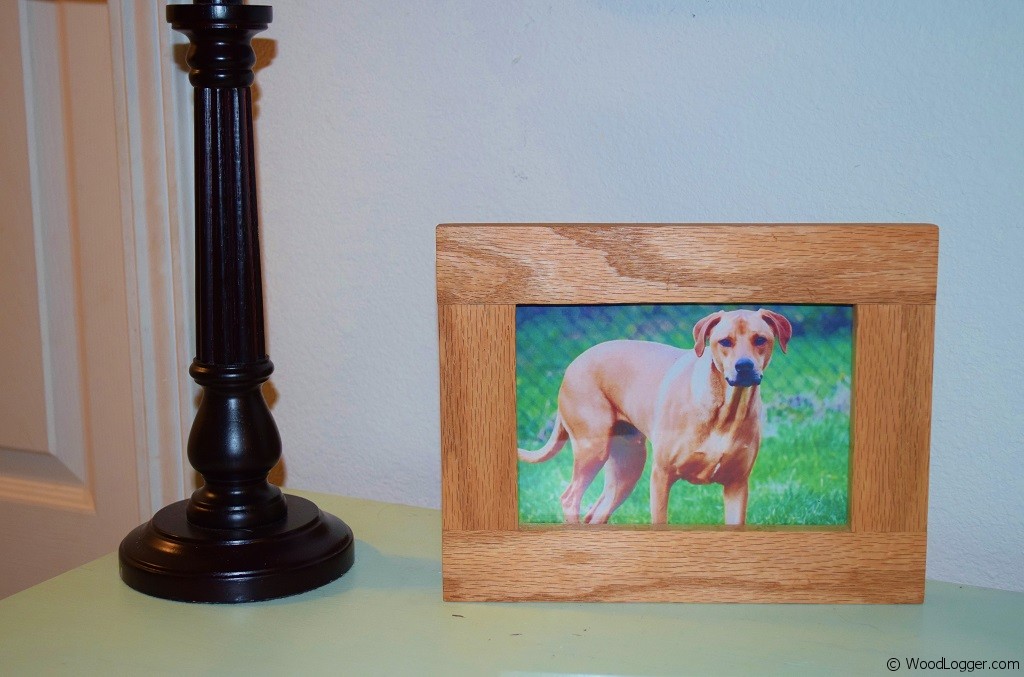 I made this picture frame using my Kreg K5 jig. It’s a simple design that holds a 5×7 picture. Pocket holes make it very easy to create these types of frames. Getting the dimensions correct on the inside can be a little tricky. I’ve included the dimensions that I used, but you may need to adjust a 1/16″ here and there as needed. Also in case you missed in the video above I go over some of the steps I used to make the frame.
If you make one of these be sure to post a picture of it over on the WoodLogger Facebook Page. I’d love to see how yours turns out.
Material List
(1) 1″ x 2″ x 4′ – Oak (You can use any wood you like, I chose oak)
(1) 1/8″ x 5″ x 7″ – Hardboard used for backing.
(1) 1/8″ x 5″ x 7″ – Clear acrylic (or glass)
Cut List
(2) 1-1/2″ x 9-3/4″ – Top and bottom
(2) 1-1/2″ x 4-3/4″ – Sides
(1) 4-7/8″ x 6-7/8″ – Hardboard Backing (You may need to make small adjustments to these dimensions)
(1) 5″ x 7″ – Hardboard Backing (You may need to make small adjustments to these dimensions)
Milling & Assembly
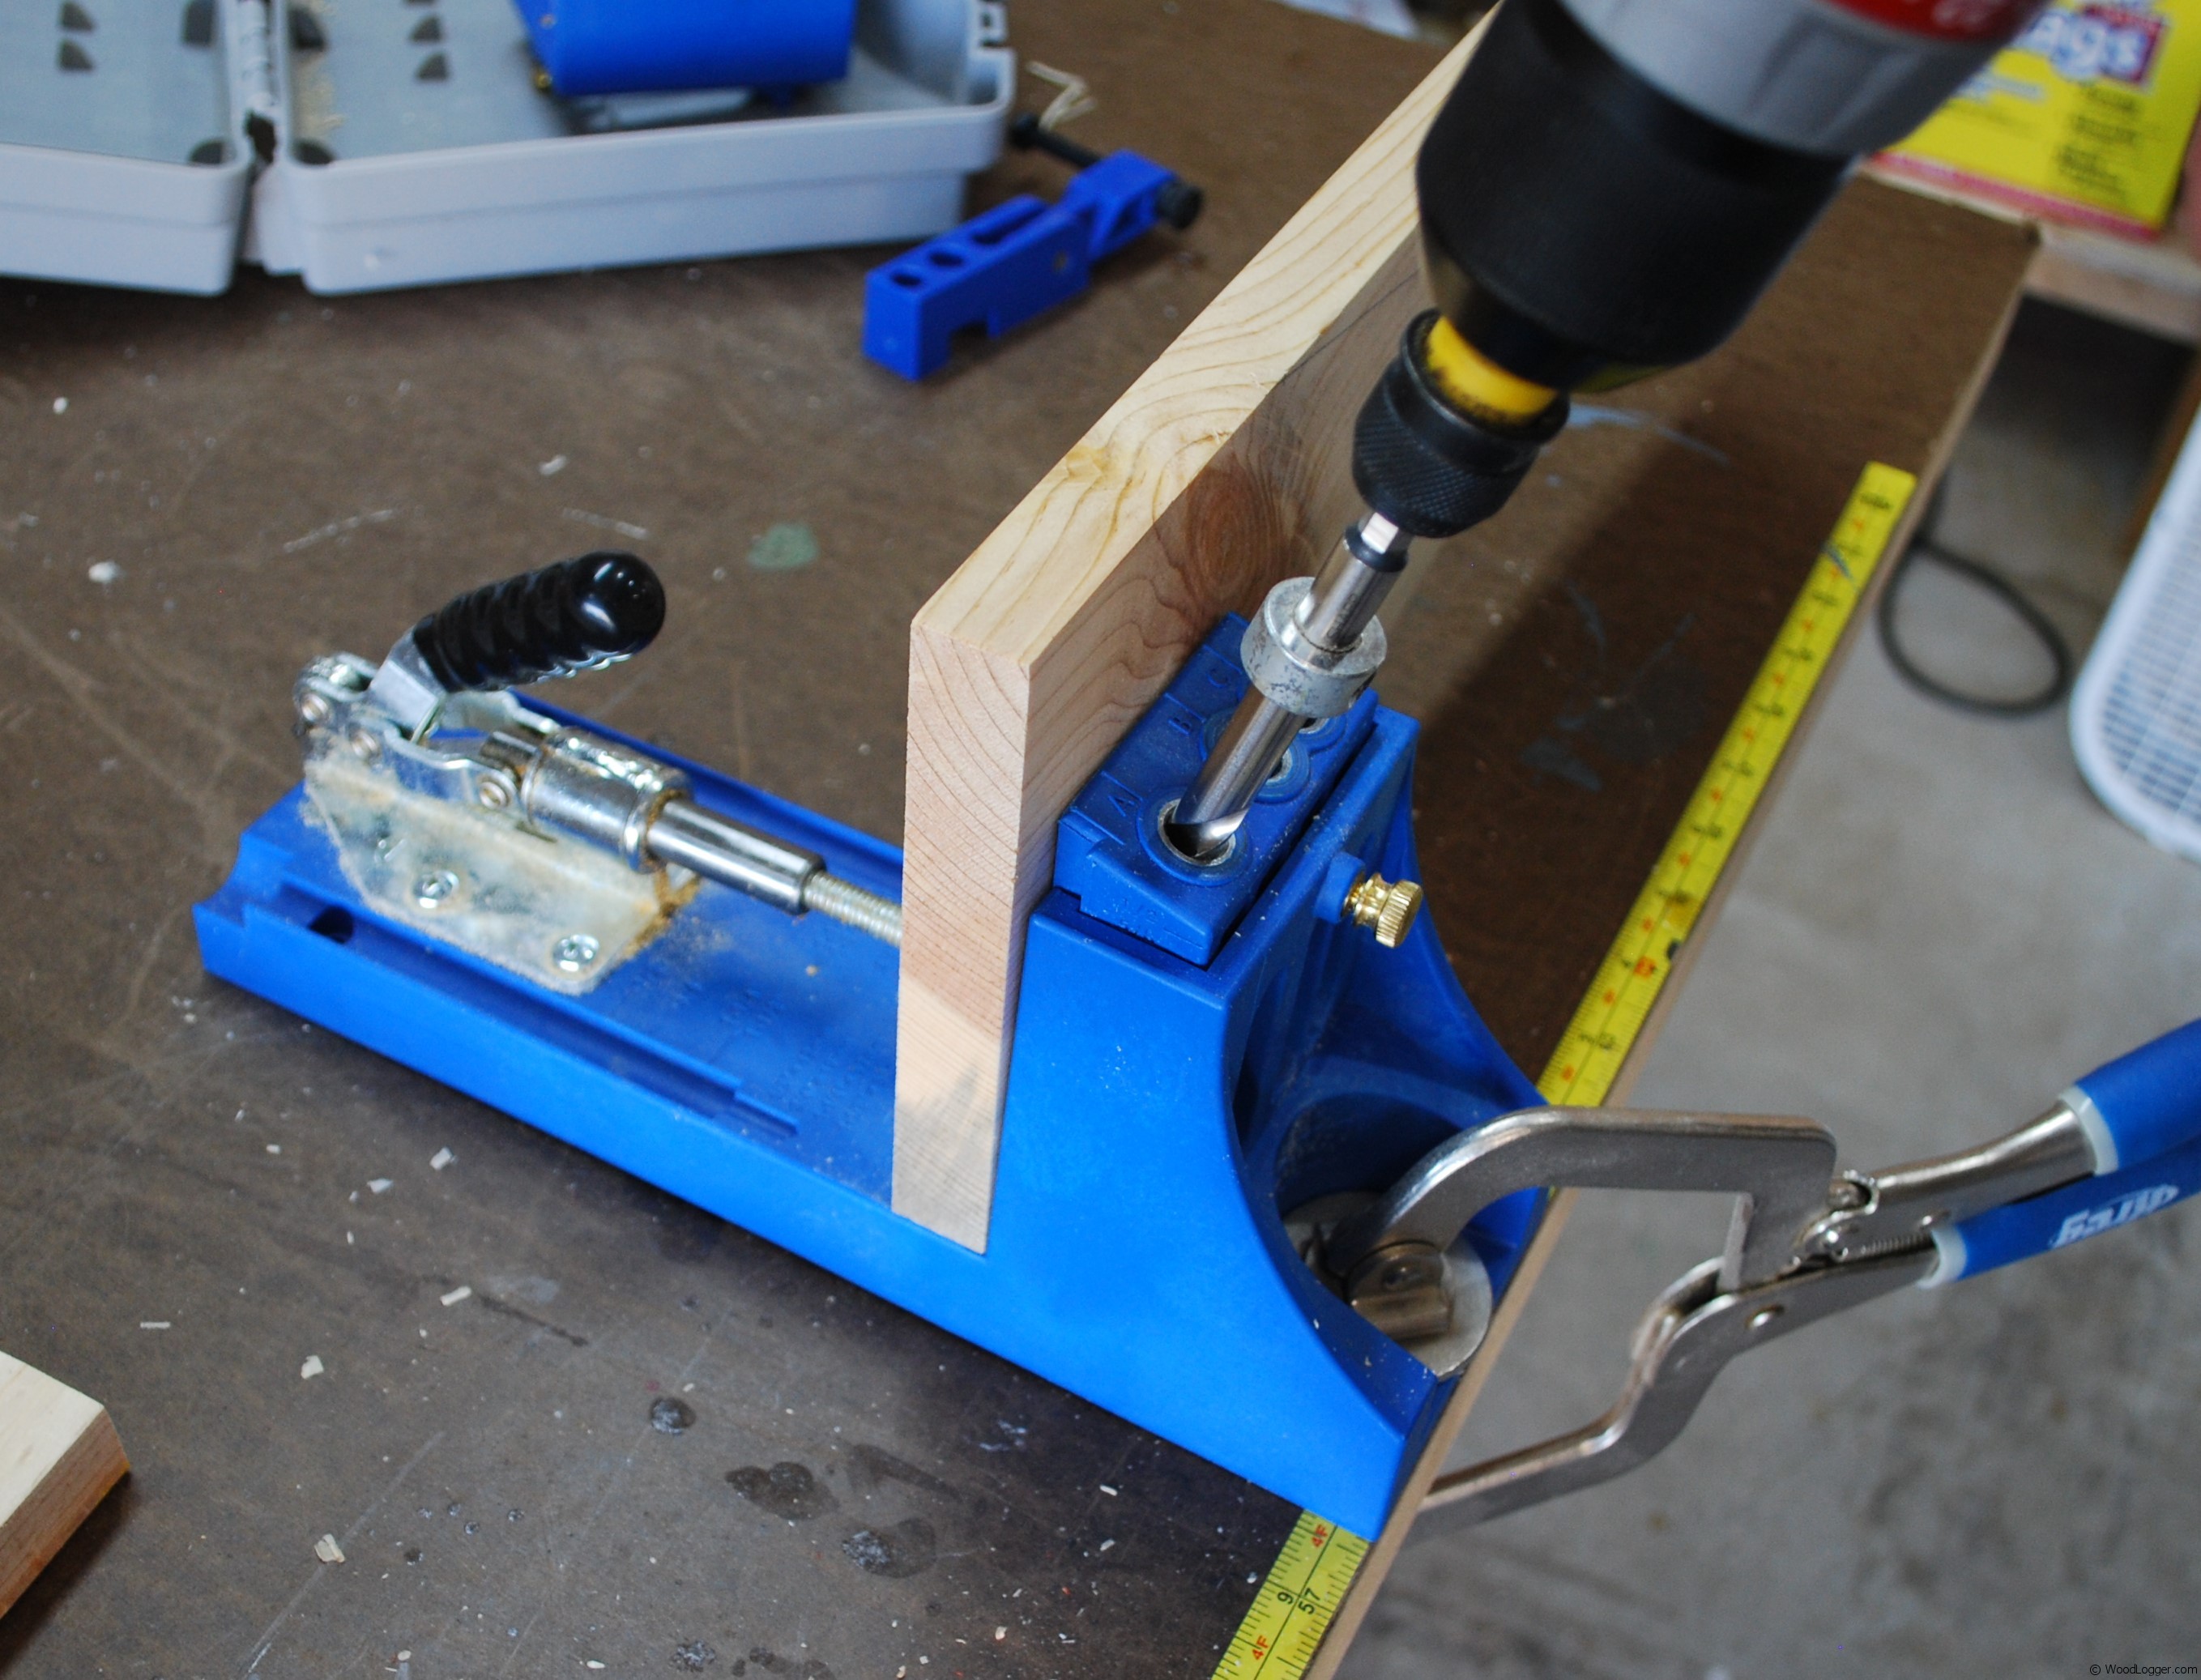
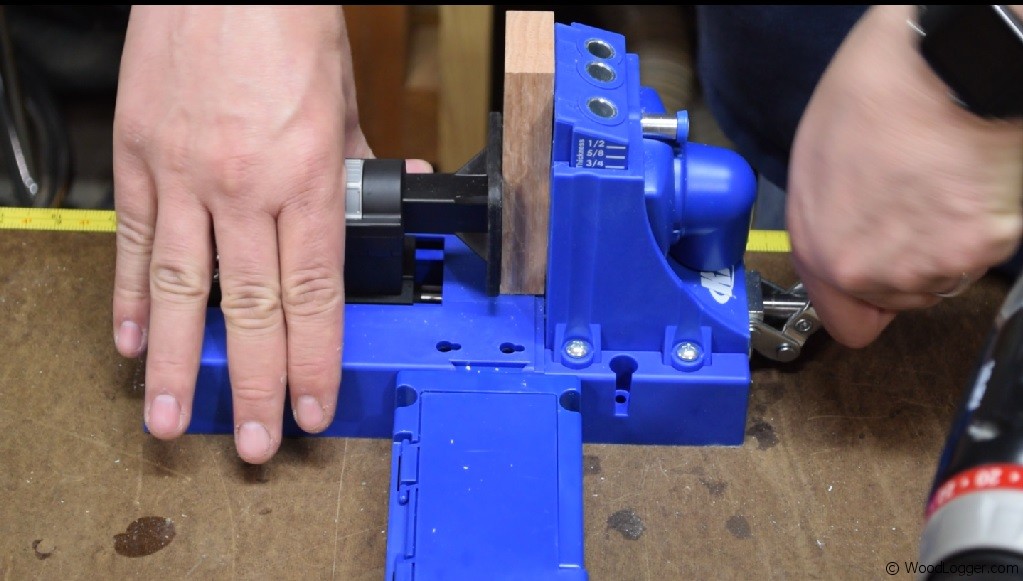 | For my frame project I used my K5 jig to cut pocket holes. I drilled two holes on each side board. |
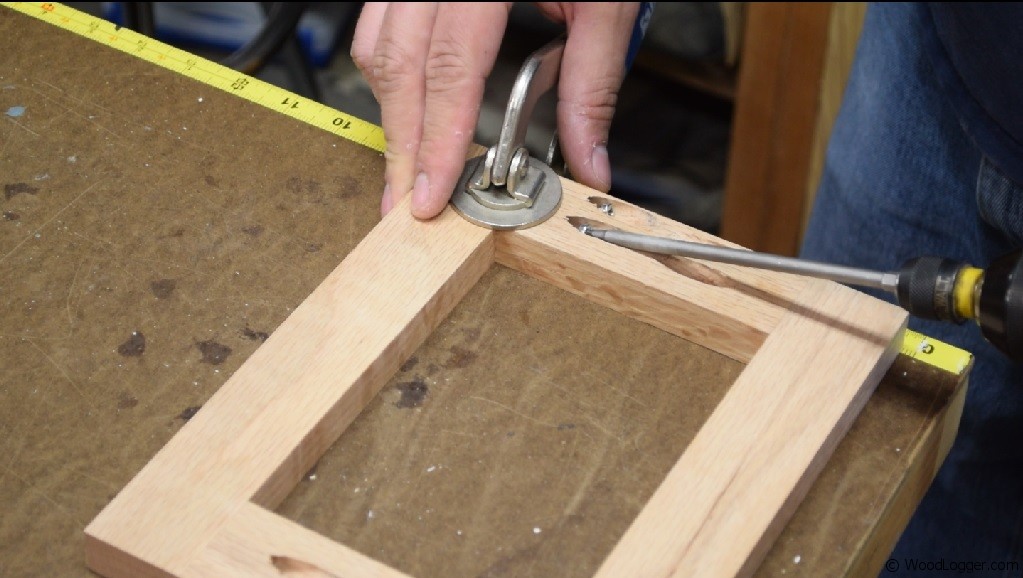 | For assembly, I secured the boards with a clamp. This is an important step as when you screw your boards together they’ll adjust slightly if there not securely clamped. |
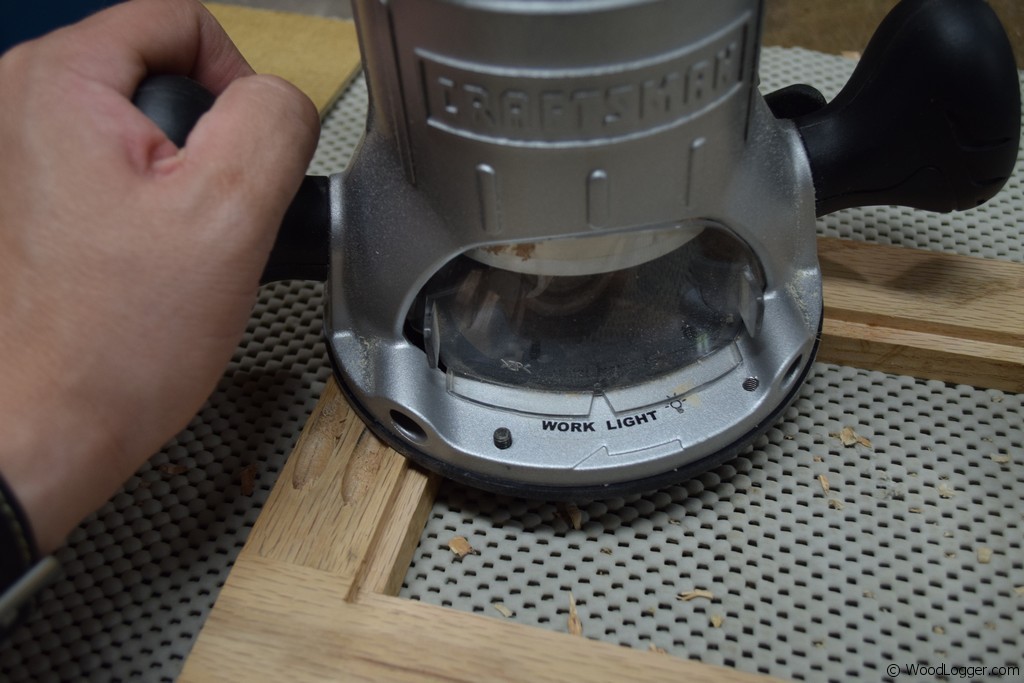 | The next step is cut a groove around the inside of the frame. For this I cut a rabbit along the inside of my frame I used a rabbit bit and cut my notch 1/4″ deep and 1/4″ wide |
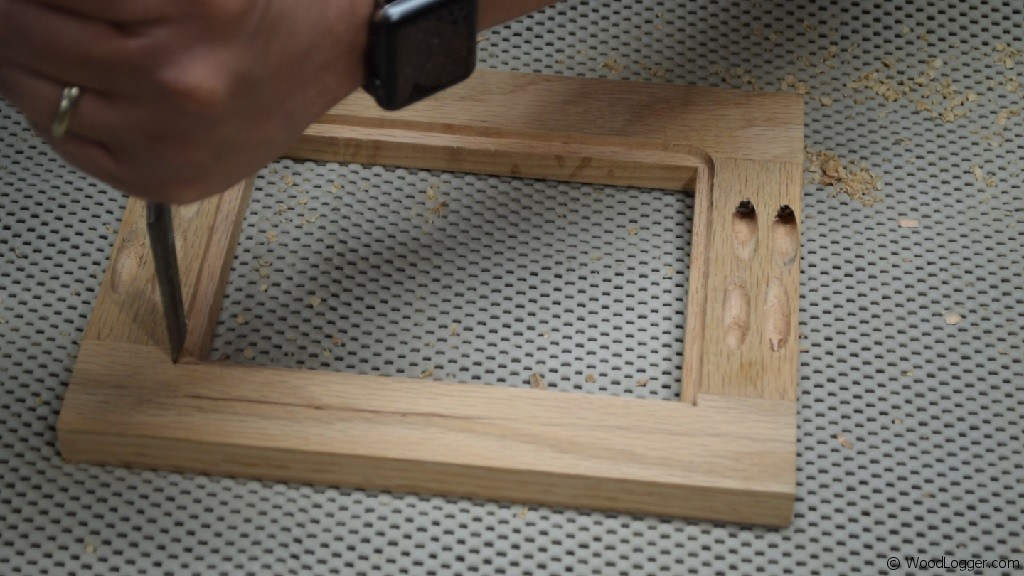 | After routing out the frame boards, I cleaned up the corners with a chisel. |
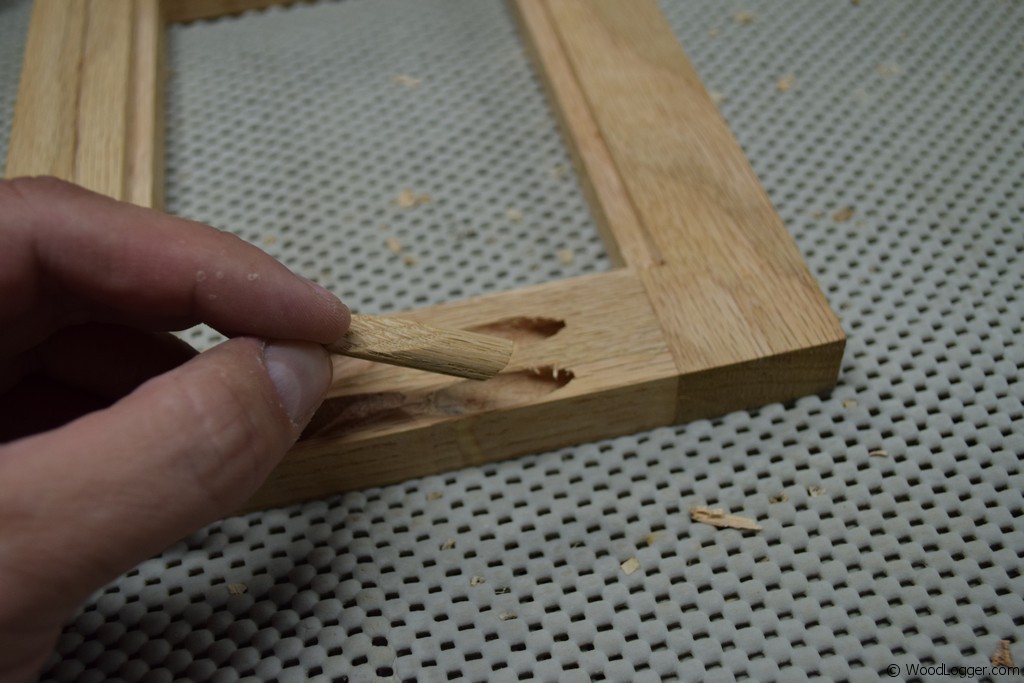 | Next up I used some oak pocket hole plugs to cover up the pocket holes. These plugs are sold in many different wood species and do a great job hiding pocket holes. |
 | Next up, I sanded the whole project and trimmed off the excess pieces of wood from the plugs. |
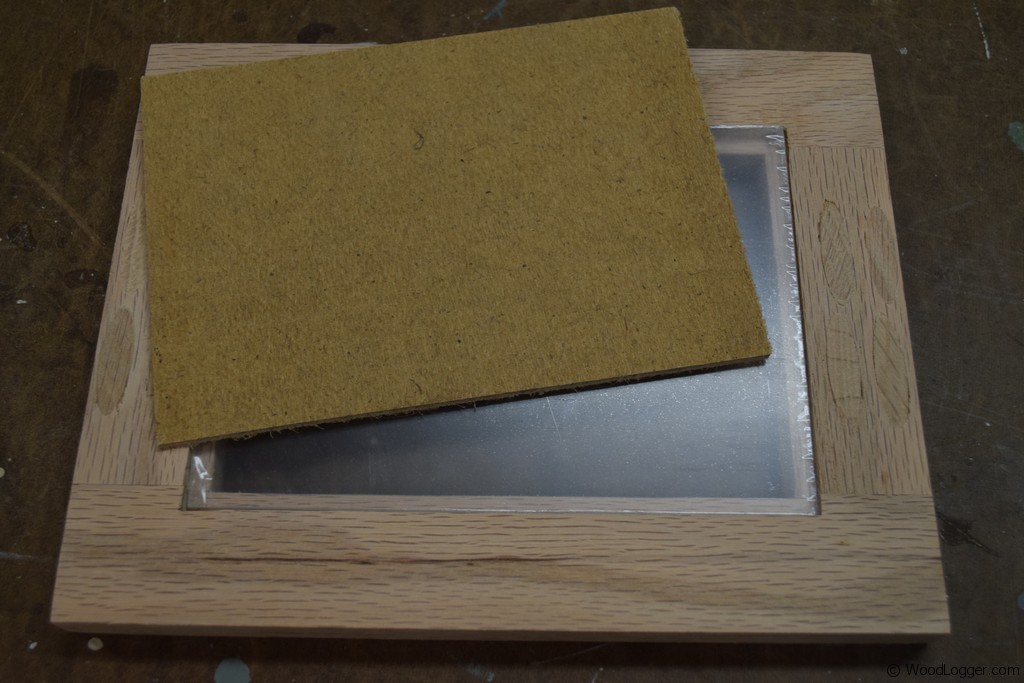  | To finish my frame up. I cut a frame window and frame back. You may want to wait and make this your last step to ensure you get the perfect dimensions. |