Hoosier Bed Bench
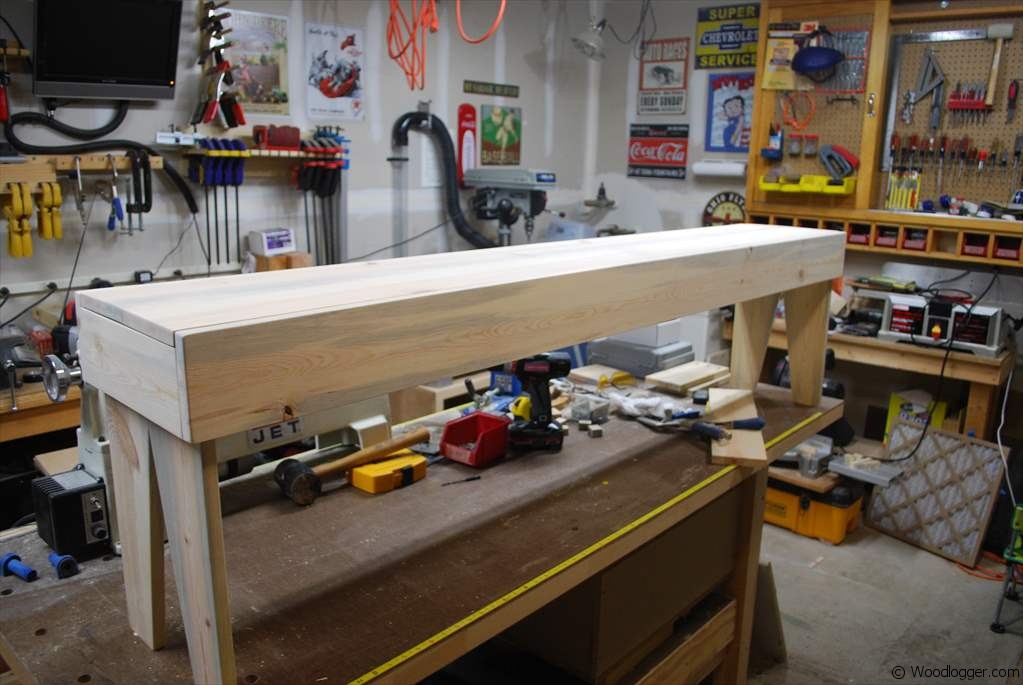
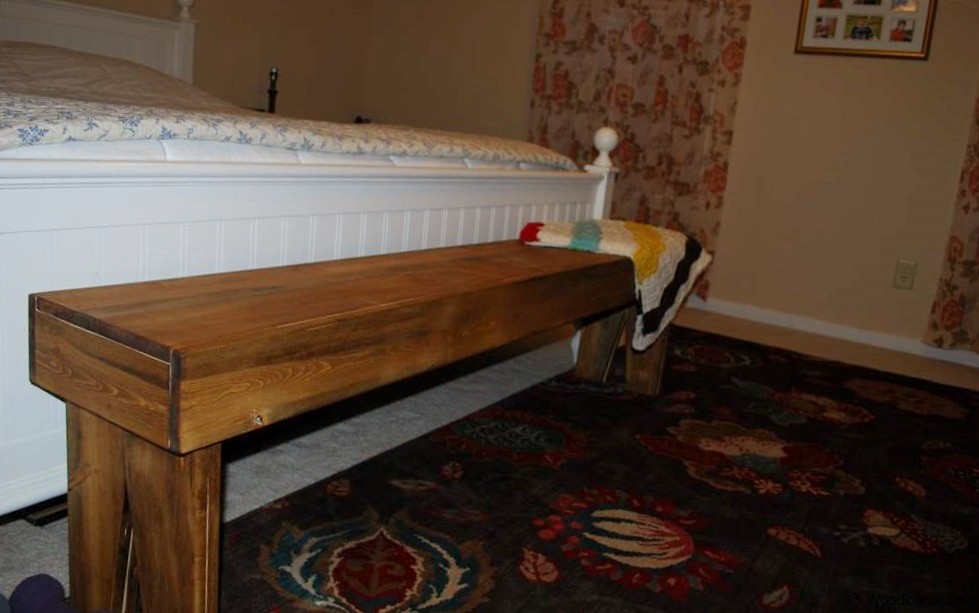 My wife has been after me to make a bed bench for some time now. I made this Hoosier Bed Bench in an afternoon out of pine. It’s an easy project that can be made by most woodworkers. For the joinery I primarily used pocket holes and glue. For the look of mine my wife wanted a rustic pine farm look. I used some heavily oxidized pine wood and only did some basic mill work to ensure my boards were square. After the bench was complete I went back and decided to bulk up the legs. We have a king size bed and I think it was a little wobbly. If we had a queen or smaller I probably would have been fine. To help sturdy it up, I doubled up on the legs on each end. It looks a little rough, but as this was the look my wife was going for she loved it.
As always you can find some of the items I used to build this at the bottom of the post.
Materials & Hardware
Not a lot for this one. I used rough oxidized pine from a local hardware store.
- (5) 1″ x 6″ x 8′ Pine Boards
Milling & Assembly
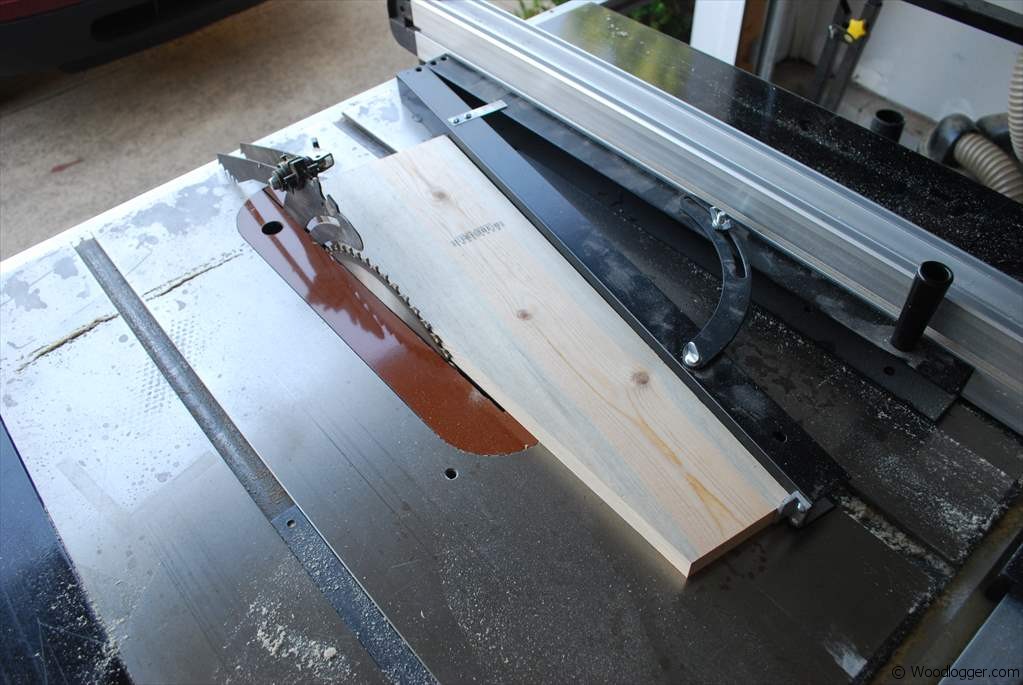 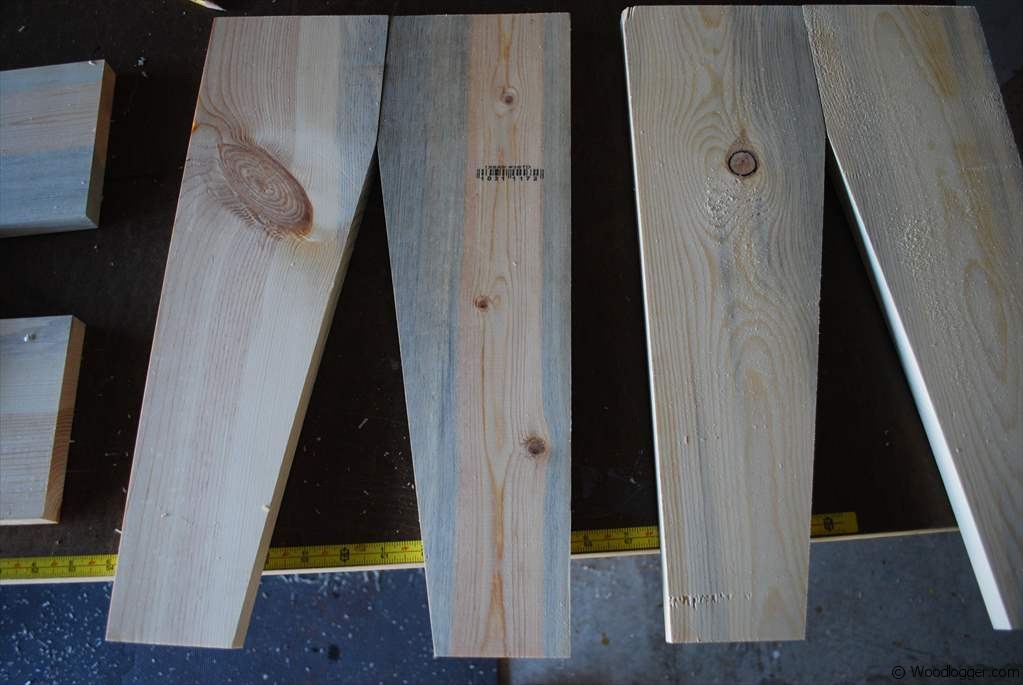 | For the legs I used a taper jig with my table saw. My boards are trimmed about 2-1/2″ from the edge up to about 4″ from the top of the board. Depending on the height of the bench the angles can change slightly. |
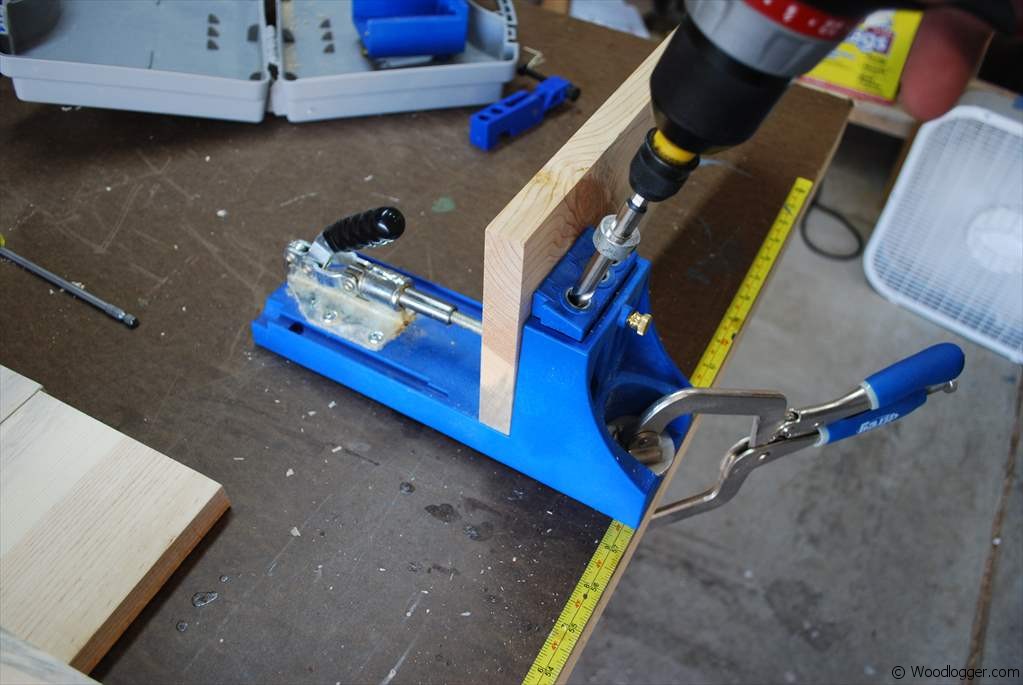 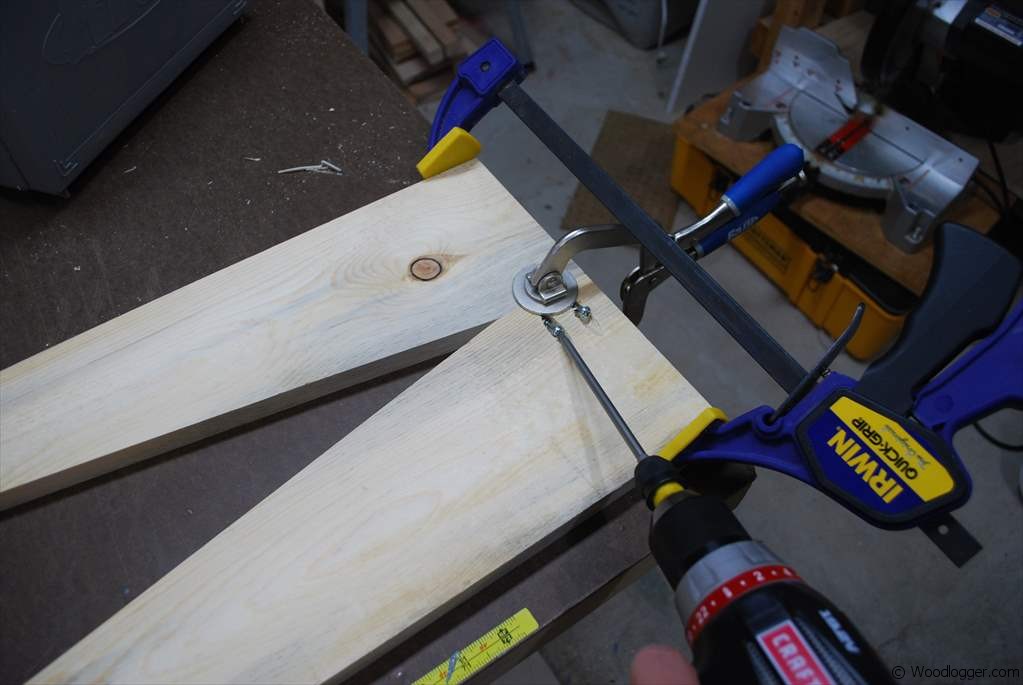 | For the leg joinery I decided to use pocket holes and glue. The joint held together very well. |
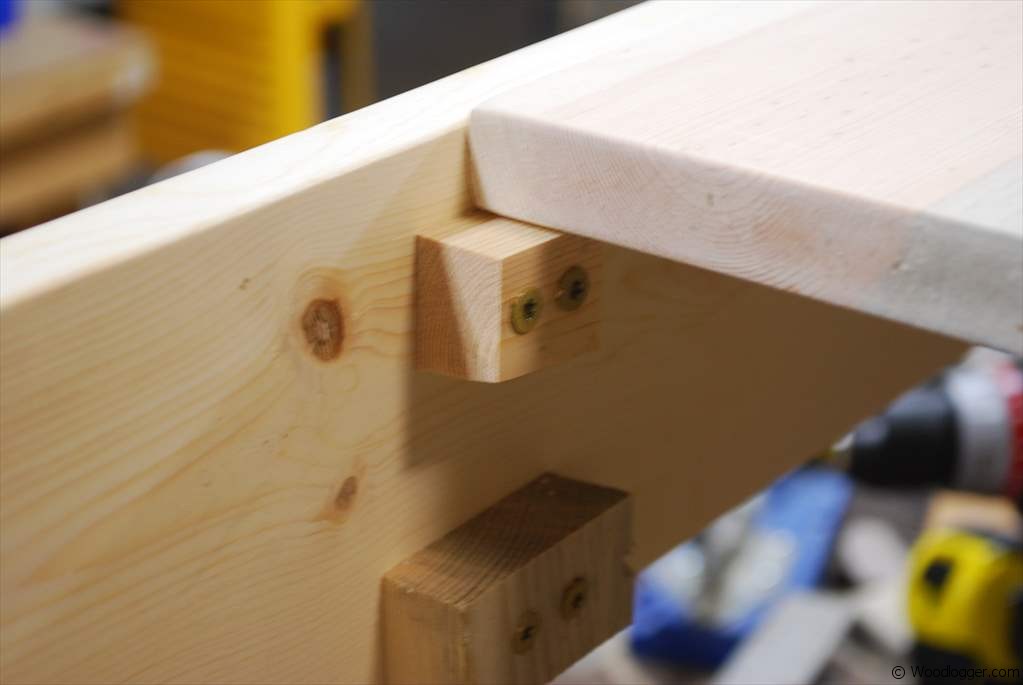
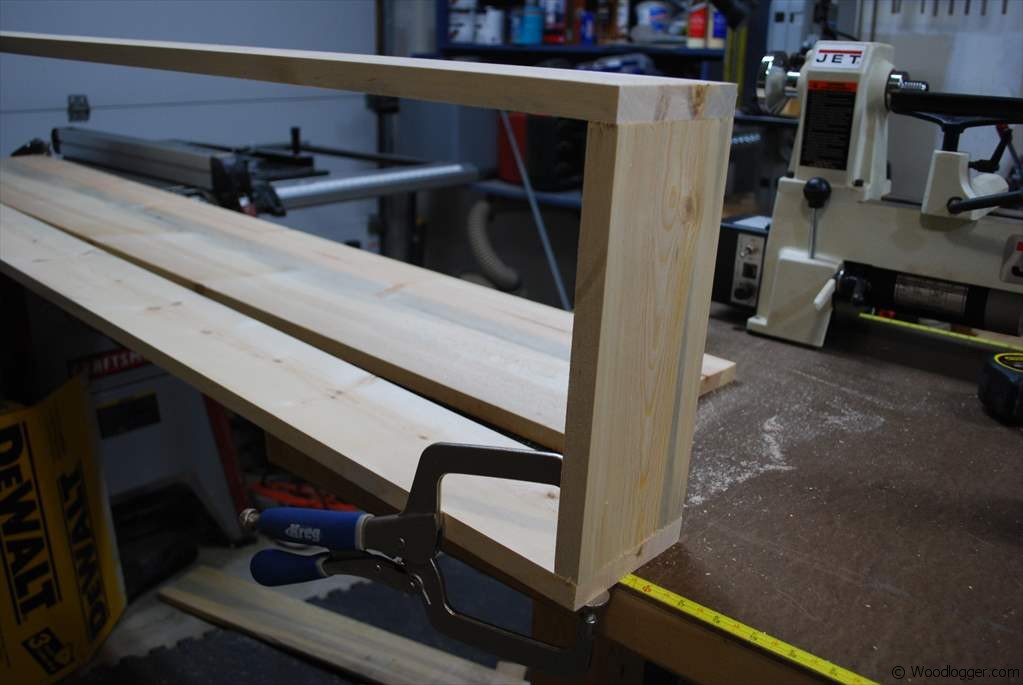  | After I completed the legs the frame for the bench top was next. I built the frame and it was approx 6′ long by 11-1/2″ wide. This will allow the boards to be inset into the frame. I used a cleat to help hold the boards in place. |
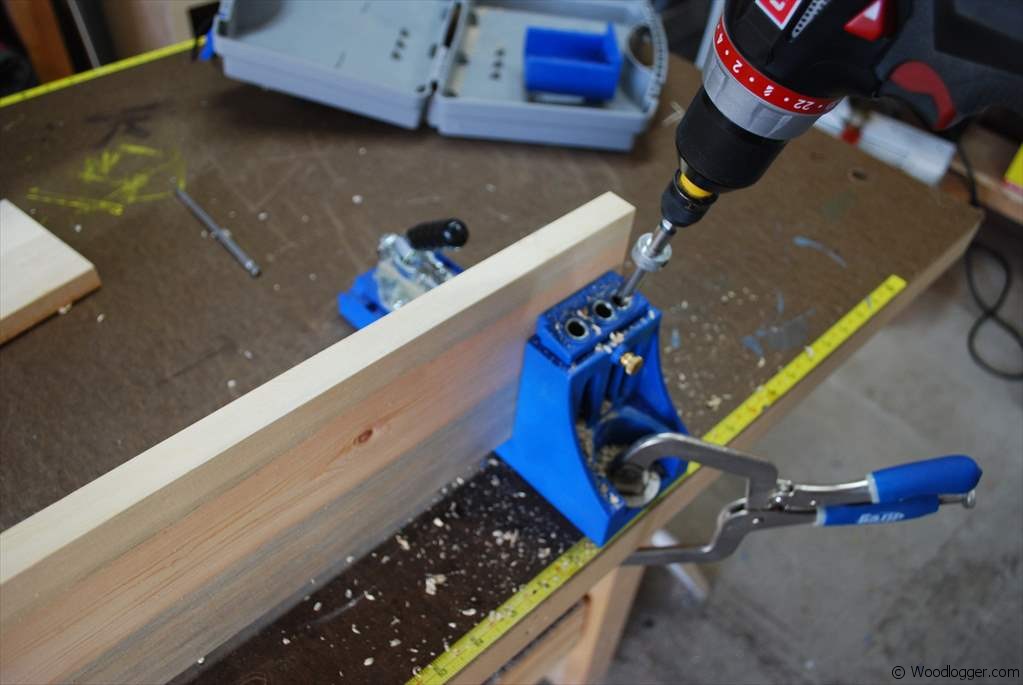 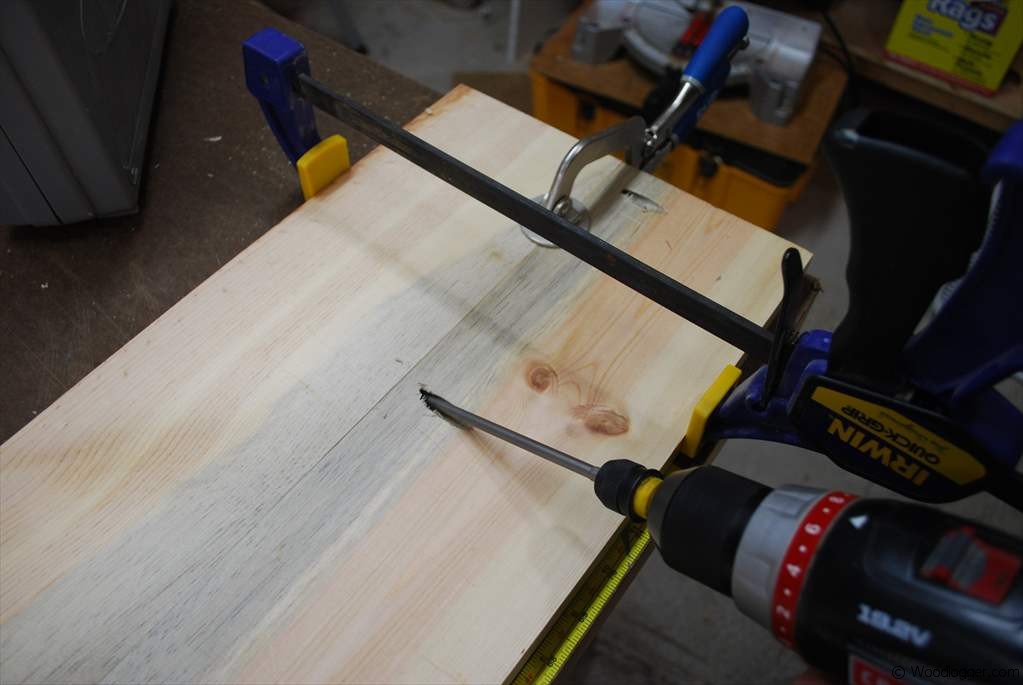 | For the bench top I used pocket hole screws and glue again for the joinery. Pocket holes are a great way to edge join boards together. Glue is really optional, but I decided to use it this time. Luckily I was able to find two boards whose grain patterns were similar. |
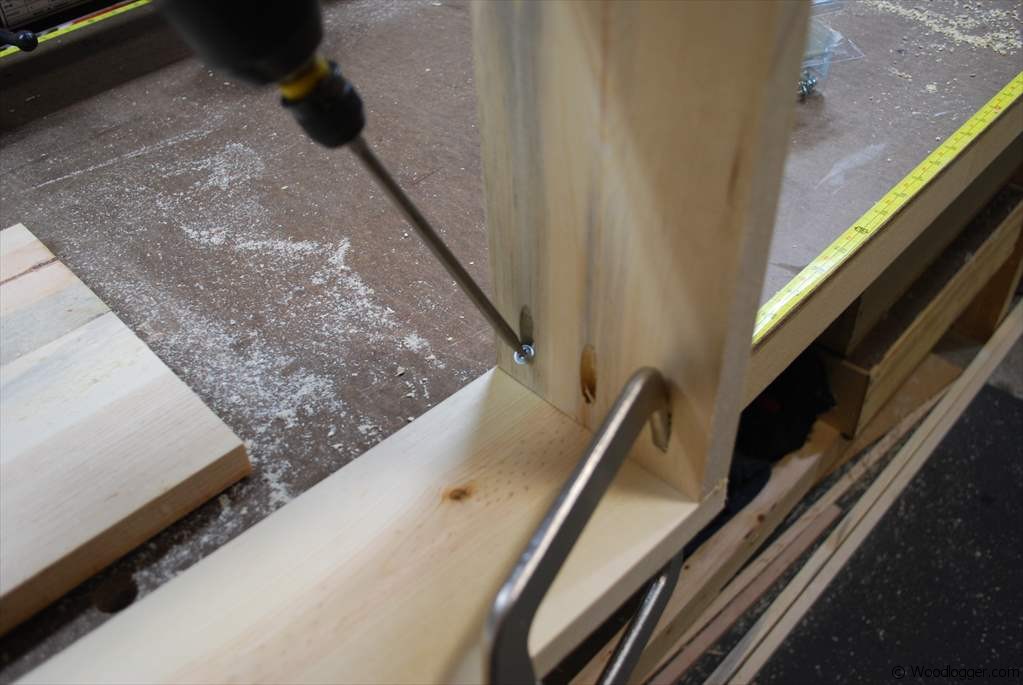
  | With the frame and bench top complete it was time for assembly. I installed cleats all along the top of the frame and secured everything with screws. Although I didn’t do this with mine; in hindsight it might have been a nice feature to install hinges along the back of the bench allowing the top to open up for storage. |