How to Build A Raised Garden Bed
- Facebook105
- Twitter17
- Pinterest743
- Mix
- Tumblr11
- Print499
- E-mail296
- 1.7Kshares
 About a year ago, I built a raised garden bed, and it worked out so well that I decided to make another one. Raised garden beds are not only easy and quick to build (usually just a few hours), but they offer a variety of benefits for your garden. They improve soil drainage, reduce weed growth, and make it easier to control the quality of your soil. Plus, they’re easier on your back when it comes to planting and harvesting!
For this project, I used rough-sawn, untreated cedar—an ideal choice for outdoor use because it’s naturally resistant to rot and insects. When choosing lumber for your own raised bed, I highly recommend untreated wood to avoid any chemicals leaching into your soil, especially if you’re growing vegetables. Cedar can last for many years outdoors, making it a long-term investment.
I made my bed 4 feet wide by 8 feet long and 11-1/4 inches deep. These dimensions make the project super simple since you can just cut three 8-foot boards in half for the sides. For the corner posts, I used sturdy 4″ x 4″ cedar, and I held everything together with 2-1/2″ screws. The 4-foot width also allows easy access from either side, which is important for tending to plants without stepping into the bed and compacting the soil.
If you’re placing the bed directly on soil, consider adding a weed barrier at the bottom to keep invasive plants at bay. If you skip the barrier, it’s essential to clear any existing vegetation and turn the soil a couple of times to ensure your plants have the best start. Whether you’re growing veggies, herbs, or flowers, raised garden beds offer a great way to optimize your garden space and make tending to your plants more enjoyable.
If you make one of these be sure to post a picture of it over on the WoodLogger Facebook Page. I’d love to see how yours turns out.
Material List
- (9) 2″ x 4″ x 8′ Untreated Cedar (I used rough cut cedar)
- (1) 4″ x 4″ x 8′ Untreated Cedar (I used rough cut cedar)
Cut List
- (6) Ends – 2″ x 4″ x 4′
- (6) Anchors – 4″ x 4″ x 11 1/4″ (Check the actual width of (3) 2″x4″ to ensure the length of the anchor)
Milling & Assembly
 | For the lumber I used (9) 2″x 4″x 8′ untreated cedar boards and (1) 4″ x 4″ x 8′ untreated cedar board. I also used rough sawn cedar boards, but that is strictly a preference. Whatever lumber you choose be sure it’ll hold up well outside and be sure it’s untreated as you don’t want any chemicals leaching into the dirt. |
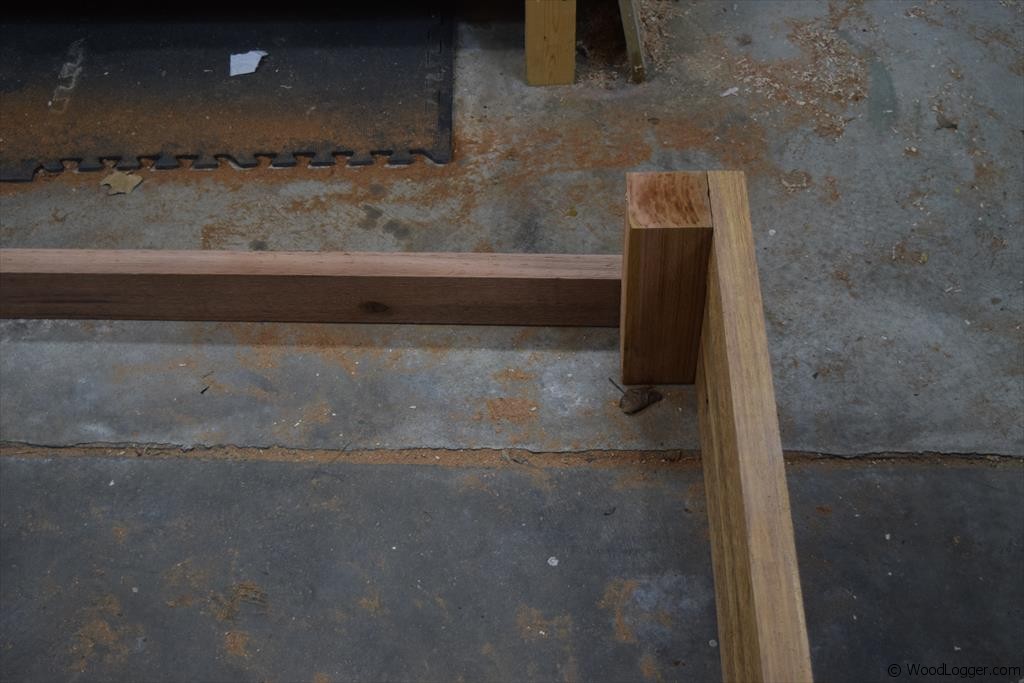
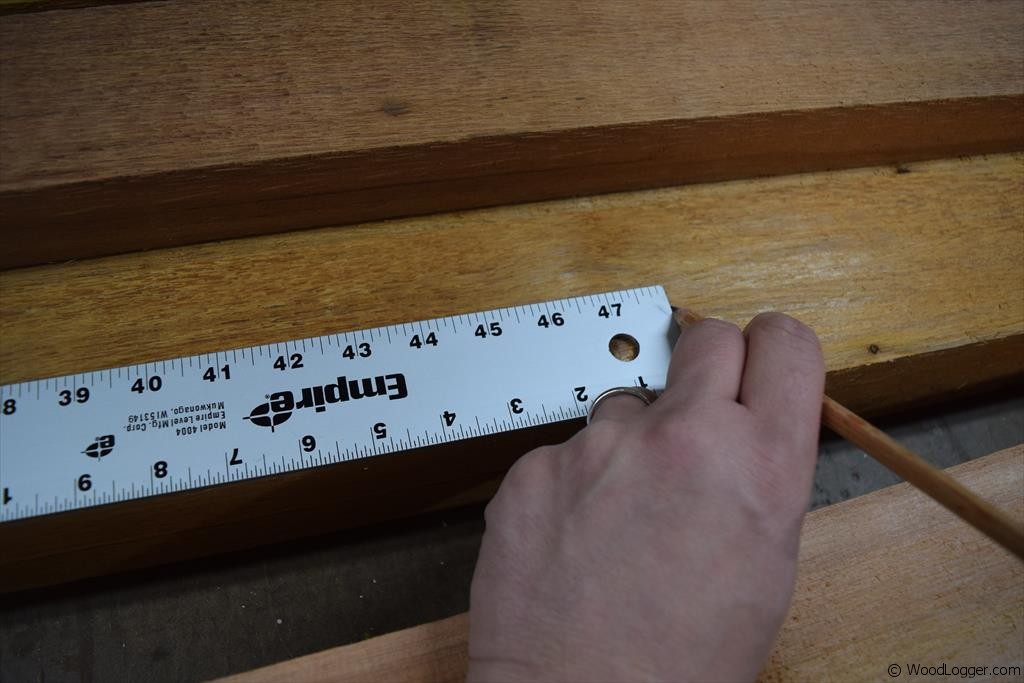 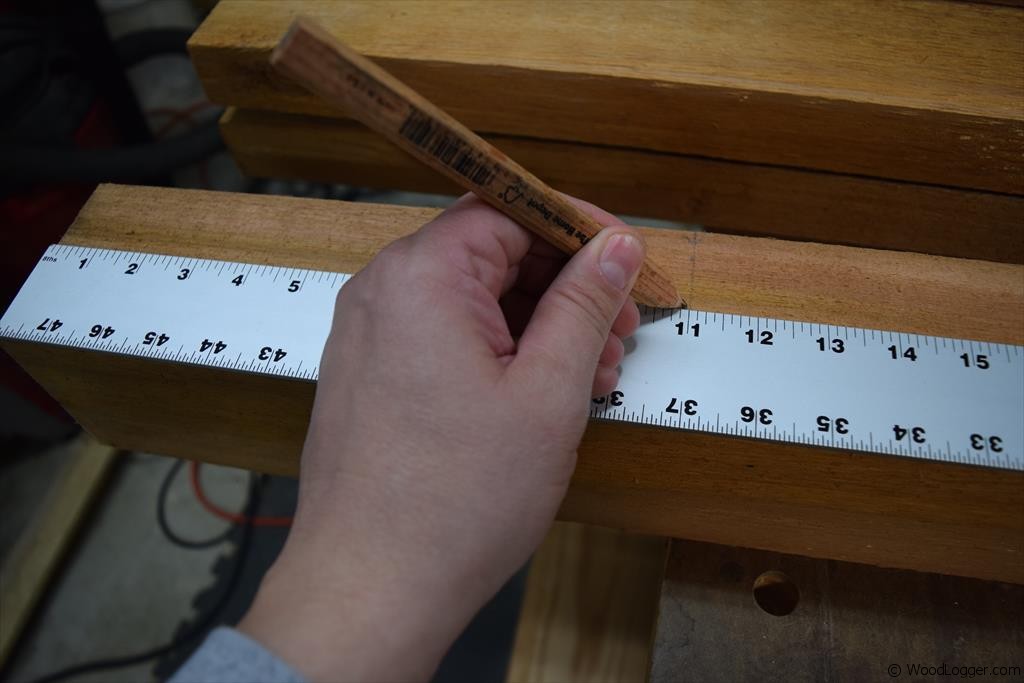 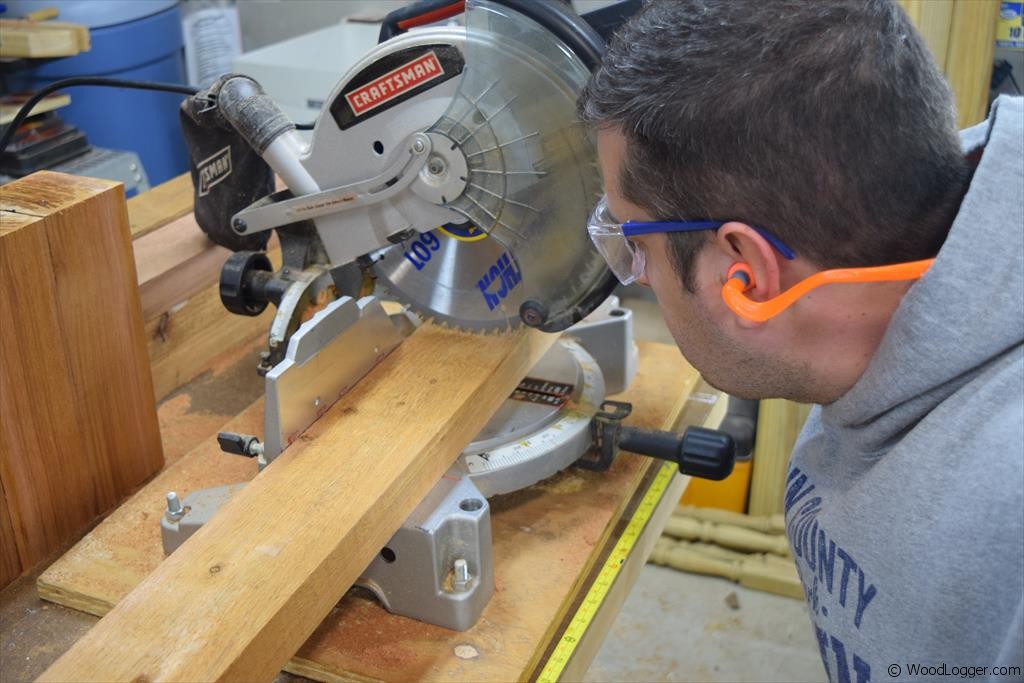 | To get started on the rough cuts for the raised garden bed I measured (3) of my 2 x 4’s and cut them in half giving me my end boards. Next I measured out my 4 x 4 posts to a length of 11 – 1/4″ (which is the same length as three 2×4’s). |
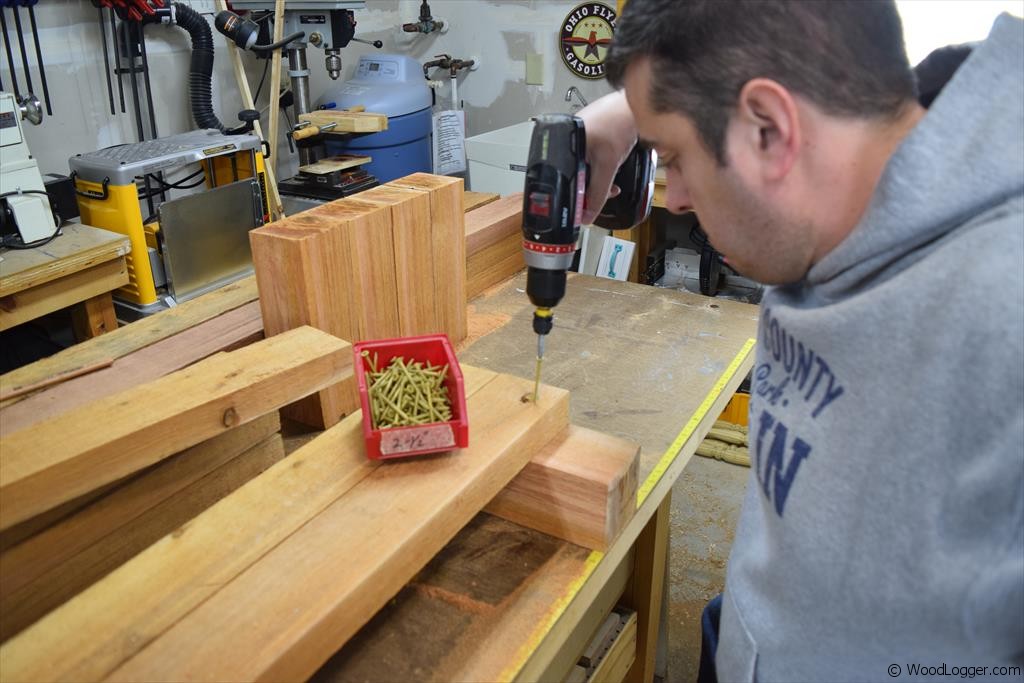 | To get started on the assembly I attached the end boards to the posts using 2-1/2″ screws. |
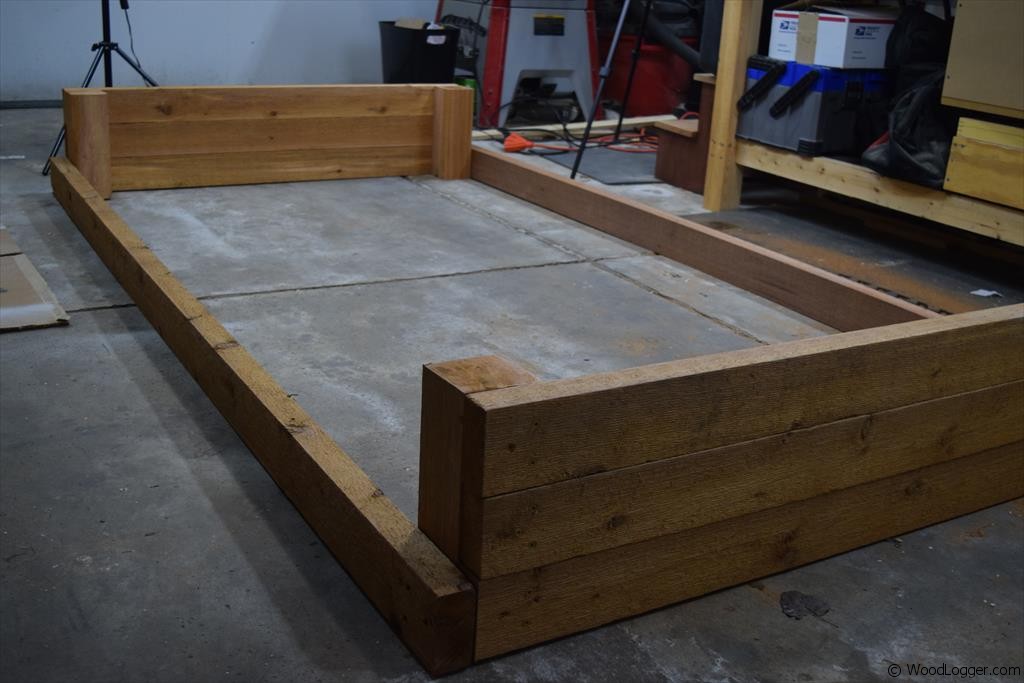  | After I had the end boards attached I then attached my 8′ boards to the posts. |
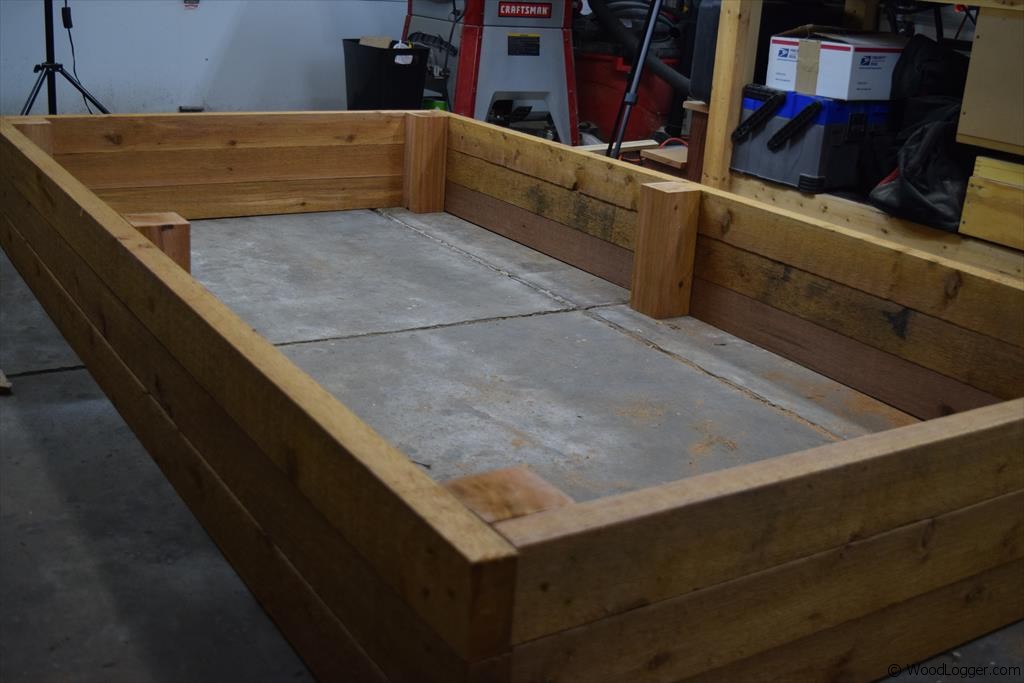 | Here is my raised garden bed; basically complete. I attached center posts in the middle of my 2 x 4 x 8’s. This might not be necessary but I wanted to avoid any warping in my boards. |
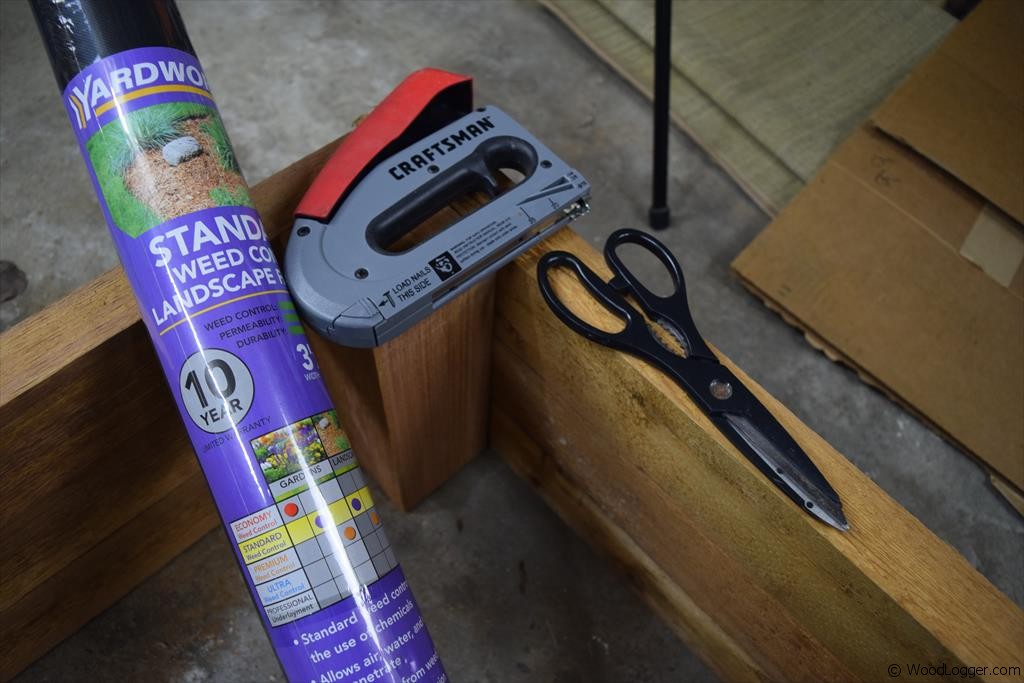 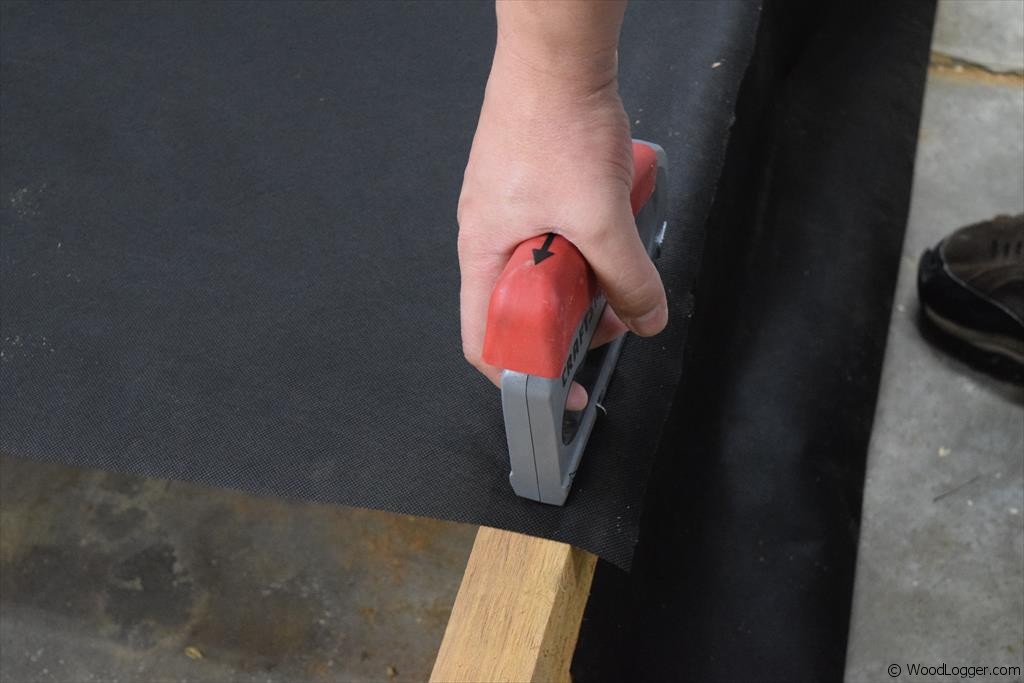 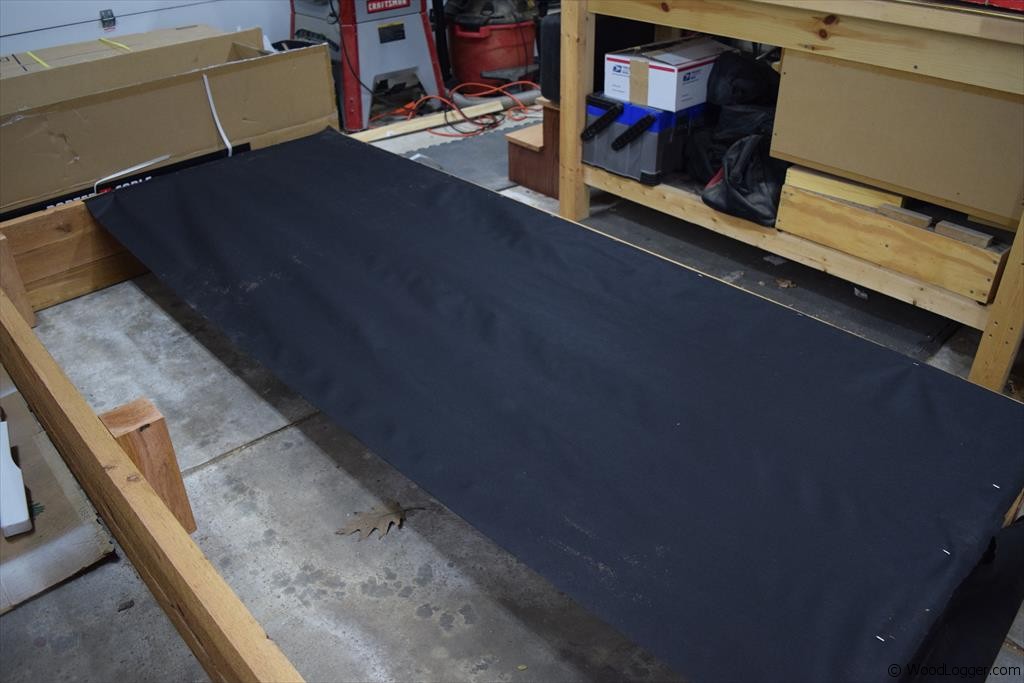  | Next up is an optional step.If you have good soil or want to use the soil under the box you don’t need to do this step. If however, like me you have not so great soil and want to use the soil in the box a weed barrier is an excellent item to add.To attach this, simply roll out a weed barrier cloth and cut and attach it to the box. I used staples to attach mine, but brads would work just as well. |
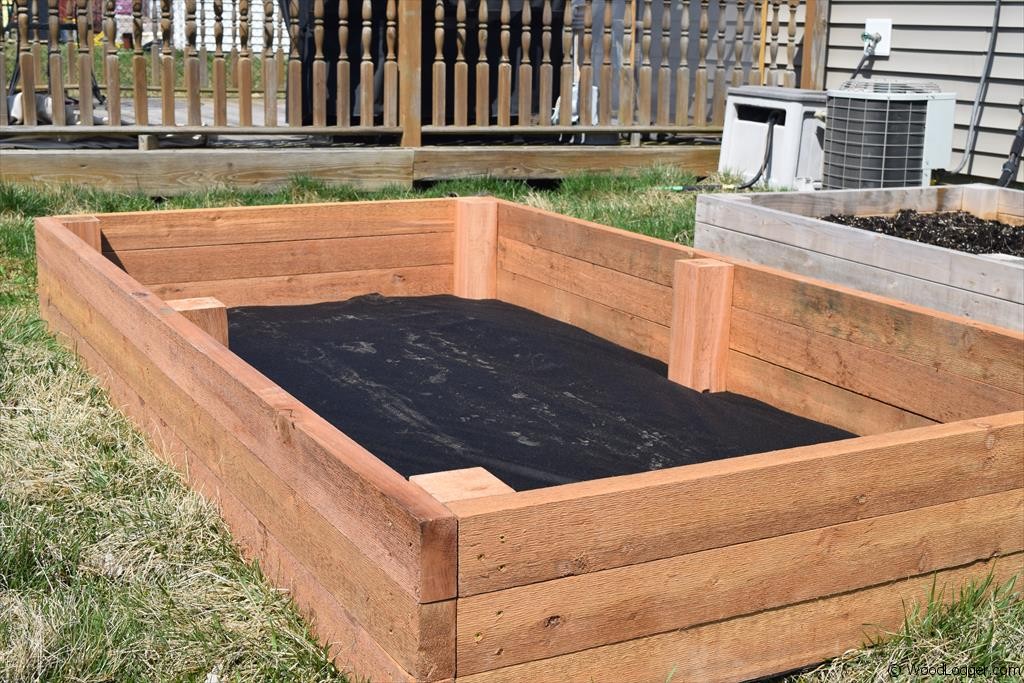
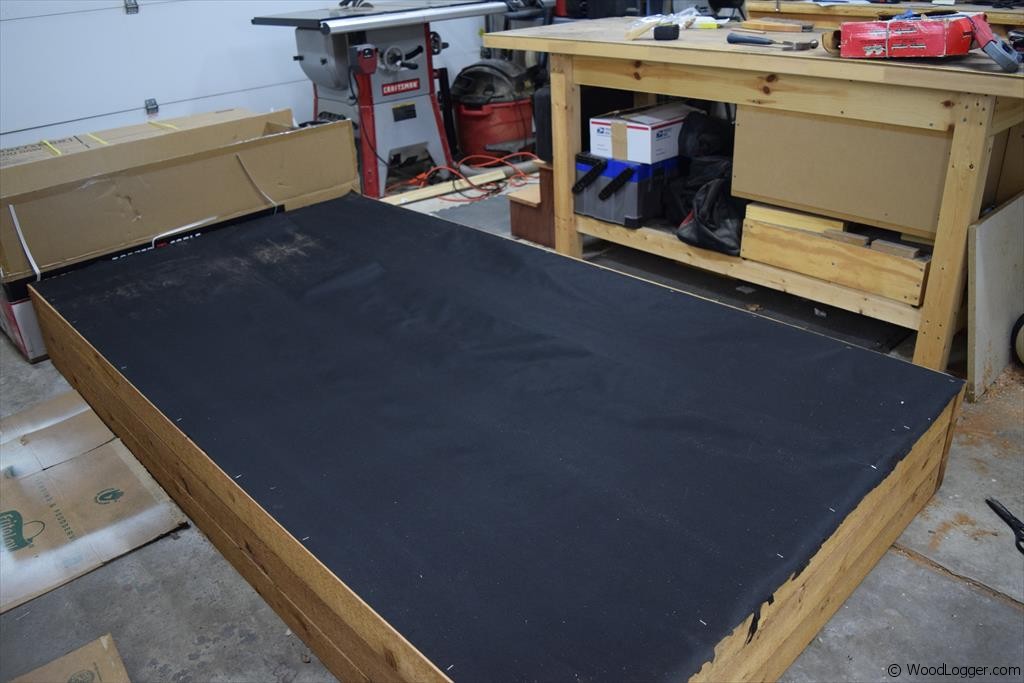
| | After I completed the Raised Garden Bed, I positioned it in my yard and flipped it over. All that’s left is to add dirt and grow your plants. |
Enter your email if you want a free subscription to this site(we’ll never share your email):
- Facebook105
- Twitter17
- Pinterest743
- Mix
- Tumblr11
- Print499
- E-mail296
- 1.7Kshares
Ran across this tutorial, decided to give it a go (my first project) and make 3 that look great! Thanks so much for putting this up for others to see and use.
The landscape fabric stops beneficial worms from moving up into the soil.
so is there another option to battle the weeds?
Sheets of cardboard work well for this purpose.
are there other options to block weeds but allow worms?
Hi Hilary… here’s a simple solution to your question. Gi ahead a put your landscaping cloth on as described. Once you have your box in place simply visit any fishing supply store that sells worms and pick up a few. Then just add them to your box and you’re all set. They will also provide excellent casting that are full of nutrients for your soil. You can also dig up some worms if you have an area where they are and just add them.
Thank you for the suggestion! I apprecaite you taking the time to reply.
Just built this came out great! Thank you so much for the clear instructions
Can you make this into an elevated bed, if so what would you do to make that happen?
You built this in your shop and then it miraculously appeared in your garden. How did you get it out there (9 eight foot 2×4’s and an eight foot 4×4, assembled – must be pretty heavy)?
Hey Allan, it was made of Cedar so it wasn’t too heavy. I made it in my garage primarily for filming purposes otherwise I would have constructed it outside.
Could I use this process but make it twice as tall … 22 inches. Will it still be sturdy if I do this?
Thank you very much.
I bought the wrong screw, it is 1 5/8 ” , finally have to use impact wrench to go a lot deeper to fasten both wood. do not know if this damaged the structure of wood.
I just used your design and made the garden box. Thank you!
I made this with my daughters and it came out great. We had the wood posts and sides cut at the store where We purchased the wood. We are excited to watch the vegetables grow. Thank you for the instructions, you made it easy to follow. This will be a memory our family will fondly look back on.
Could I just us 2 x 12s instead of stacking three 2 x 4s For the sides? What’s the advantage of using 2 x 4s instead? I’m new at this :-) thank you so much!