Suet Bird Feeder
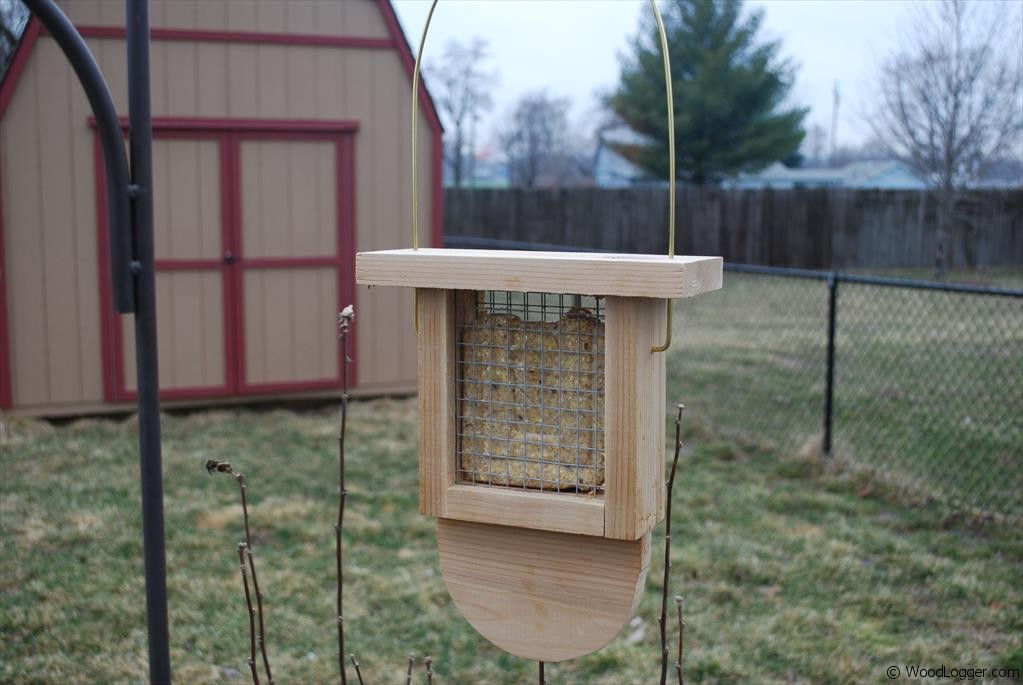 Self made suet bird feeders are simply fun. They’re easy, quick, cheap and you get an almost instant gratification when you complete a simple project like this. I’ve made several bird houses / feeders over the past couple years based on some plans I got from a book entitled: Easy to Build Birdhouses A Natural Approach. It’s written by a very talented woodworker, A.J. Hamler, and if you’re interested in making backyard birdhouses and feeders it’s a book you should definitely check out! This feeder was made entirely out of cedar. Cedar holds up really well all by itself in the outdoors. I picked up the wire mesh from a big box store, and the metal rod hanger I actually found at a local craft store. This really was a fun little project to make. If you make one of these be sure to post it over on the WoodLogger Facebook Page. I’d love to see how yours turns out.
Material List
- (1) 1/8″ Brass Rod
- (1) 1/2″ Stainless Steel Wire Mesh
- (1) 1 x 6″ x 4′ (I started with a scrap board of this height and width and had enough left over to make more)
Milling & Assembly
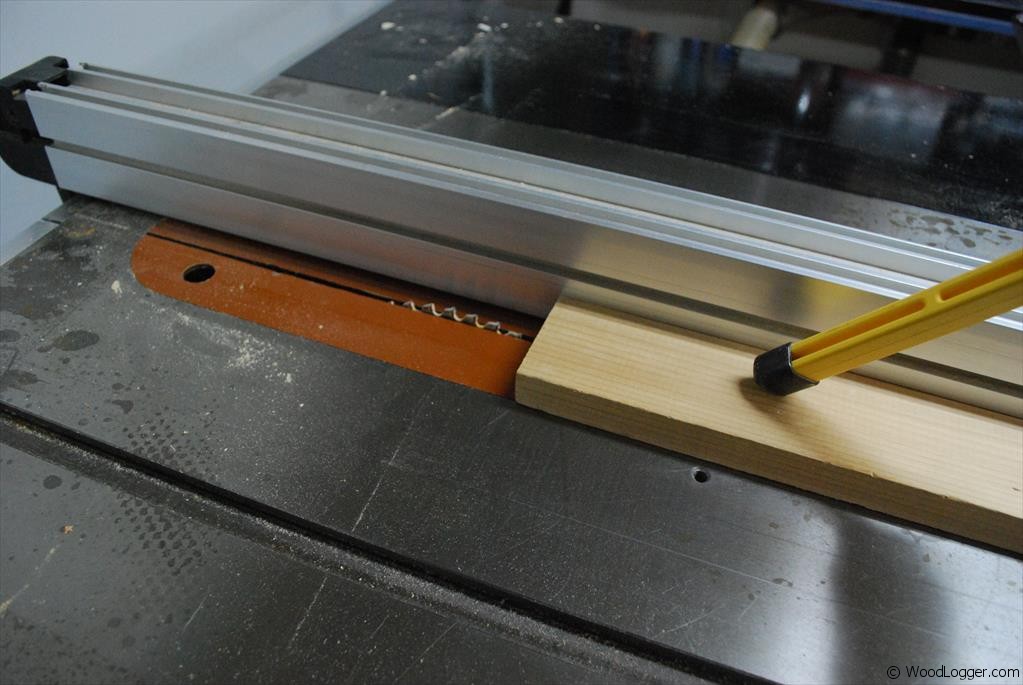 | The first step on the Suet Bird Feeder was to cut all of my boards to length. I followed the plans for this and cut the sides to 2-1/2″ x 6-1/4″. Then I cut a small groove into the bottom and sides. I cut a 1/8″ width(blade width) groove 1/4″ deep and inset on each side 1/4″. |
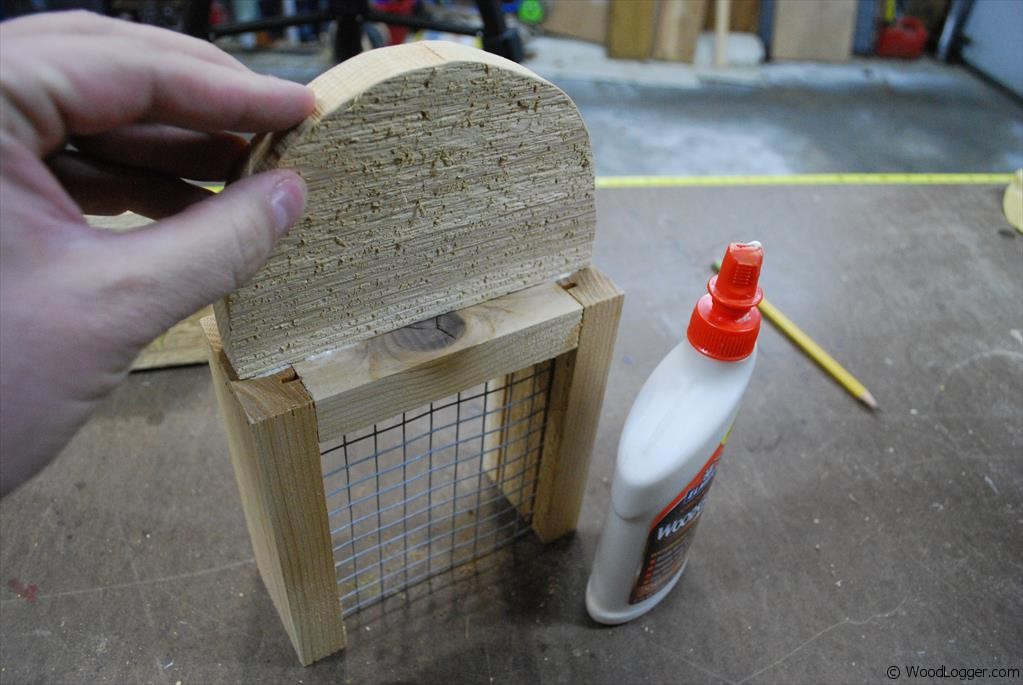
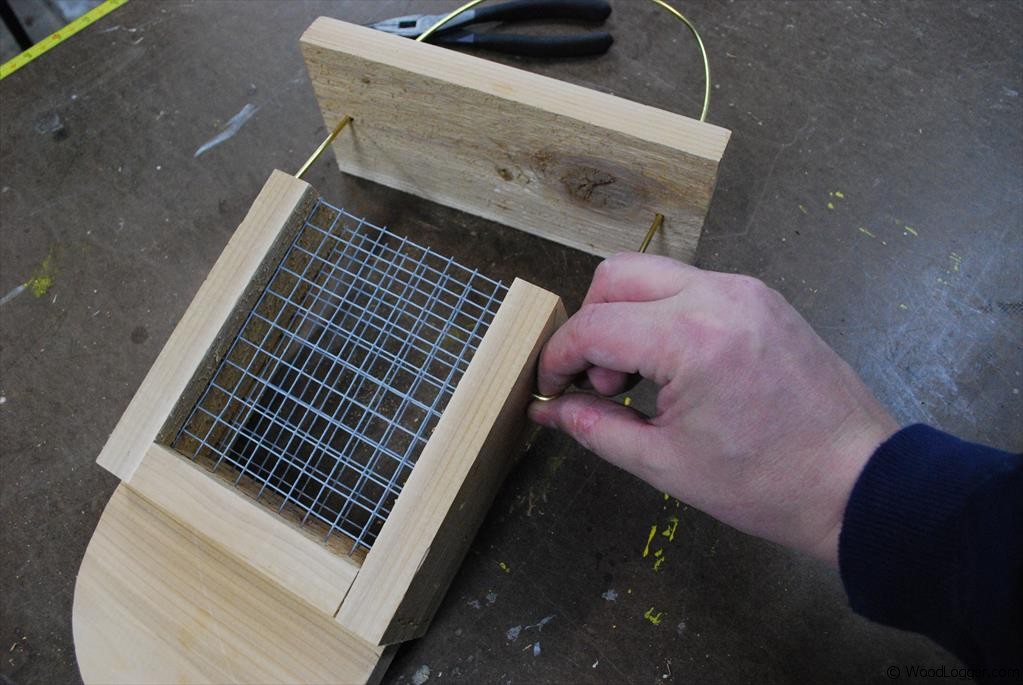
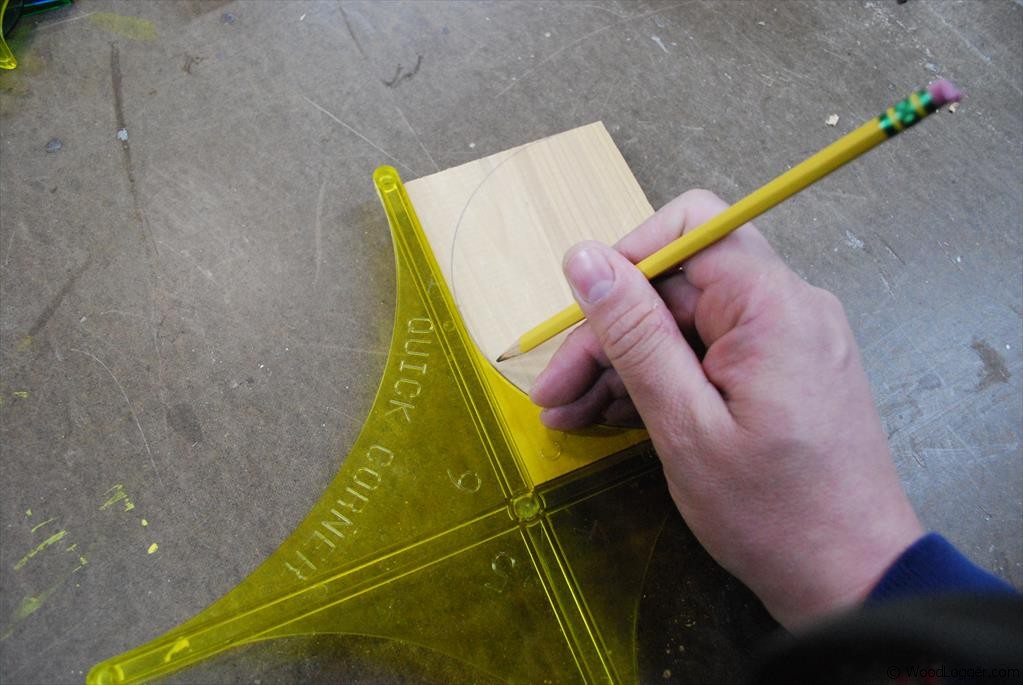 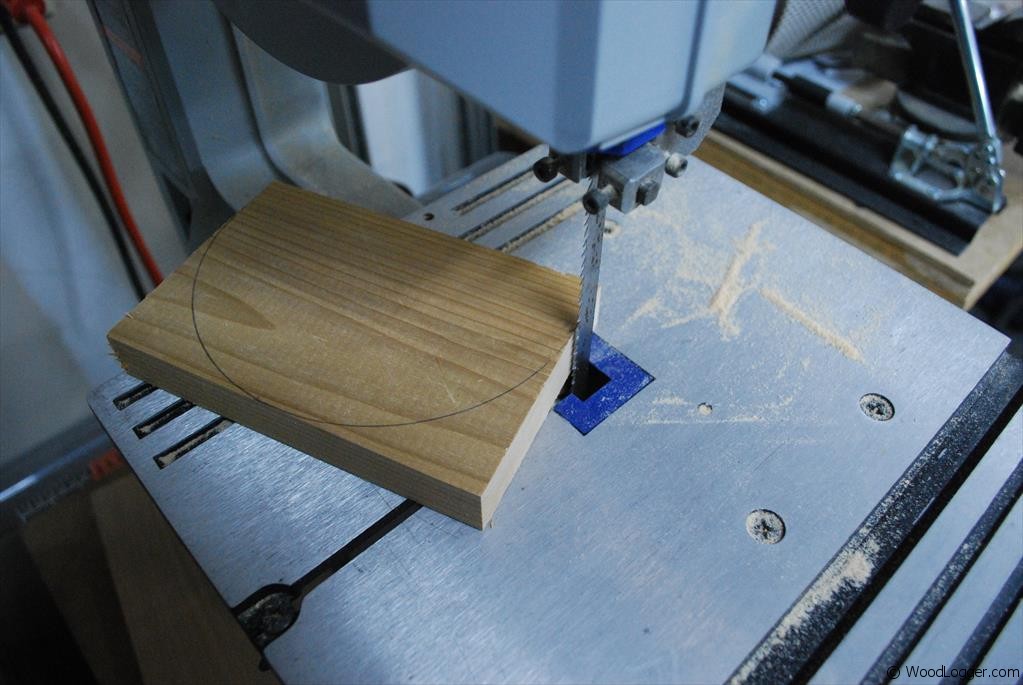 | The bottom of the feeder has a nice a feather rest feature. I followed the plan and cut mine to a length of 4″ x 6″. I used my quick corners to figure mark quick rounded edge. |
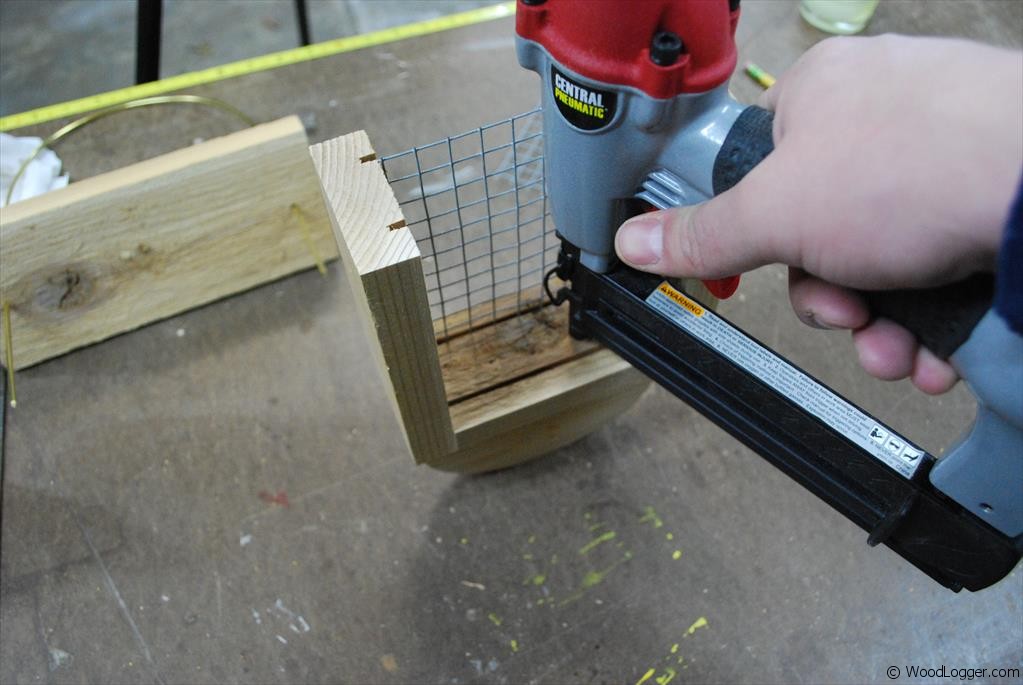
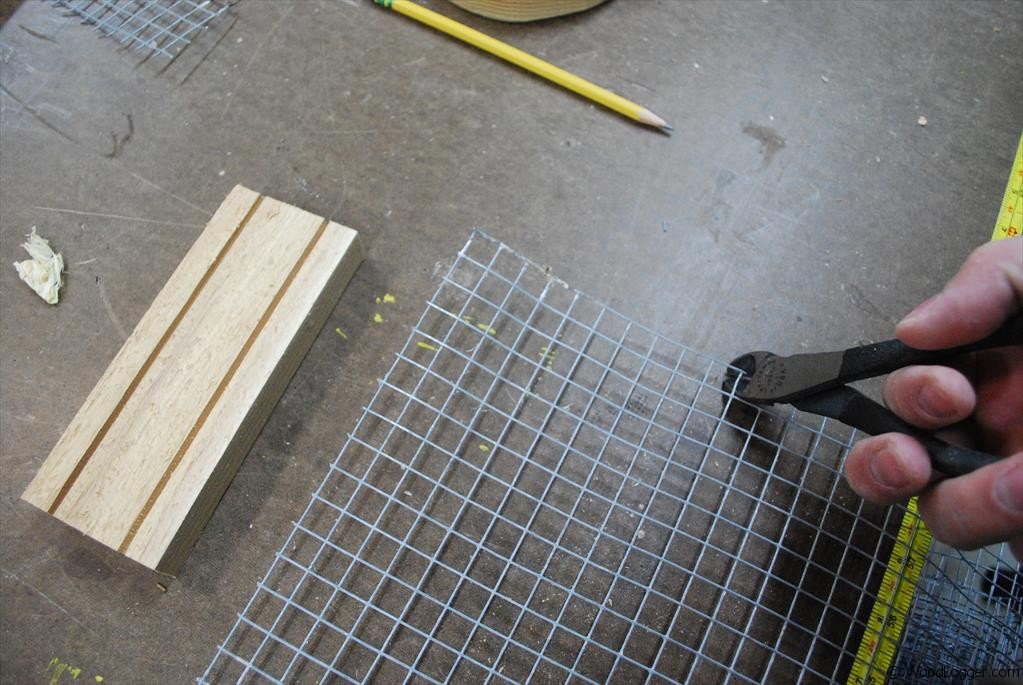 | Next up was cutting the wire mesh to hold the Suet Cake. I used wire snips for mine and it was pretty easy to make it fit. |
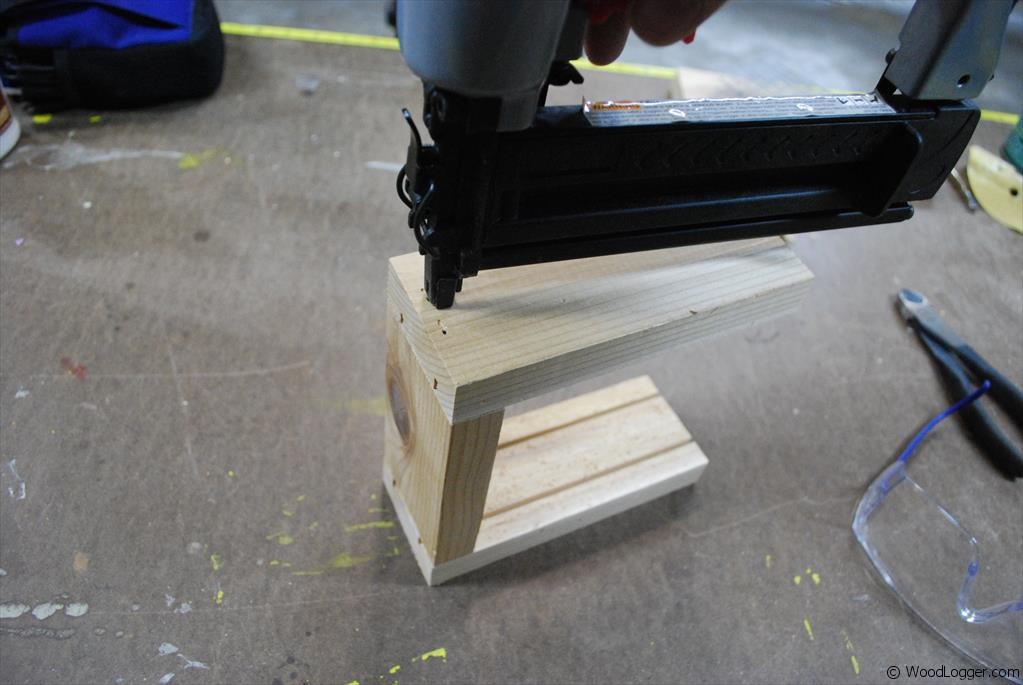 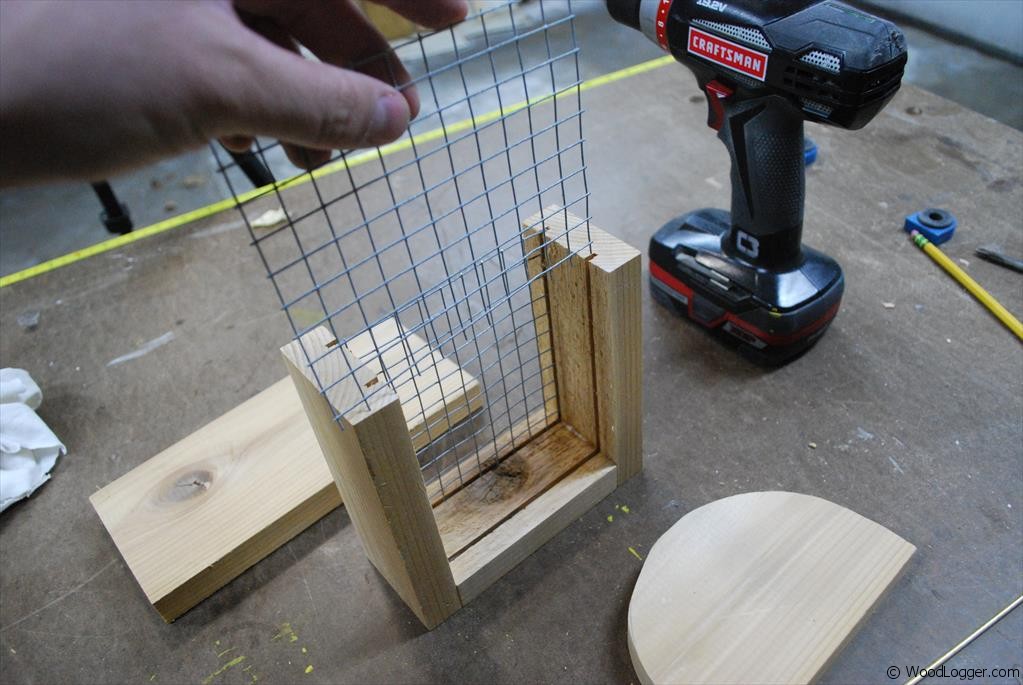 | For the assembly of the feeder I used glue and brad nails. You could just as easily use screws and finish nails. |
  | For the feather rest I repeated the same thing that I did for the sides. I used an exterior rated glue and brad nails. |
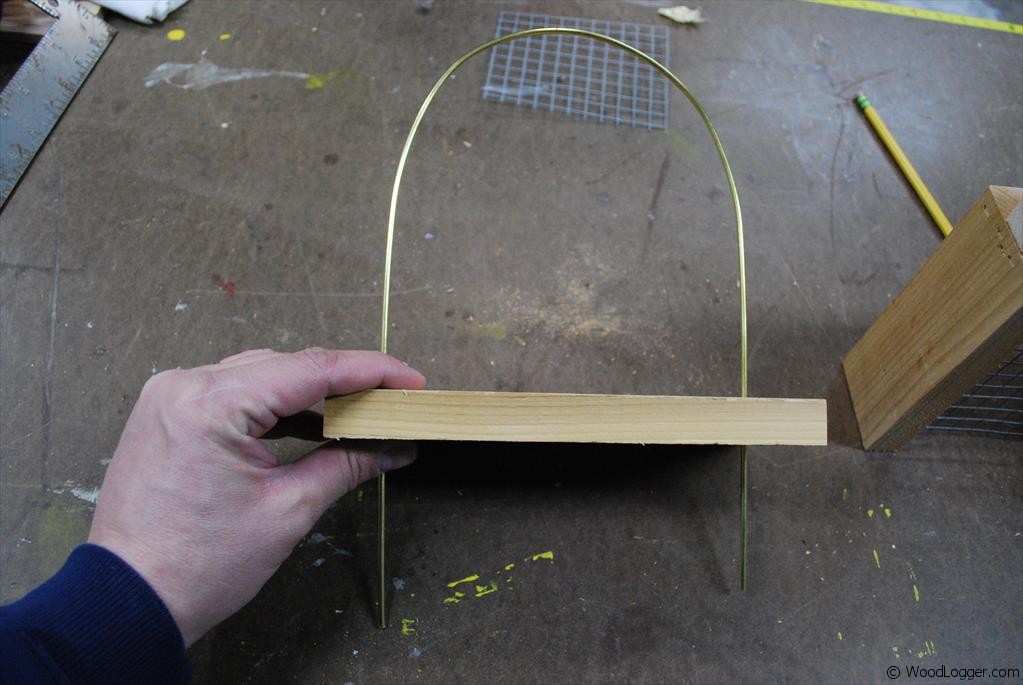  | For the top of the feeder I cut and bent the brass rod to the size I needed. I drilled holes into the top of the feeder and slid the brass rod into those holes and attached them to the sides. |
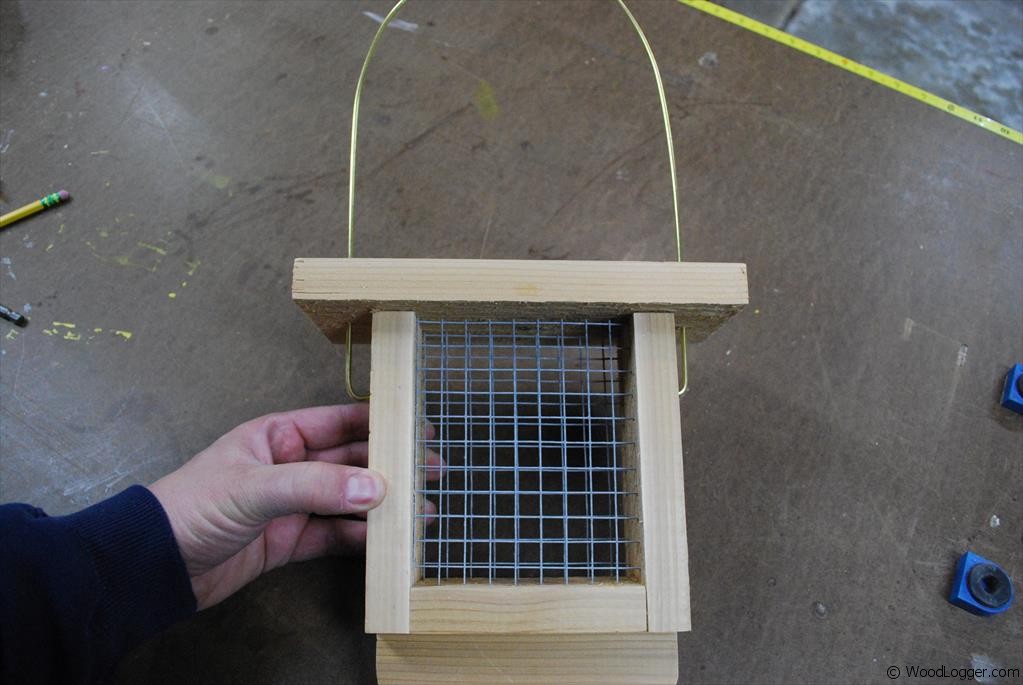 | There it is. Another backyard feeder for the birdies. My intention is to try to pull in the woodpeckers this year. I also made a woodpecker feeder if you’re interested in attracting those types of birds. |
Items Used to Finish this
How do you refill the bird feeder? Is there anyway to make those “line incisions” where you inserted the ‘chicken wire’ in the wood, without the machine?
I think you could do it with a wood chisel but it would take some work.
I’m wondering why you soaked the rod so far from the sides of the feeder? By moving them closer, but not too close, the road cannot back out of the pivot holes.
Correction to above comment.
Question shud read, “wondering why you located the rod so far from the feeder?”